Hey there! Some links on this page are affiliate links which means that, if you choose to make a purchase, I may earn a small commission at no extra cost to you. I greatly appreciate your support!
It has been a month, but we finally finished out kitchen remodel except for the flooring. I decided to break up the remodel post into separate parts otherwise this post would be extremely long. For part 1, I wanted to take you through how we painted our kitchen cabinets.
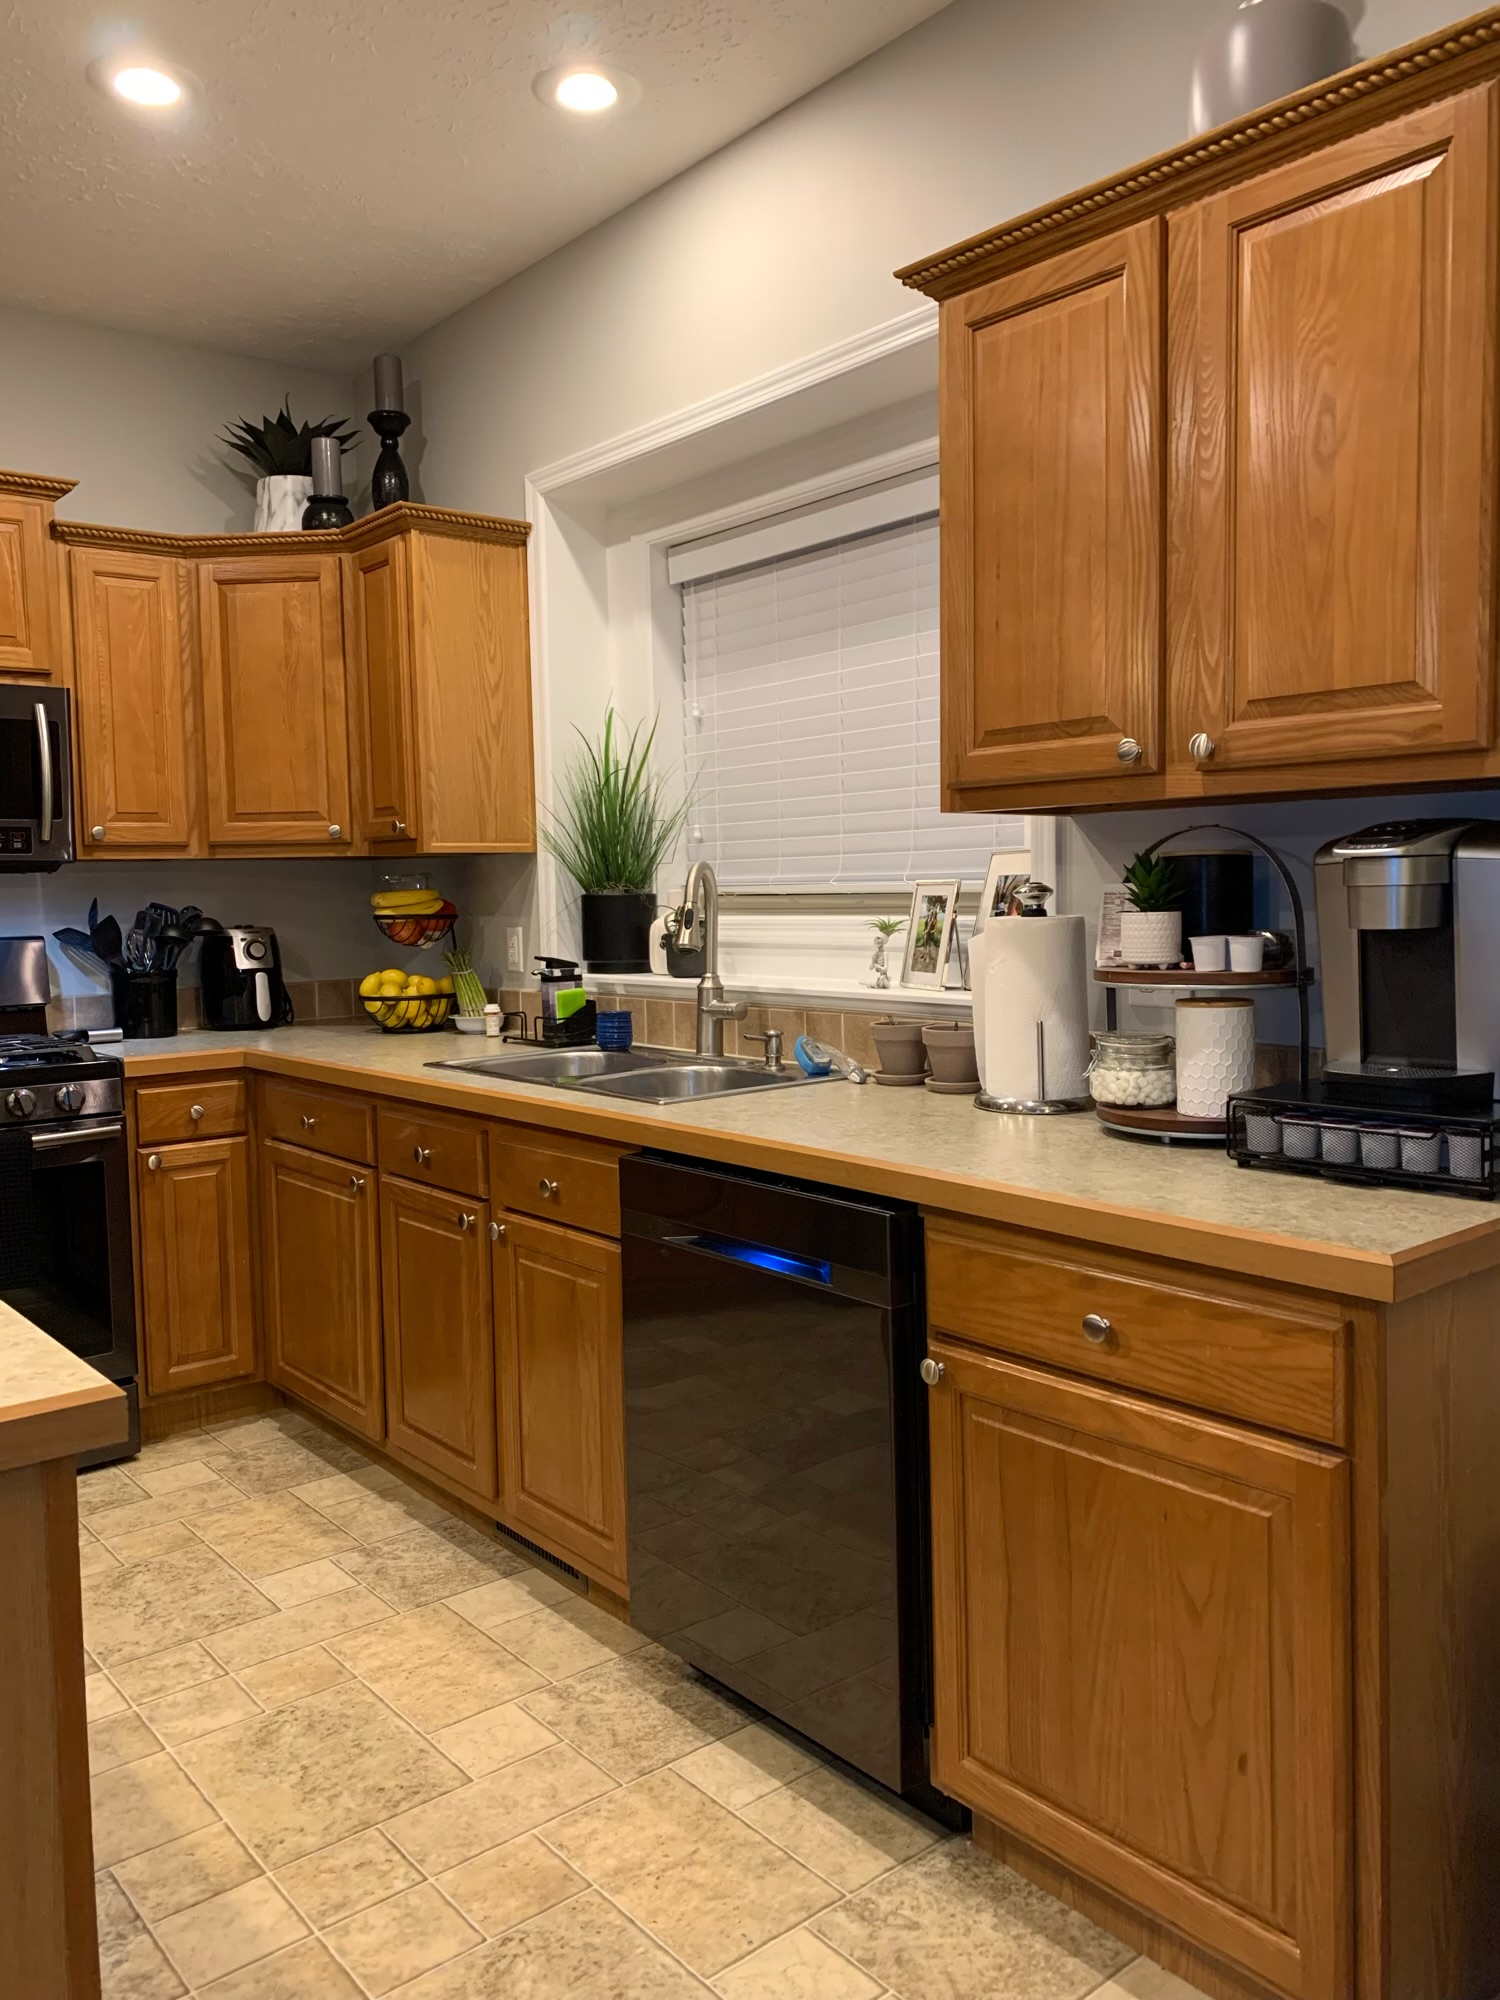
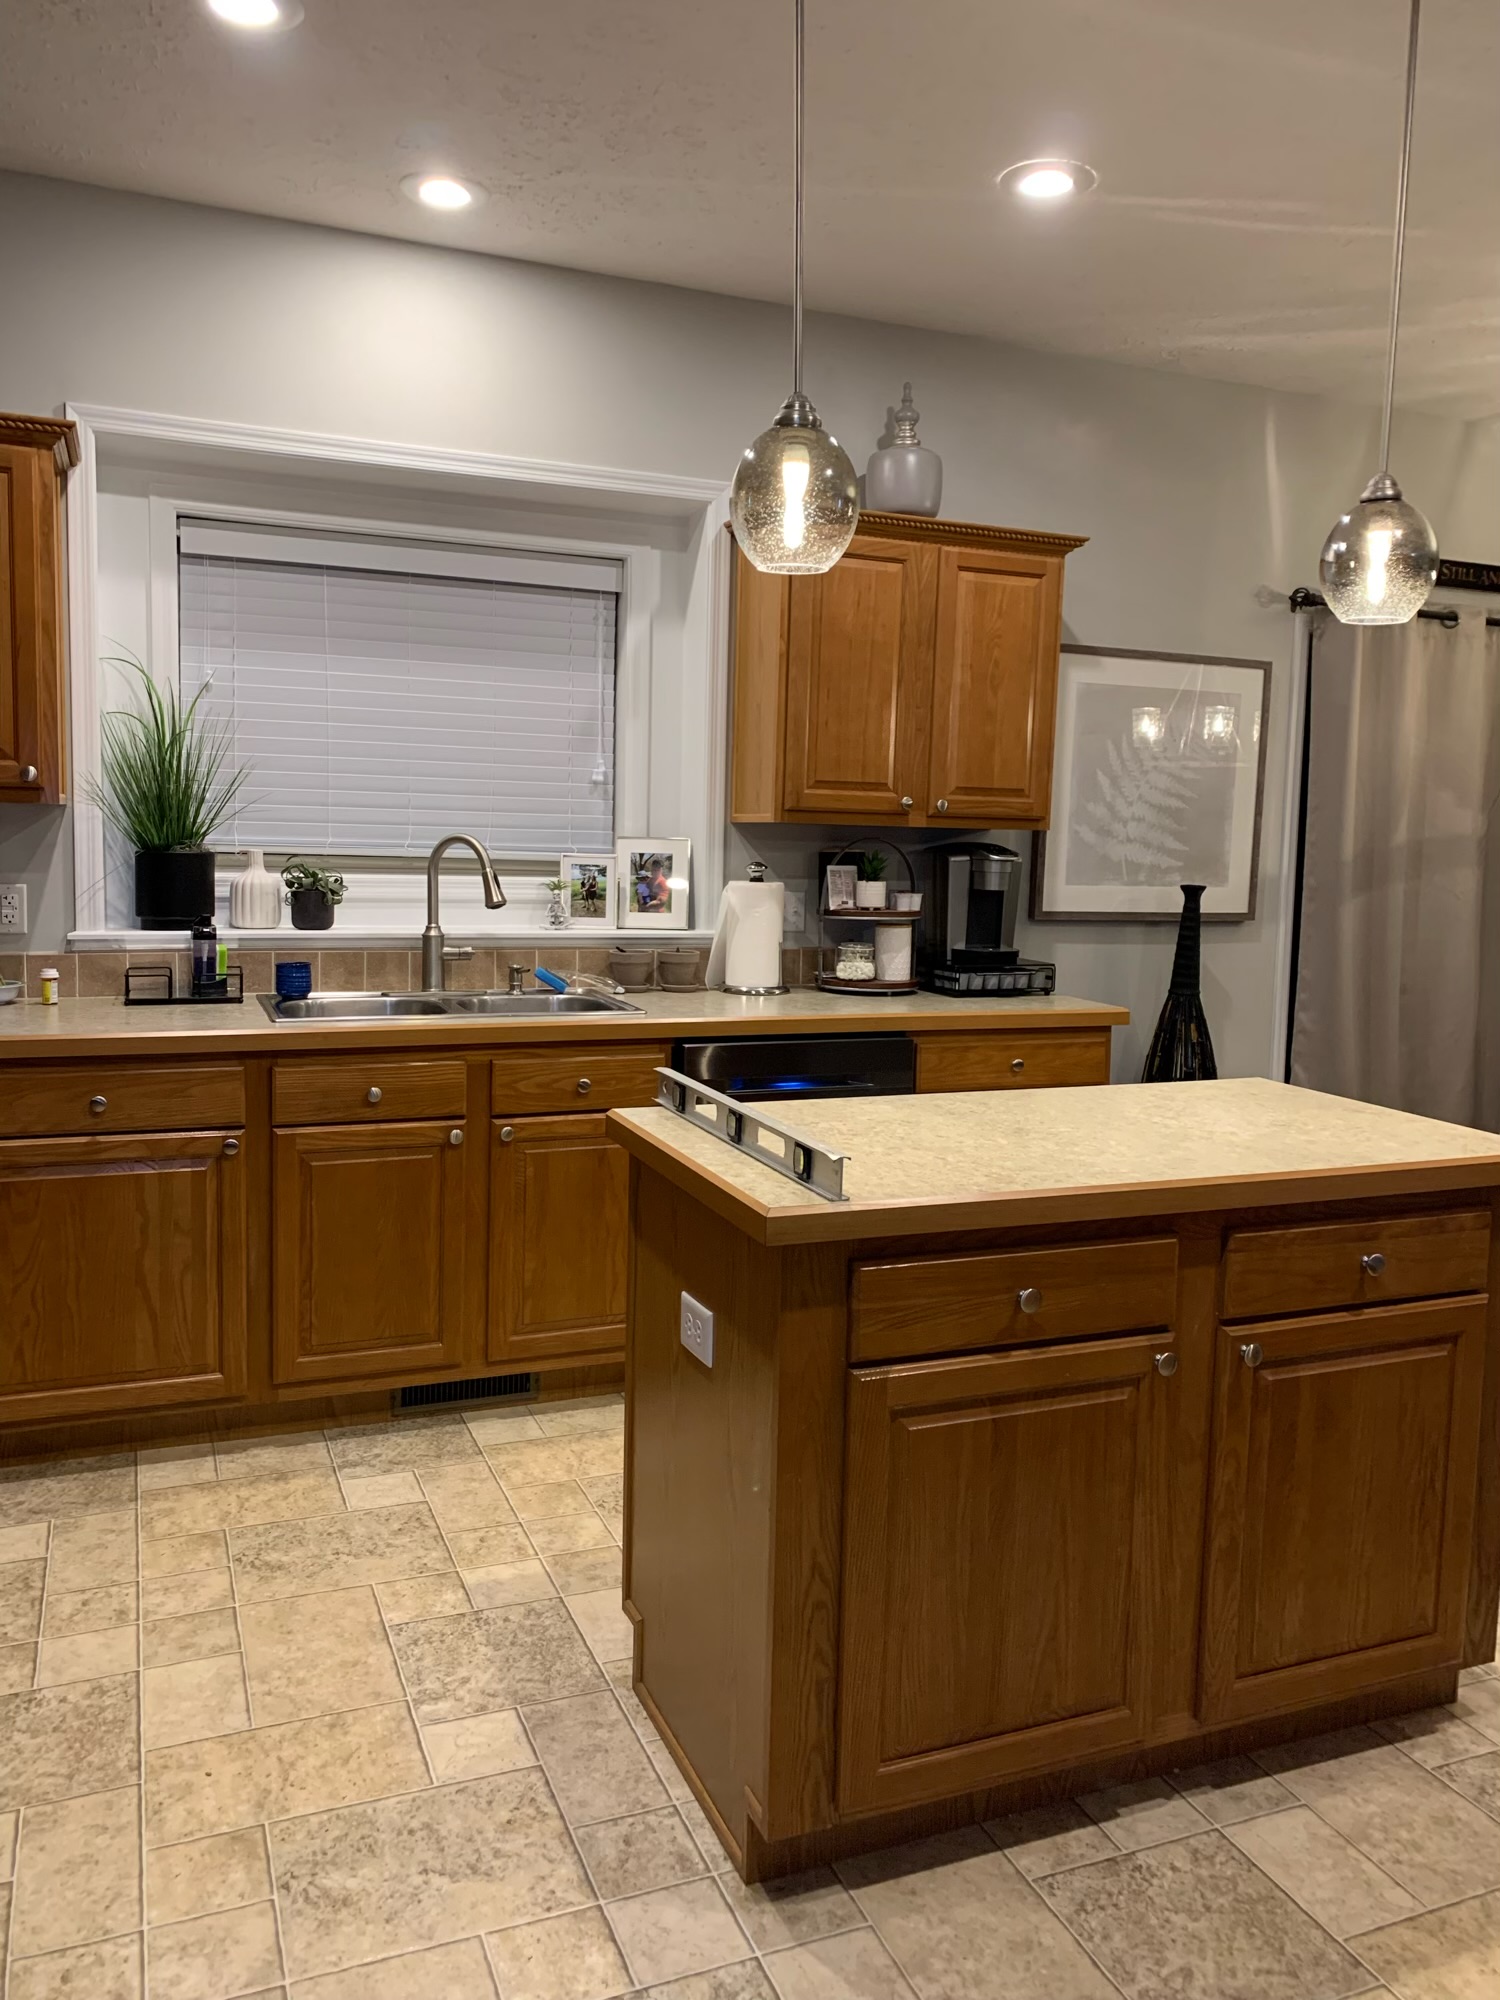
Our Kitchen Before...
Honestly, I liked our kitchen when we moved into our house 14 years ago. The only thing we had changed over the last 14 years was the wall paint color, kitchen decor and put in new appliances several years ago when our refrigerator died.
After we painted and made upgrades to each room, our kitchen no longer “fit” in with the rest of the house. Since we have an open floor plan it was pretty noticeable. We knew the kitchen remodel was going to be worse than our other projects, mostly because we use our kitchen every day, so we had been putting it off. I would say the worst part of the entire process was painting the kitchen cabinets.
We had debated on how we were going to paint the cabinets, either using a roller, with a paint sprayer, or a combination of the two. They both have their positives and negatives. Using the roller, you have a little less prep work, but it takes more time and may not get you as smooth of a finish. Using the paint sprayer, you have more prep work but the time for each coat is less and if used correctly it gives a nice smooth finish. Ultimately, we ended up using a paint sprayer. The one we used was the Graco Magnum X7. This one was recommended by my brother-in-law who owns his own painting company. It is an investment, but we figured it will get a lot of use in the future as well. The other recommendation he had was to switch out the tip that comes with the sprayer for a fine finish low pressure (FF LP) tip.
Cabinet Prep
The first step in the process was to prep the cabinets – this will be the same whether you’re using a roller or a sprayer.
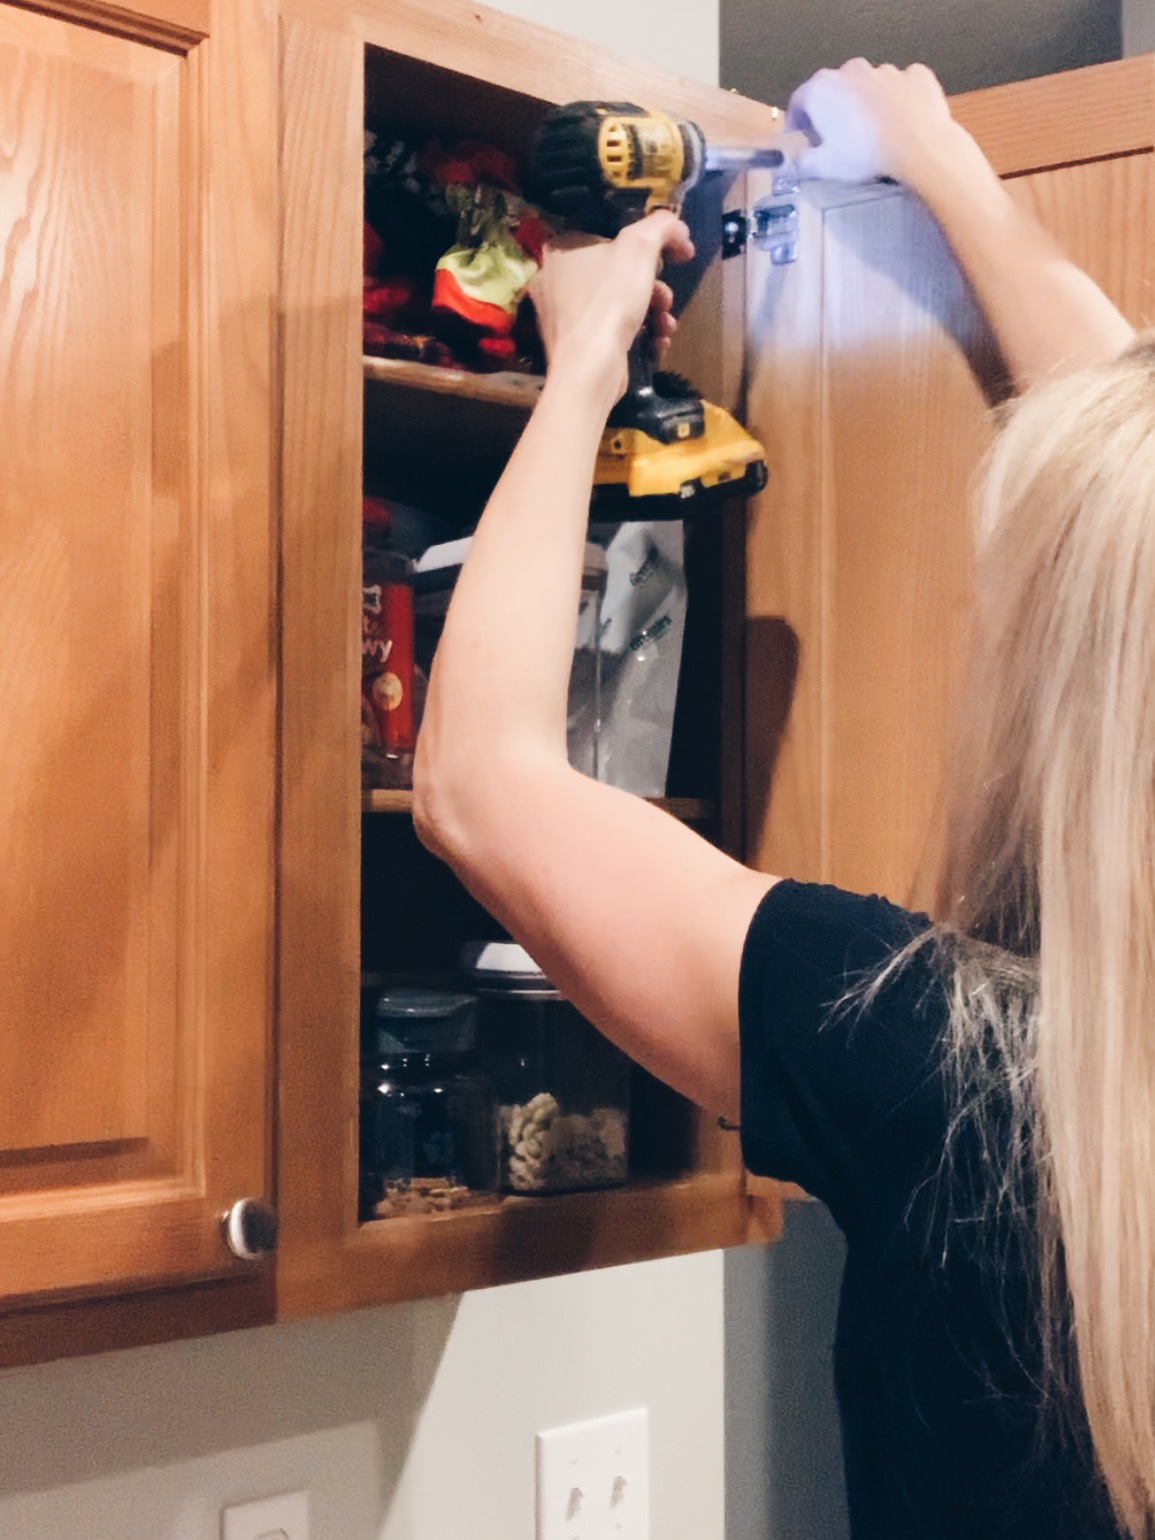
Remove the knobs or handles from the doors.
2. Remove the doors from the cabinets – we saved this hardware to reuse when hanging the cabinet doors back up.
*Tip: When removing the doors, number each cabinet and door by putting a small number where the hardware goes and placing a piece of painter’s tape over it. This will avoid you trying to figure out which door goes where after painting.
3. Sand the cabinets and doors with 220 grit sandpaper. We used an orbital sander over most of the cabinets and used a sanding block to get into smaller spaces.
5. After the cabinets are prepped, you can move onto Step 6 to mask off your cabinets. One extra step we did was use a wood grain filler. Our cabinets are red oak, so they had a lot of grain in them and to get a smoother finish we decided to give this a try. We used this Wood Grain Filler we found on Amazon. The instructional video found on the product information site is helpful on showing you how to use this product. We ended up only using one coat instead of the recommended 2-3 coats.
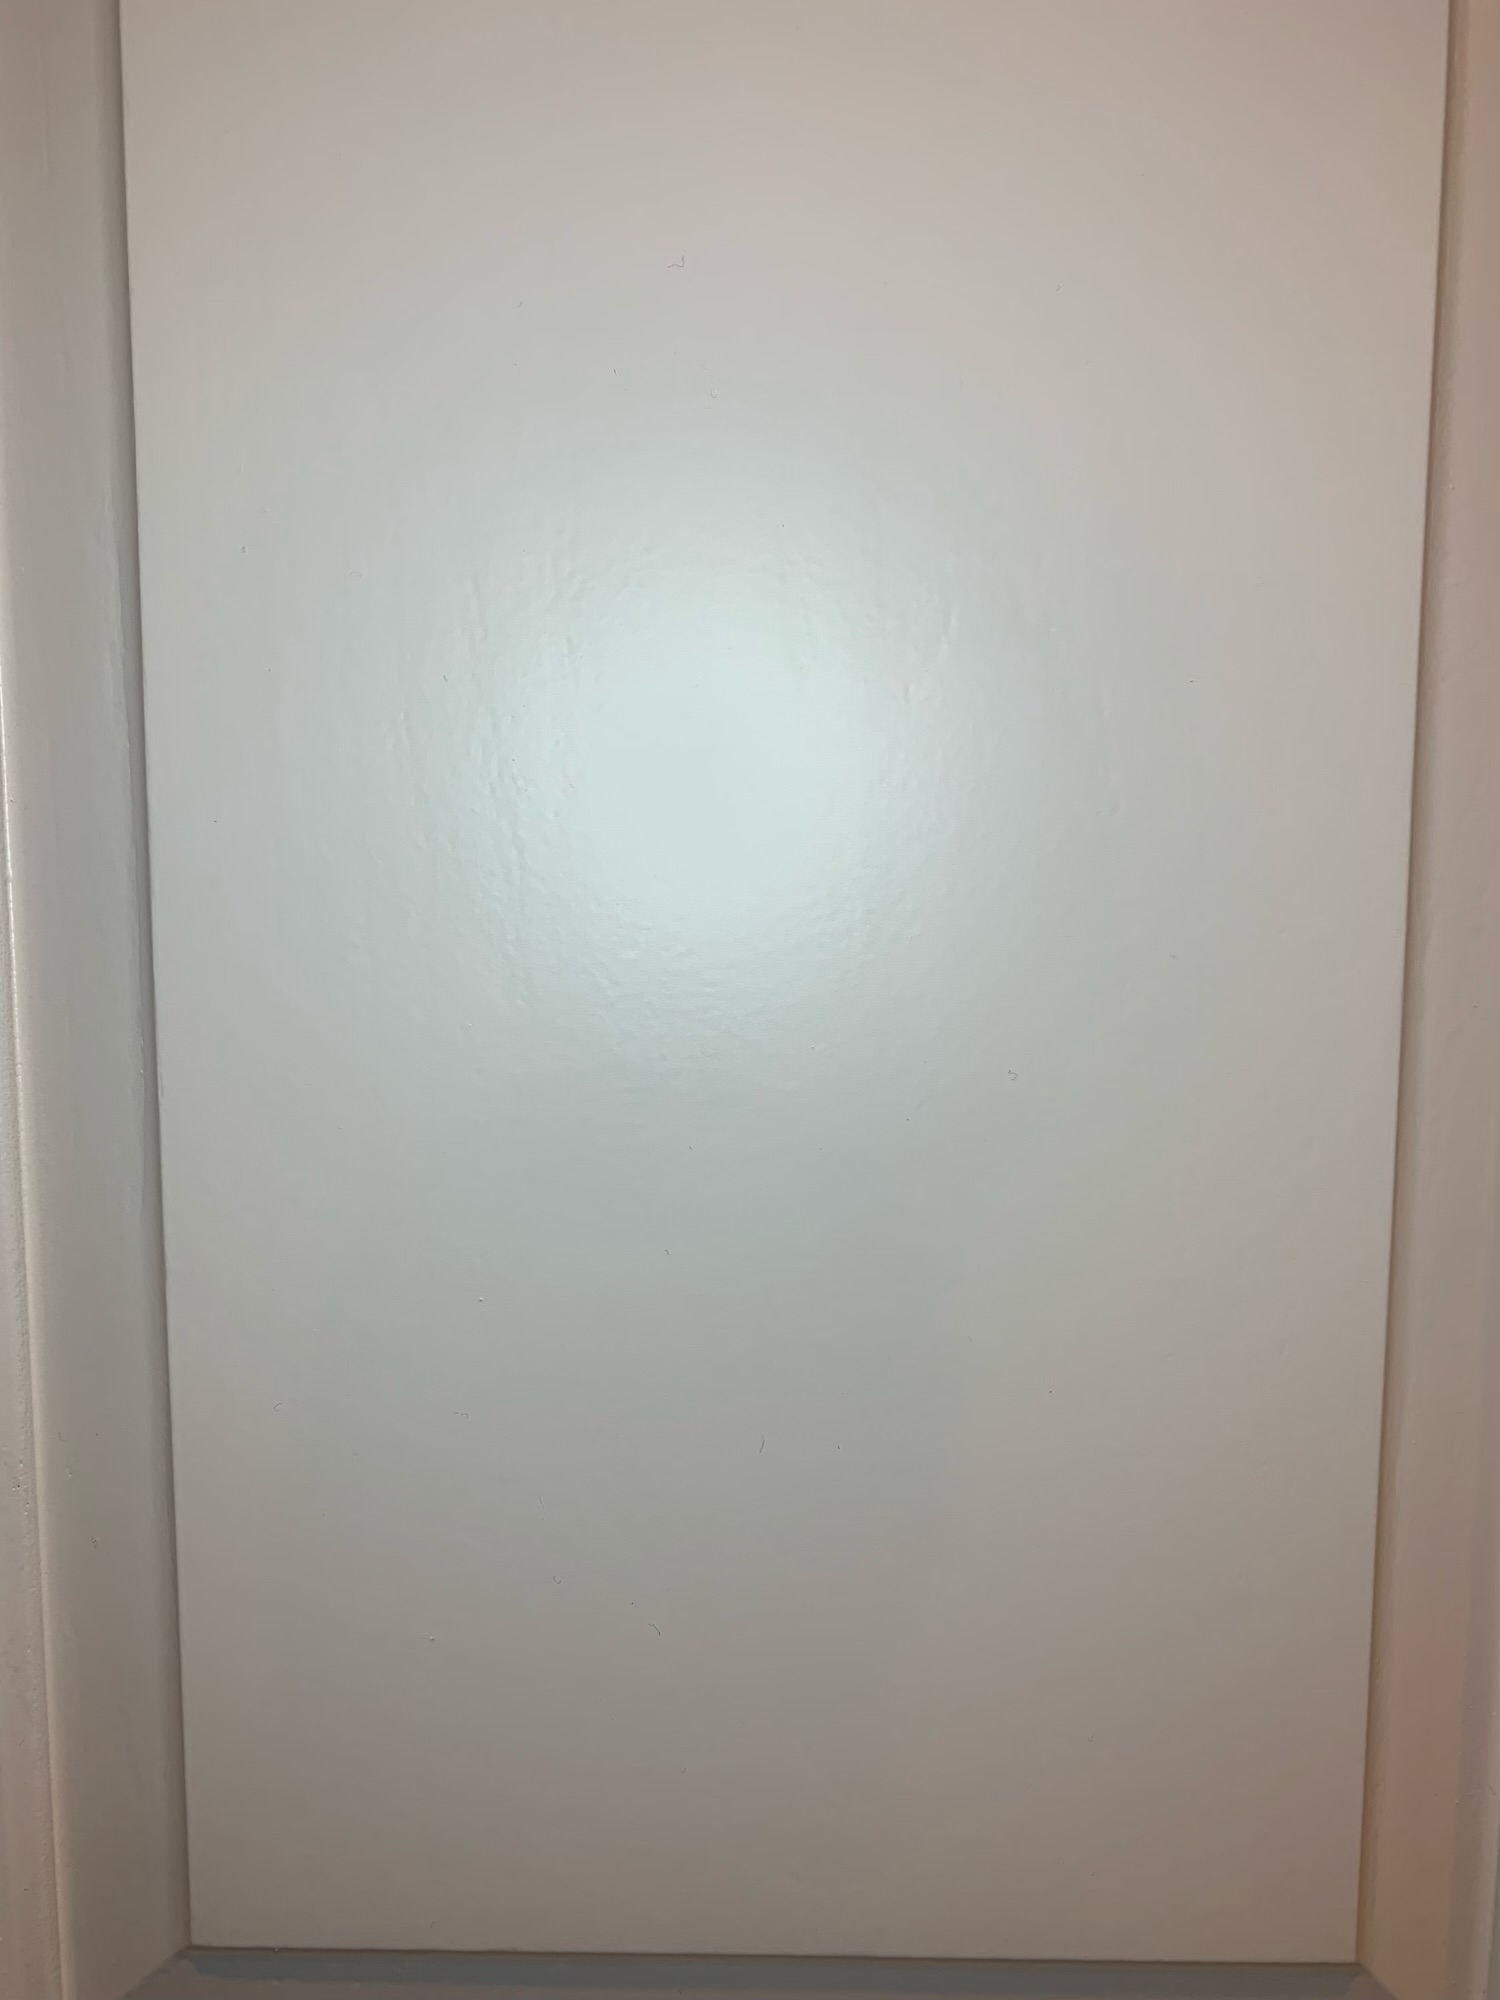
Below you can see the difference between using it and not using it since we didn’t put it on the inside of our cabinet doors. I thought the product was easy to use but does add a lot of extra time to go through and fill in all the grain. One tip to remember when using this is that it dries fast so only work in small sections, scraping off the excess as you go. In my opinion it did help with giving a smoother finish, but again does add on quite a bit of time in the prep work. In the end I do feel like it was worth the extra time, and I love the smooth finish it helped achieve.
If using the wood grain filler, the last step will be to sand the cabinets again just prior to painting.
Without Grain Filler
With Grain Filler
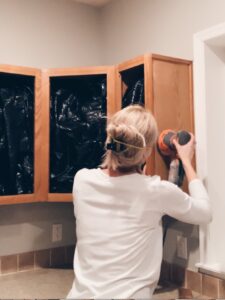
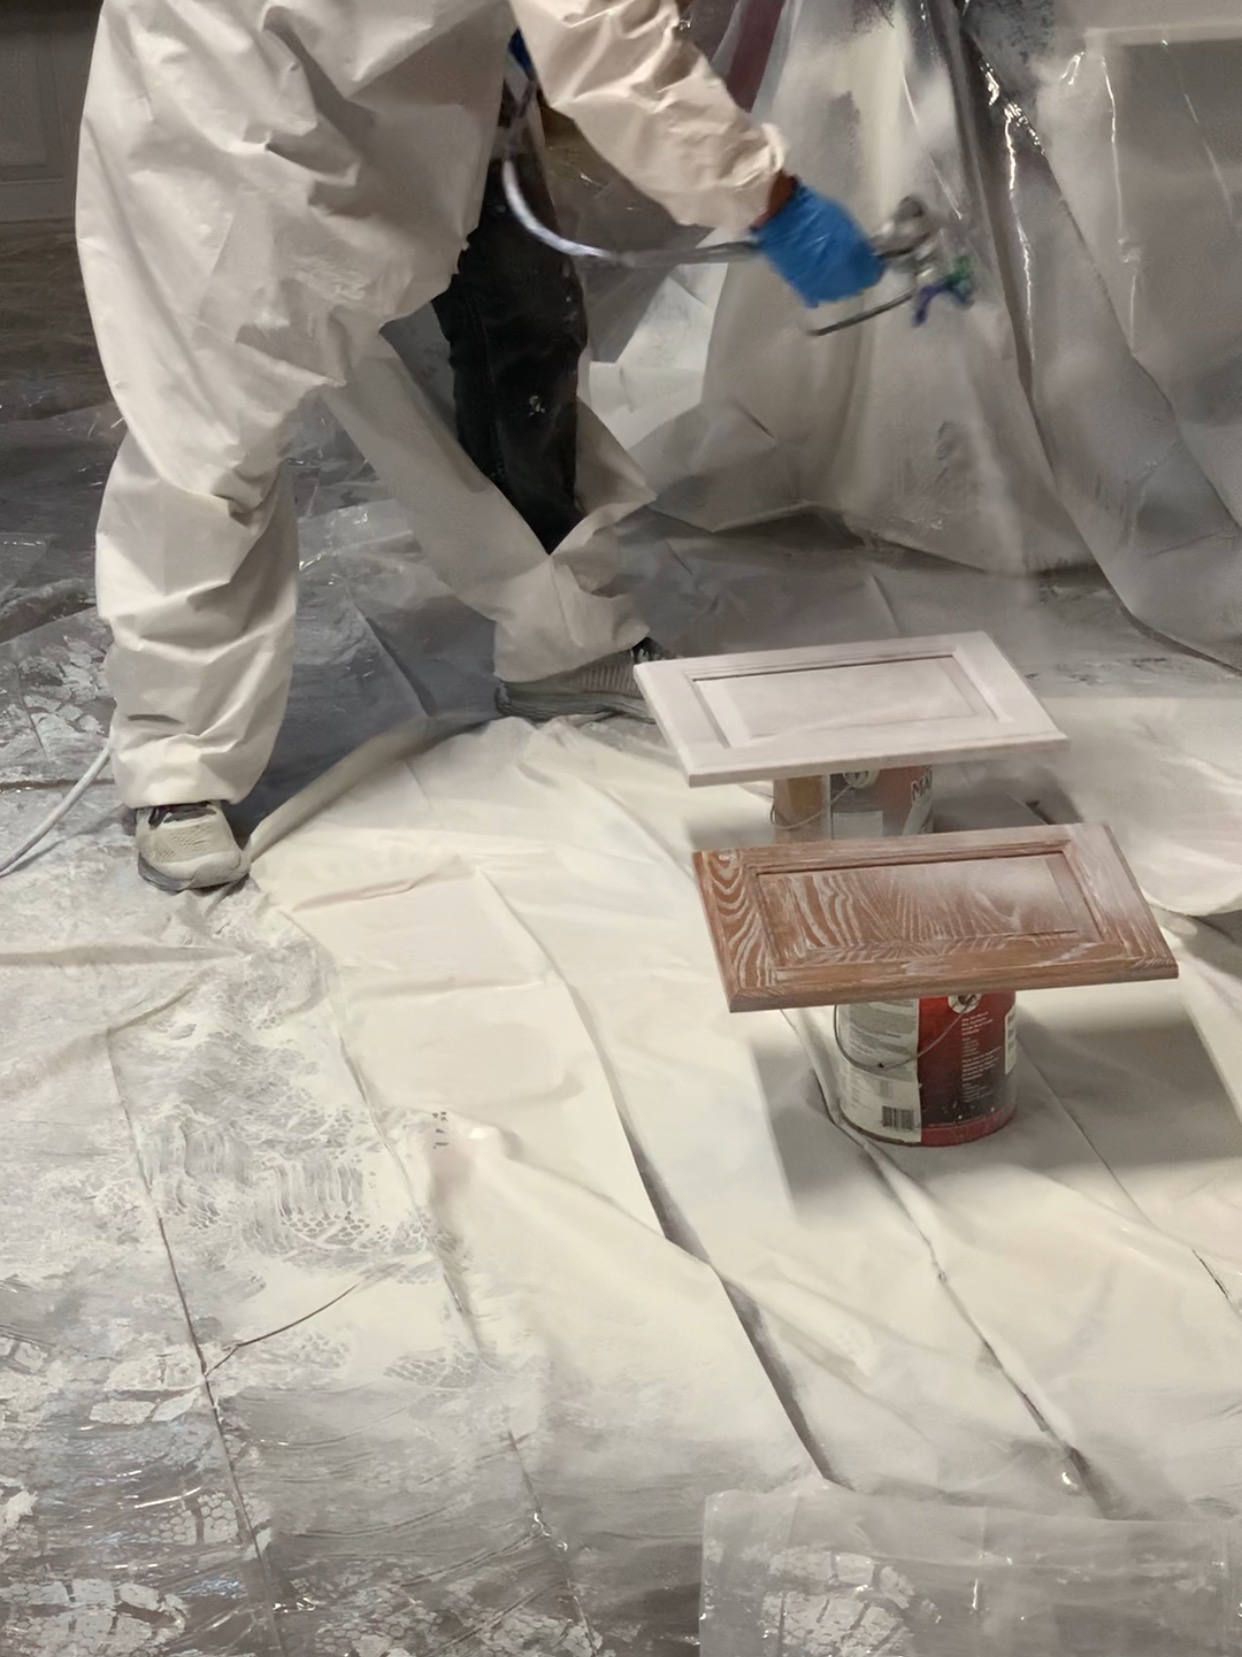
6. Finally, we finished prepping our kitchen by taping off the inside of the cabinets, covering the floors and countertops – essentially creating a spray booth in our kitchen. I only had a picture after we had sprayed with primer.
Painting the Cabinets
We ended up using two coats of primer and two coats of paint.
The primer we used was Sherwin Williams Extreme Block.
The paint we used was Sherwin Williams Emerald.
1. The primer took longer to dry so those coats were allowed to dry overnight.
2. After the two coats of primer the cabinets and doors were sanded again.
3. The first coat of paint was added.
4. After this dried, we used a cabinet handle jig to drill out our holes for our new hardware. This was done prior to the final coat to avoid scratches in the paint. The jig we used was from Amazon and you can find instructions on using this for doors and drawers here.
5. Last step was the final coat of paint and we allowed this to fully dry for a couple of days before adding the hardware and hanging the doors.
6. I found some white felt pad bumpers that I added to the doors and drawers after everything was installed.
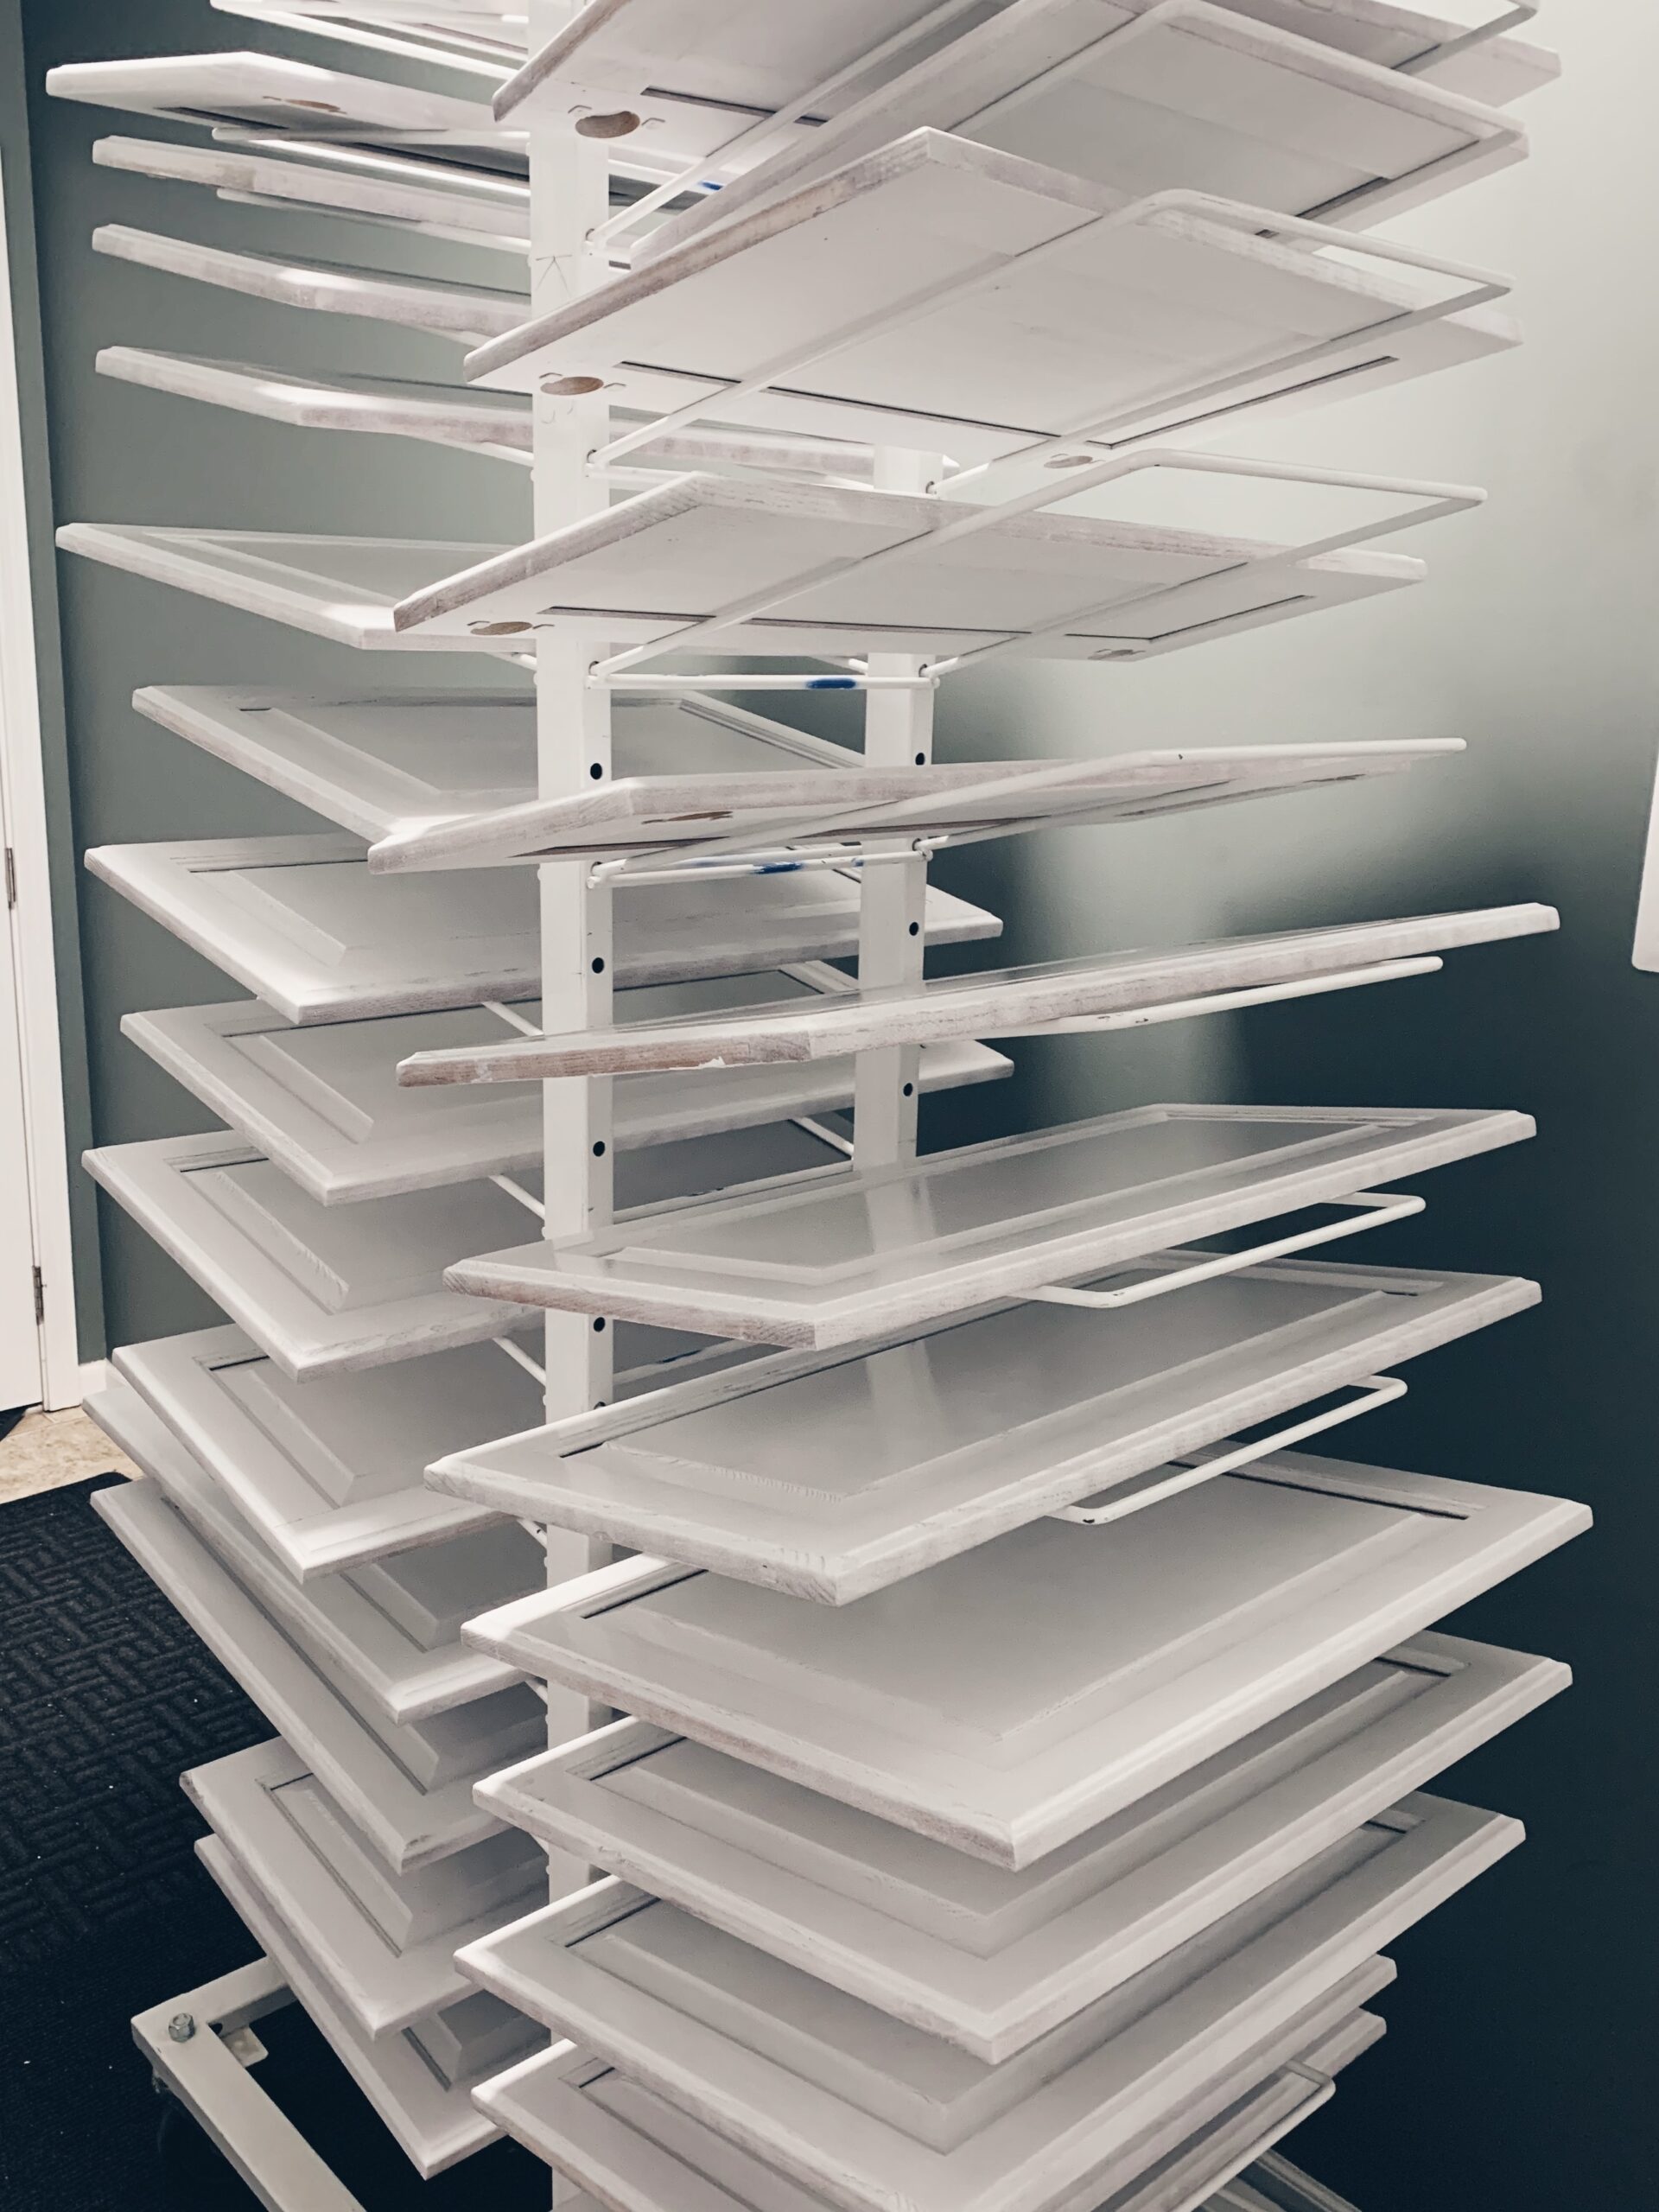
Below is a picture of the spraying booth we created in our garage to spray the doors and drawers. We also were lucky to be able to borrow a drying rack from my brother-in-law.
We of course ran into some issues during the course of painting our cabinets. We had a bad ice storm in the middle of it and lost power for 4 days. Usually this would just be more of an annoyance with a project, but we were on a time crunch as we had already planned to have this completed before a party we were hosting. We ended up finishing the morning of the party – at 6:30am that Saturday we were putting in the sink!
We also replaced the crown molding on top of the cabinets. It looks great but ran into a couple of issues with the cabinet doors above our microware. Since the new crown was a little bit taller it interfered with the doors when we tried putting them back up. Sean had to cut out part of the trim and fix it to allow the room for the doors.
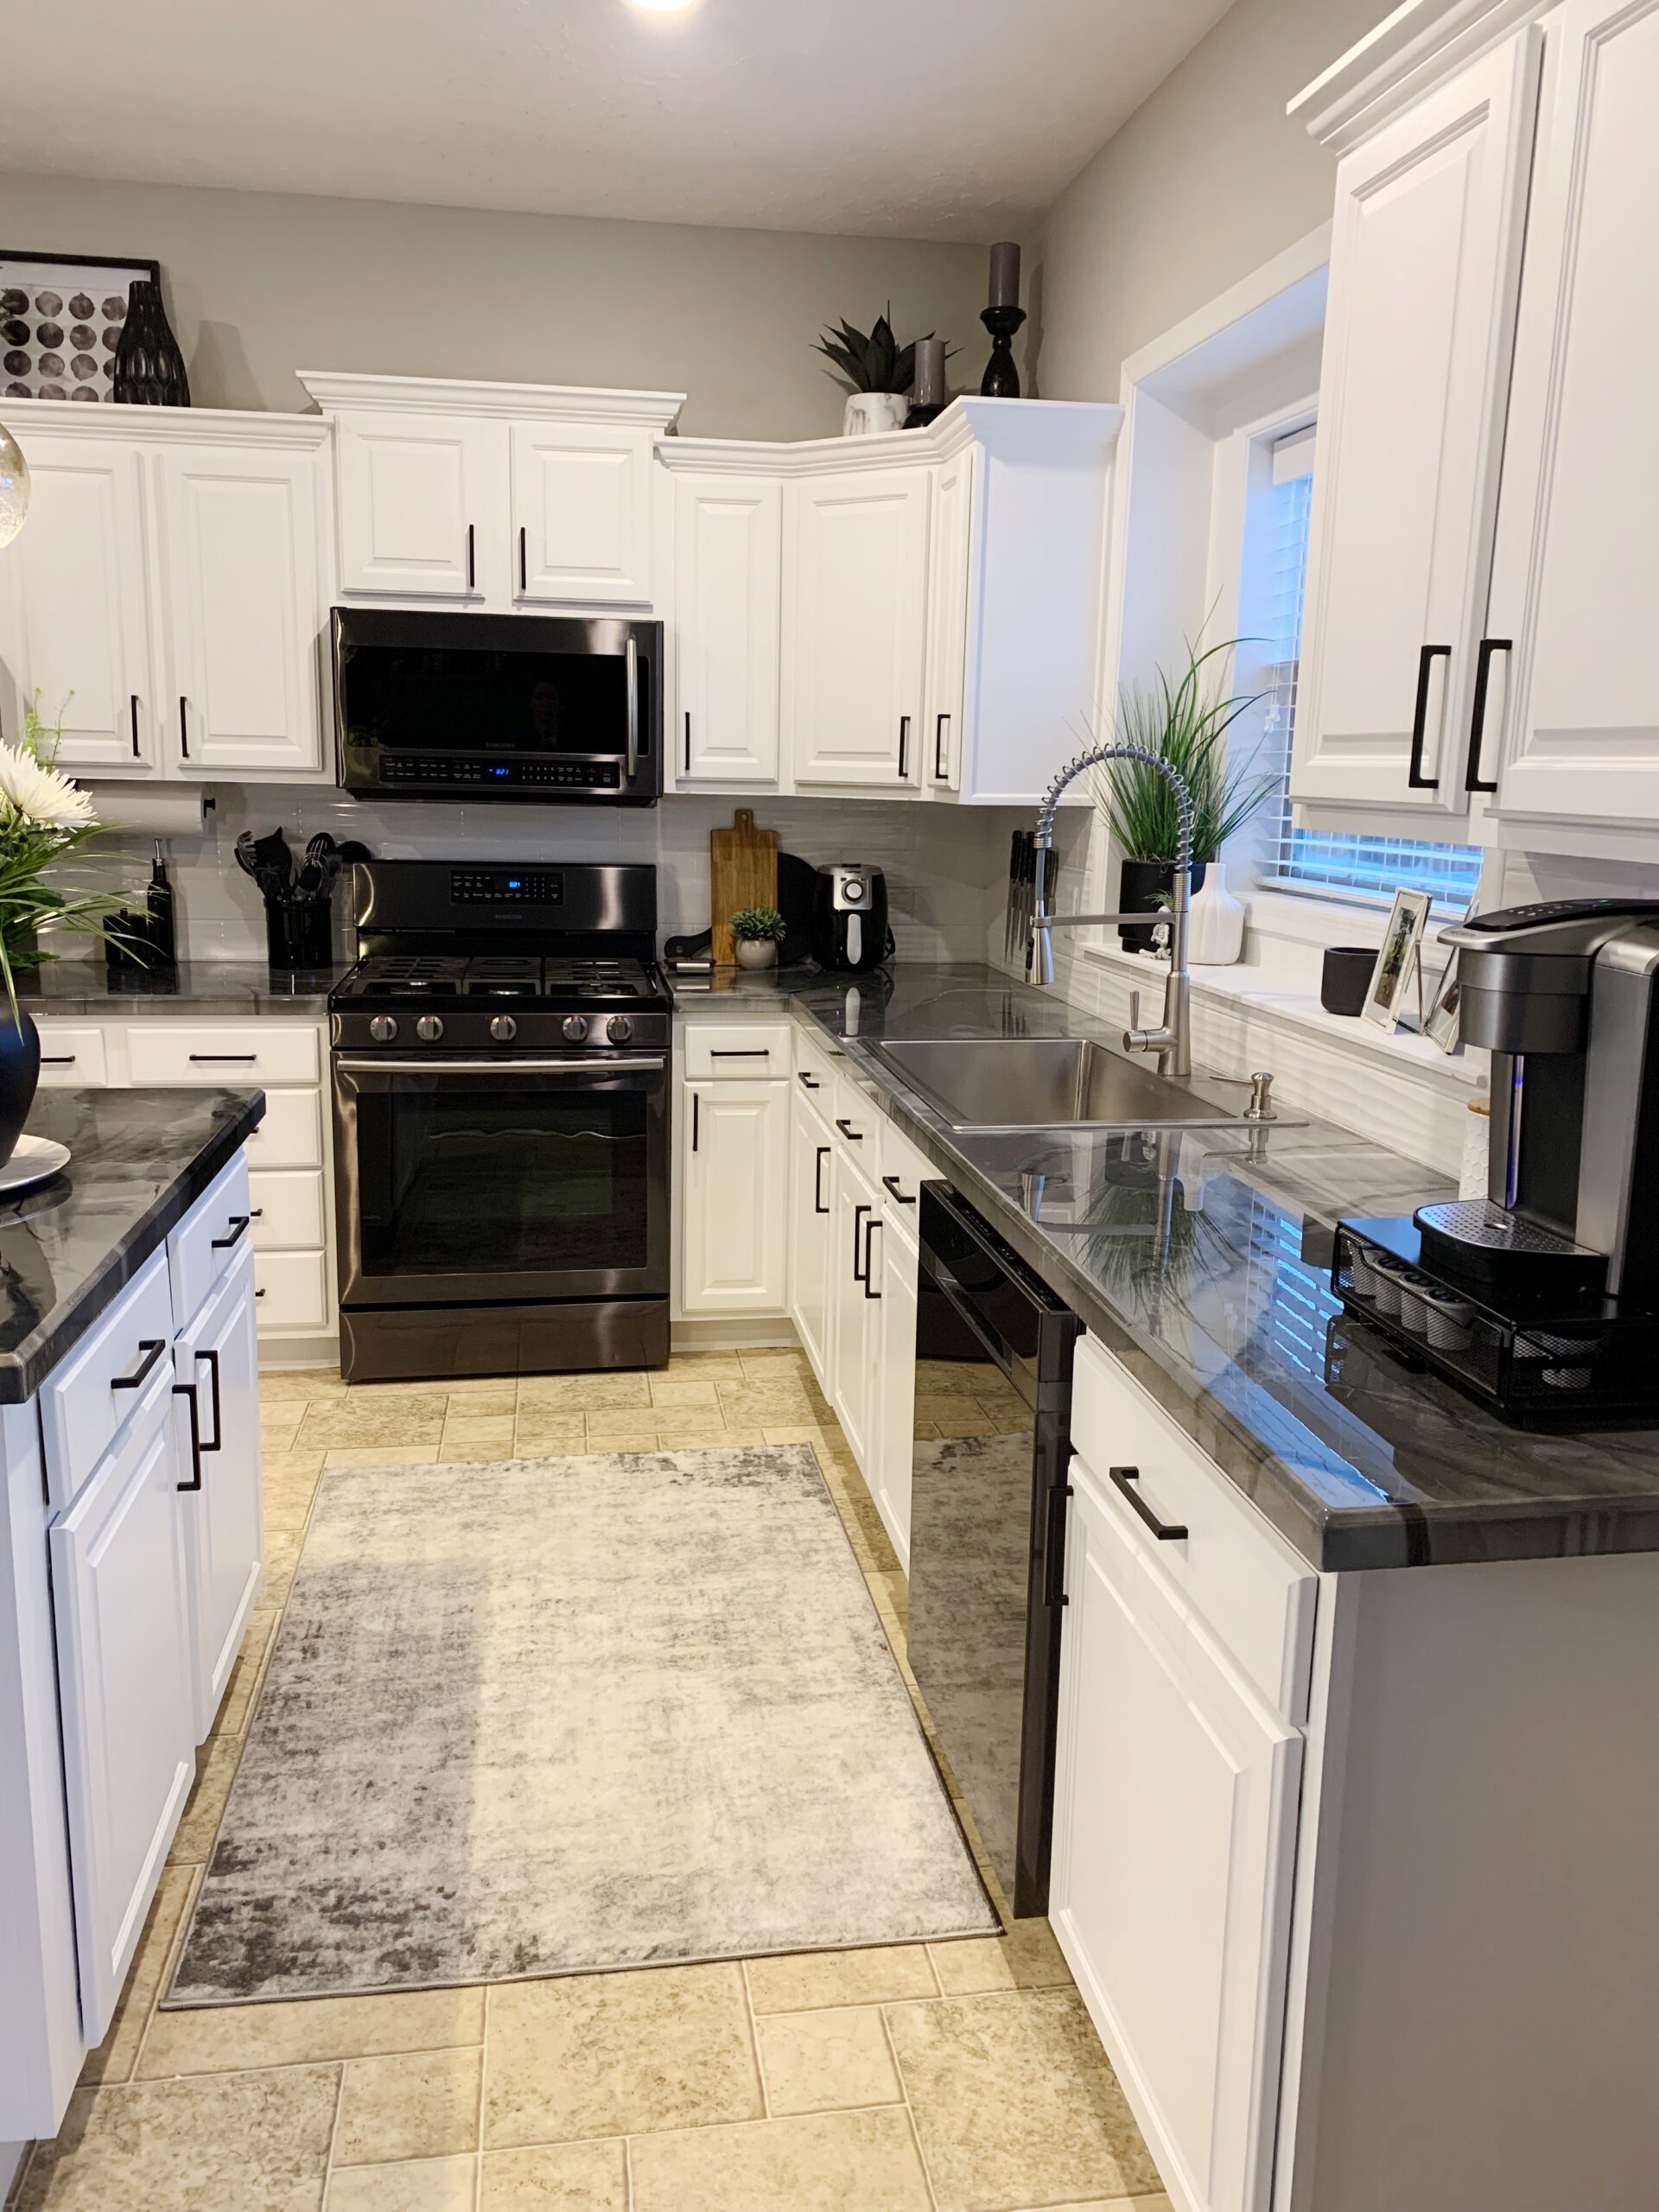
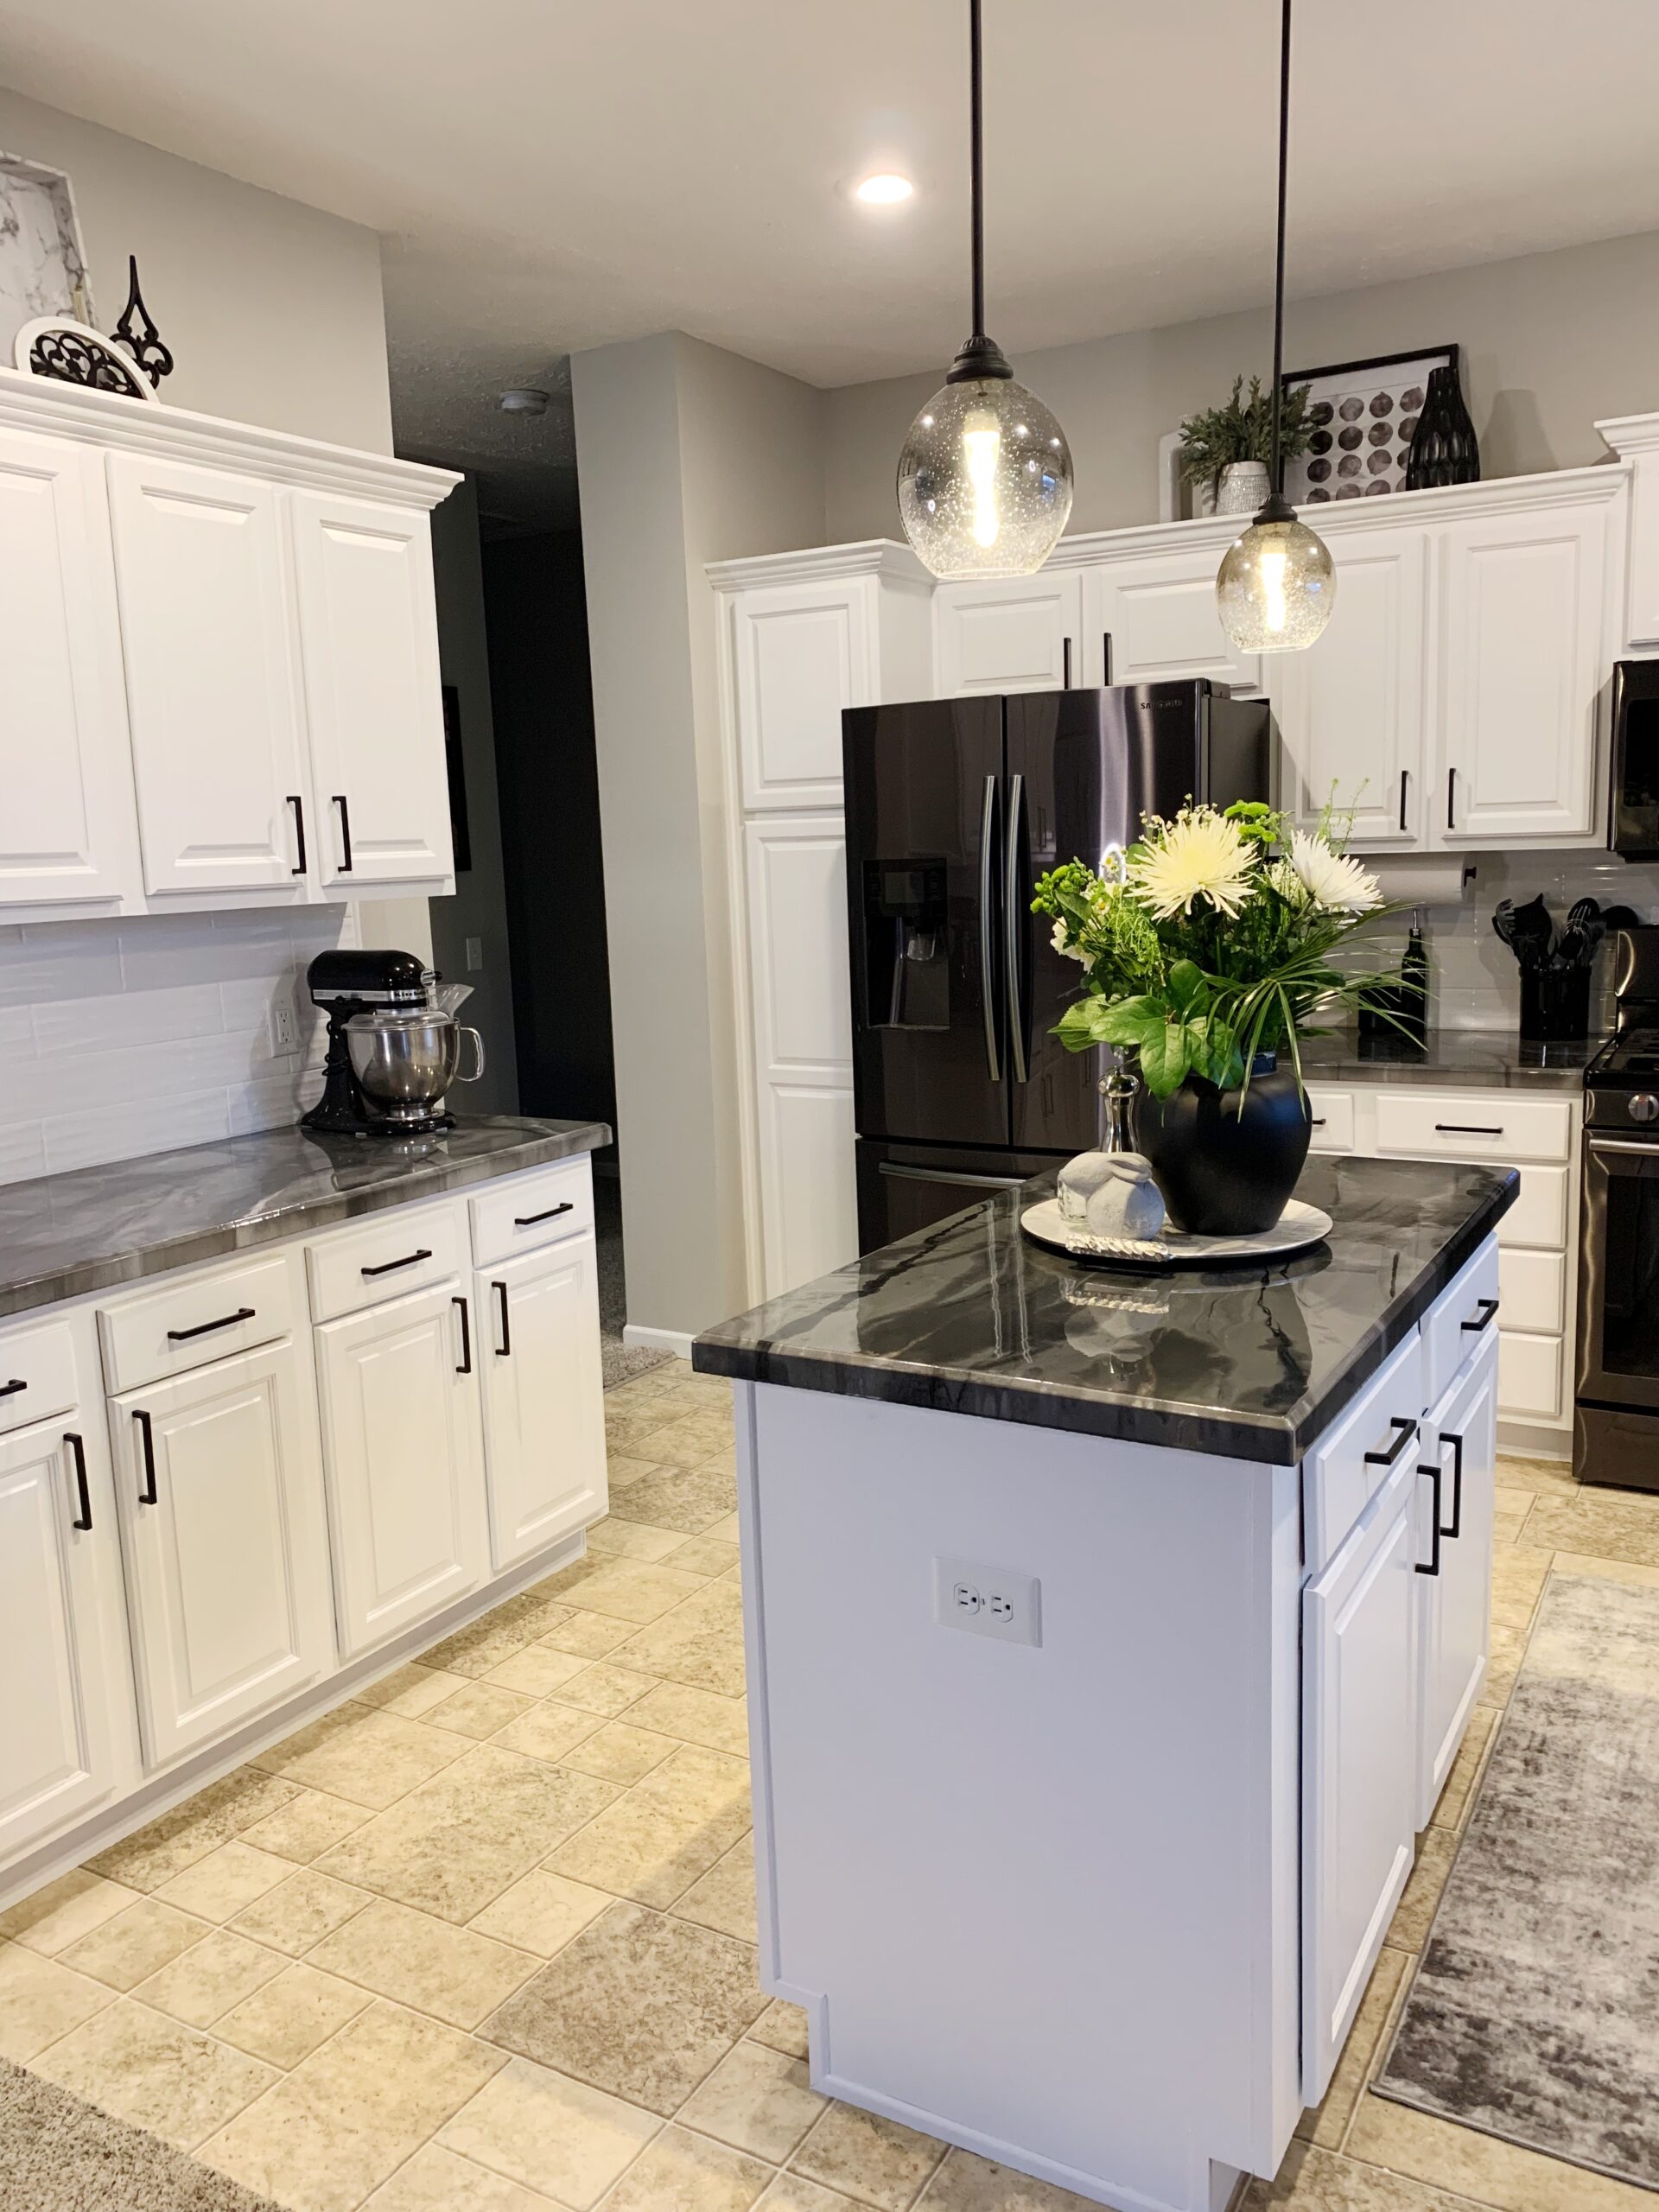
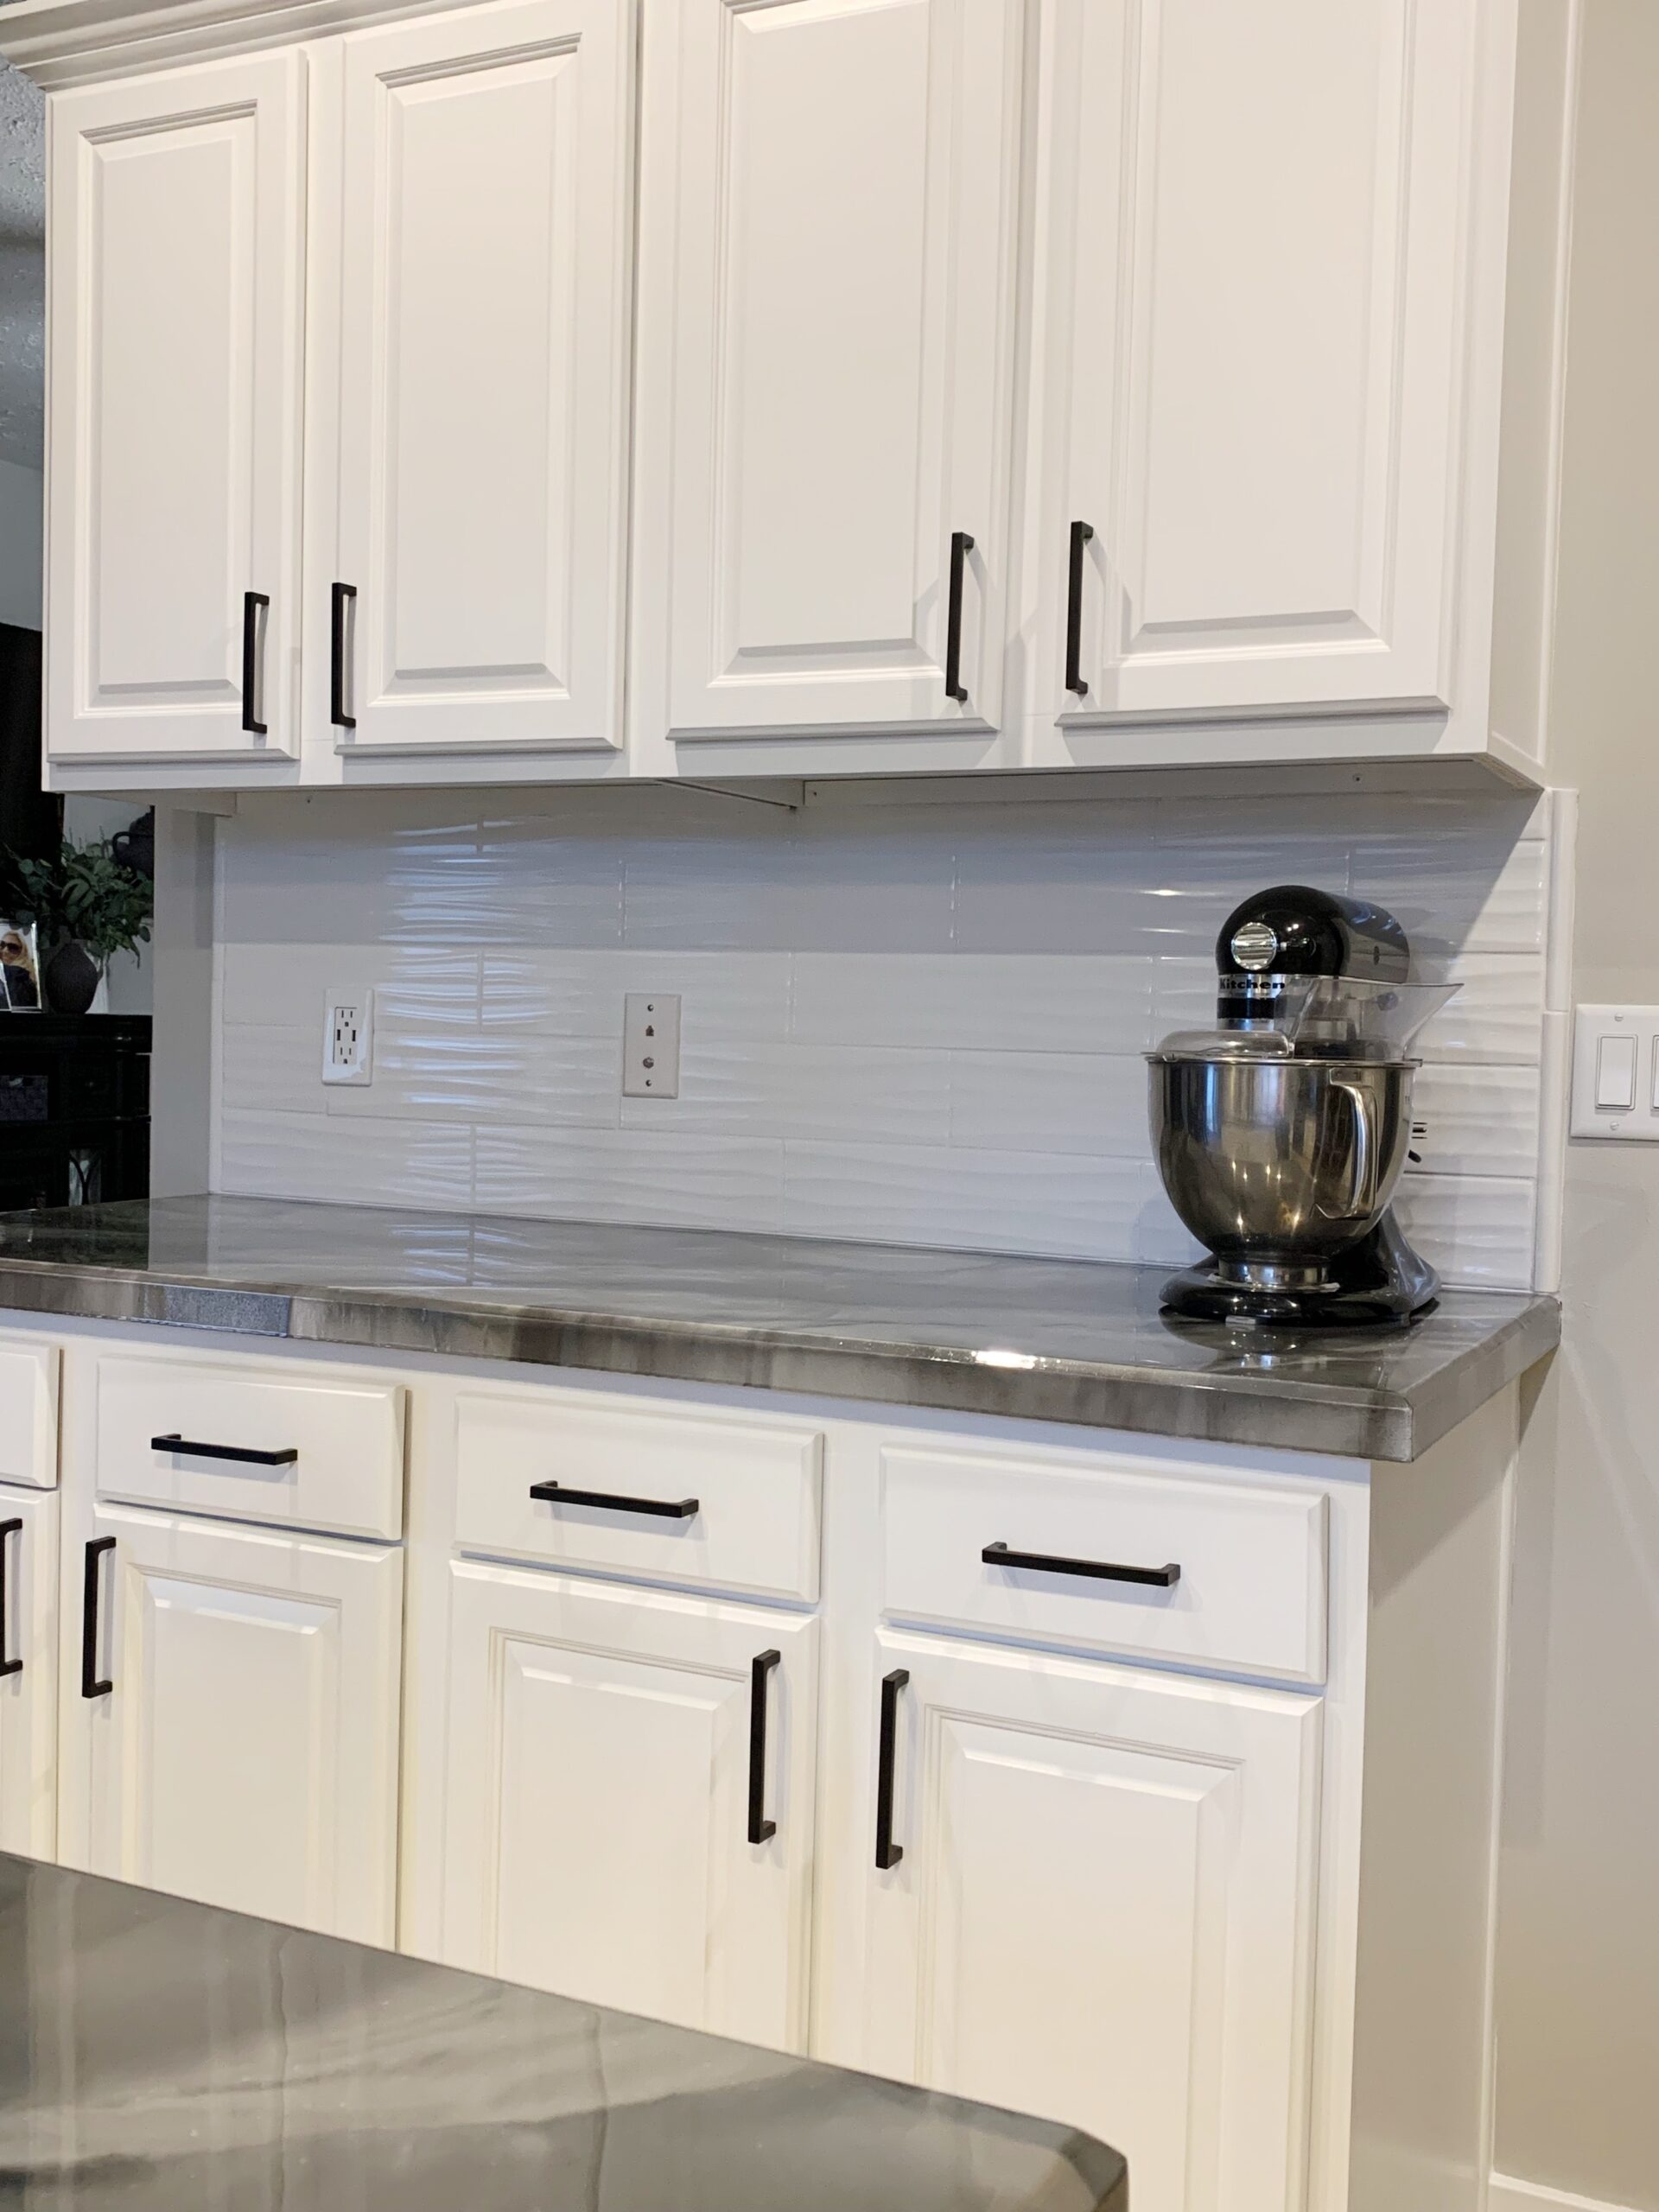
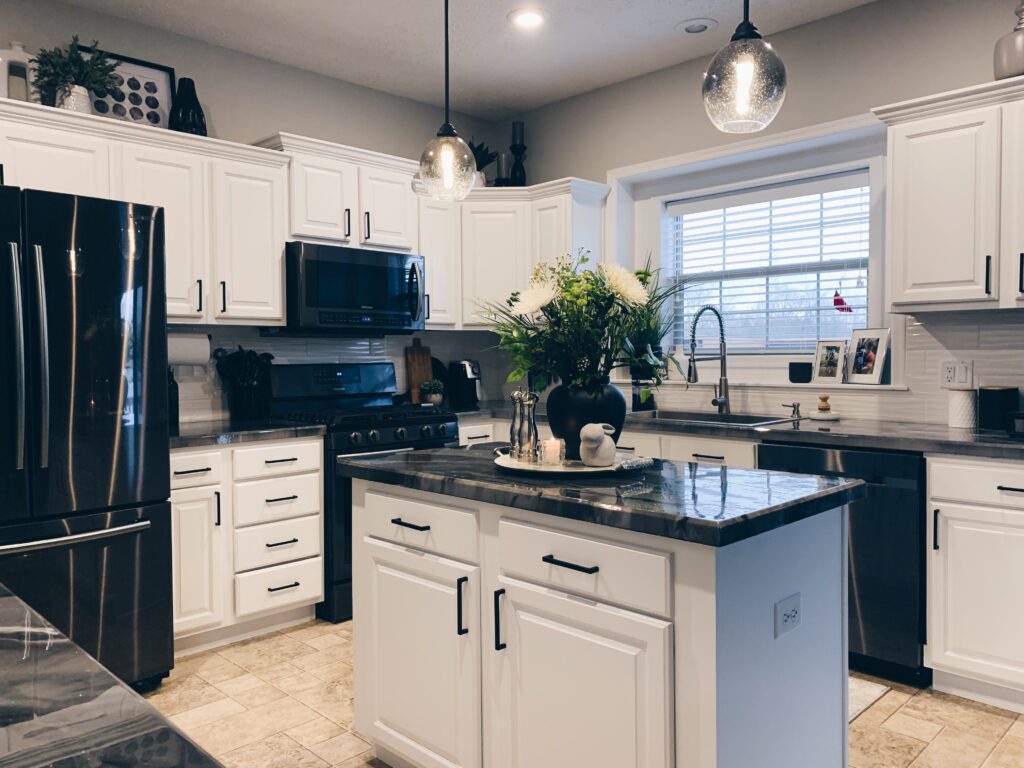
In the end everything ended up working out, but definitely stressful while you’re in the middle of it. I love my new kitchen and can’t wait to share the finished room once we complete the floors. Come back soon for the details on the countertops, backsplash, new sink and all my kitchen decor finds!
See below for links to everything we used during this part of the project.