How to Easily Install Cabinet Hardware Using a Jig Tool

Hey there! Some links on this page are affiliate links which means that, if you choose to make a purchase, I may earn a small commission at no extra cost to you. I greatly appreciate your support!

We are still in the middle of our kitchen update and just finishing up painting the cabinet doors and drawers. Prior to the finish coat of paint, we went through and drilled out the holes for our new hardware. We wanted to avoid scratches on our finish coat so that’s why we did this prior to that final paint coat. I know you can create your own jig using scrap wood, but with our recent bathroom update and now this kitchen remodel I found the easiest solution was using this jig tool I found on Amazon. I put together instructions below on how we used this for our cabinet doors and drawers. It was a simple solution as opposed to either creating my own jig or measuring and marking the handle placement on each individual door.

Instructions for Using the Jig Tool for Cabinet Doors

  1. For handles, initially set up the jig pieces as shown below.

2. Next you will want to first set up your two hardware guide pieces to the correct distance for your handle. We are using a 5-inch handle, so these pieces are set 5 inches apart. You can easily confirm this by using the handle and screws as shown below.

3. Place a handle on the front of your cabinet door about where you want the placement to be. You can use this to help determine the vertical and horizontal guide placement.

4. Set the vertical guide for how far down from the top (or up from the bottom – depending on which cabinet door you’re working on) of the door you want your handle to be – see the picture below Step 5.

5. Set the horizontal guide for how far in from the side of the door you want your handle to be – see picture below.

6. Holding the jig in place, drill at the two hardware guide pieces.

7. You can easily repeat this on all doors by flipping the jig over vertically and/or horizontally depending on which corner of the cabinet door the handle needs to be on.


I’ve linked a quick YouTube video with step-by-step instructions below:

Instructions for Using the Jig Tool for Drawers

  1. For handles, initially set up the jig pieces as shown below with the “t” being at the zero point.

2. Next, you will want to set up your two hardware guide pieces to the correct distance for your cabinet handle. We are using a 5-inch handle, so these pieces are set 5 inches apart. You can easily confirm this by using the handle and screws as shown below.

3. Measure the width of your drawer. Divide this number by 2 and set your horizontal guide piece. For example, if the width of your drawer is 13 inches, then you will set the stopper for this piece at 6.5 inches as shown below.

4. Measure the height of your drawer. Divide this number by 2 to set your vertical guide. For example, if your drawer height is 5 inches, then you will set this guide piece at 2.5 inches as shown below.

5. Holding the jig in place, drill at the two hardware guide pieces.

6. You can easily repeat this on all drawer sizes by adjusting the vertical and horizontal guide placement depending on the size of your drawer.


I’ve put together a quick YouTube video with step-by-step instructions below:


Here’s a sneak peek of the cabinets with hardware…

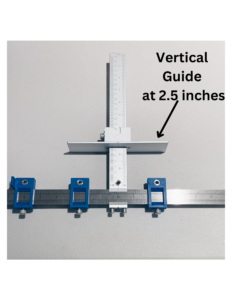
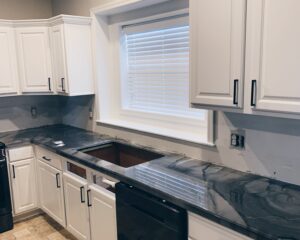
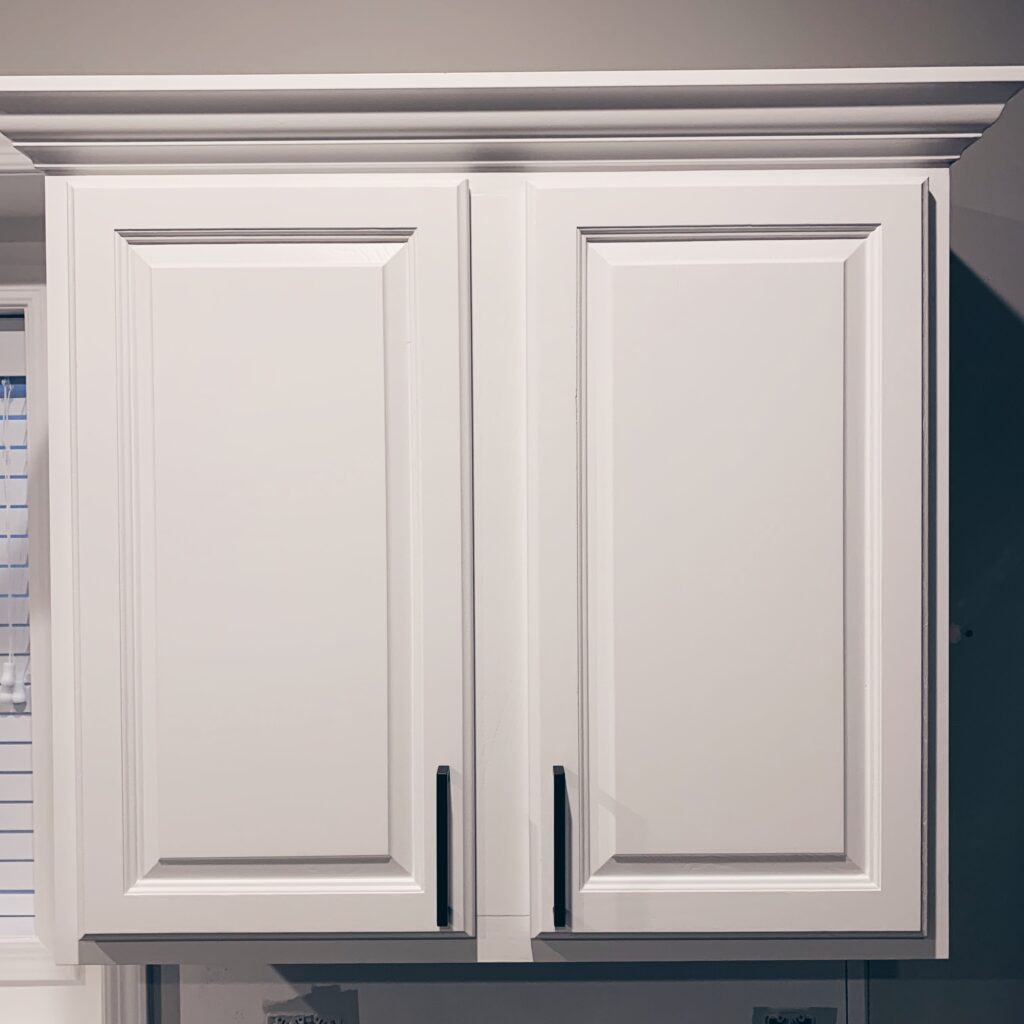
I can’t wait to show you the final product in our kitchen, come back soon to look for my post on my kitchen remodel. In the meantime, hopefully you were able to see how you can easily use a jig tool to install cabinet hardware. Let me know in the comments if you’ve used this jig or a similar one before and I’d love to see your final product!

1 thought on “How to Easily Install Cabinet Hardware Using a Jig Tool”

  1. Pingback: Painting Kitchen Cabinets – Part 1 of Kitchen Remodel – Lifestyle with Andrea

Leave a Comment

Your email address will not be published. Required fields are marked *