With Spring coming, I’ve been working on freshening up my house and home decor. Once I put away our Christmas decorations everything seemed a little bare. I was looking for something to add to my console table downstairs and decided a lamp would be a perfect addition. For a decent sized lamp, I was finding the minimum that I would have to spend was $60 or more. Since we mostly use our downstairs for entertaining and an occasional family movie night, I wouldn’t see the lamp much and didn’t want to spend a lot on it. I had been wanting to try a textured paint technique on a vase, so I thought it would be perfect to find a used lamp and do this easy DIY upgrade on it.
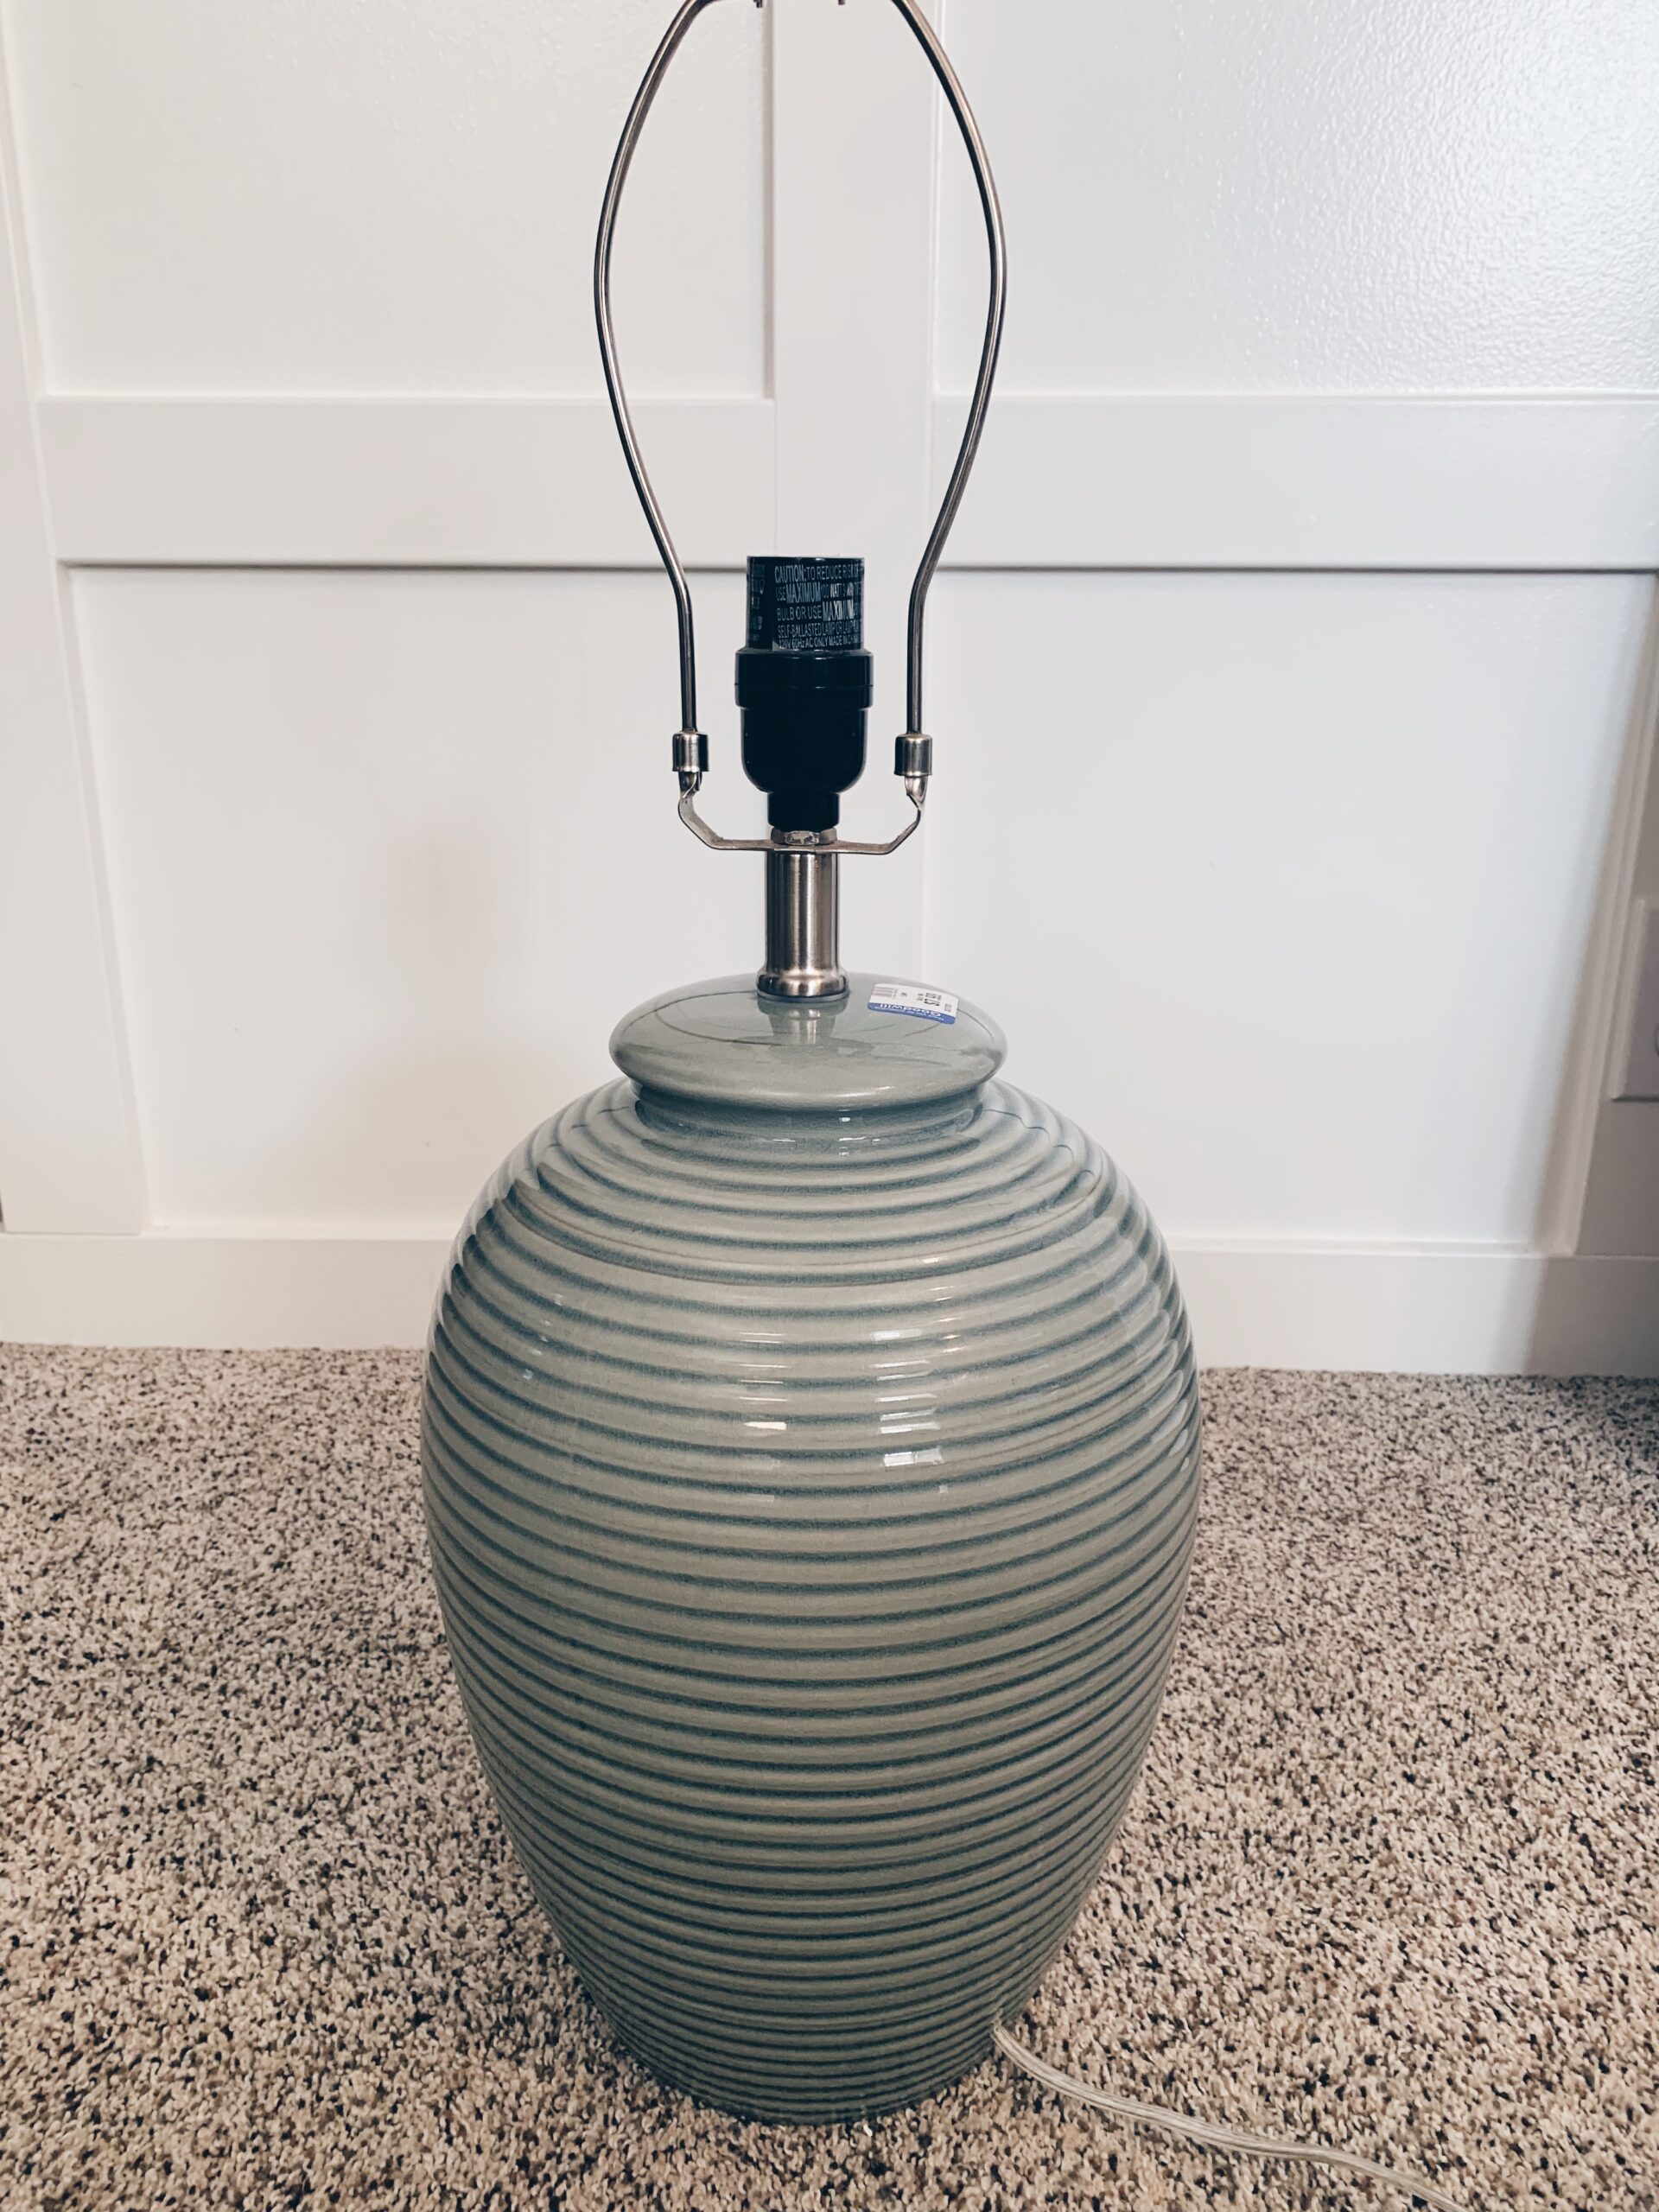
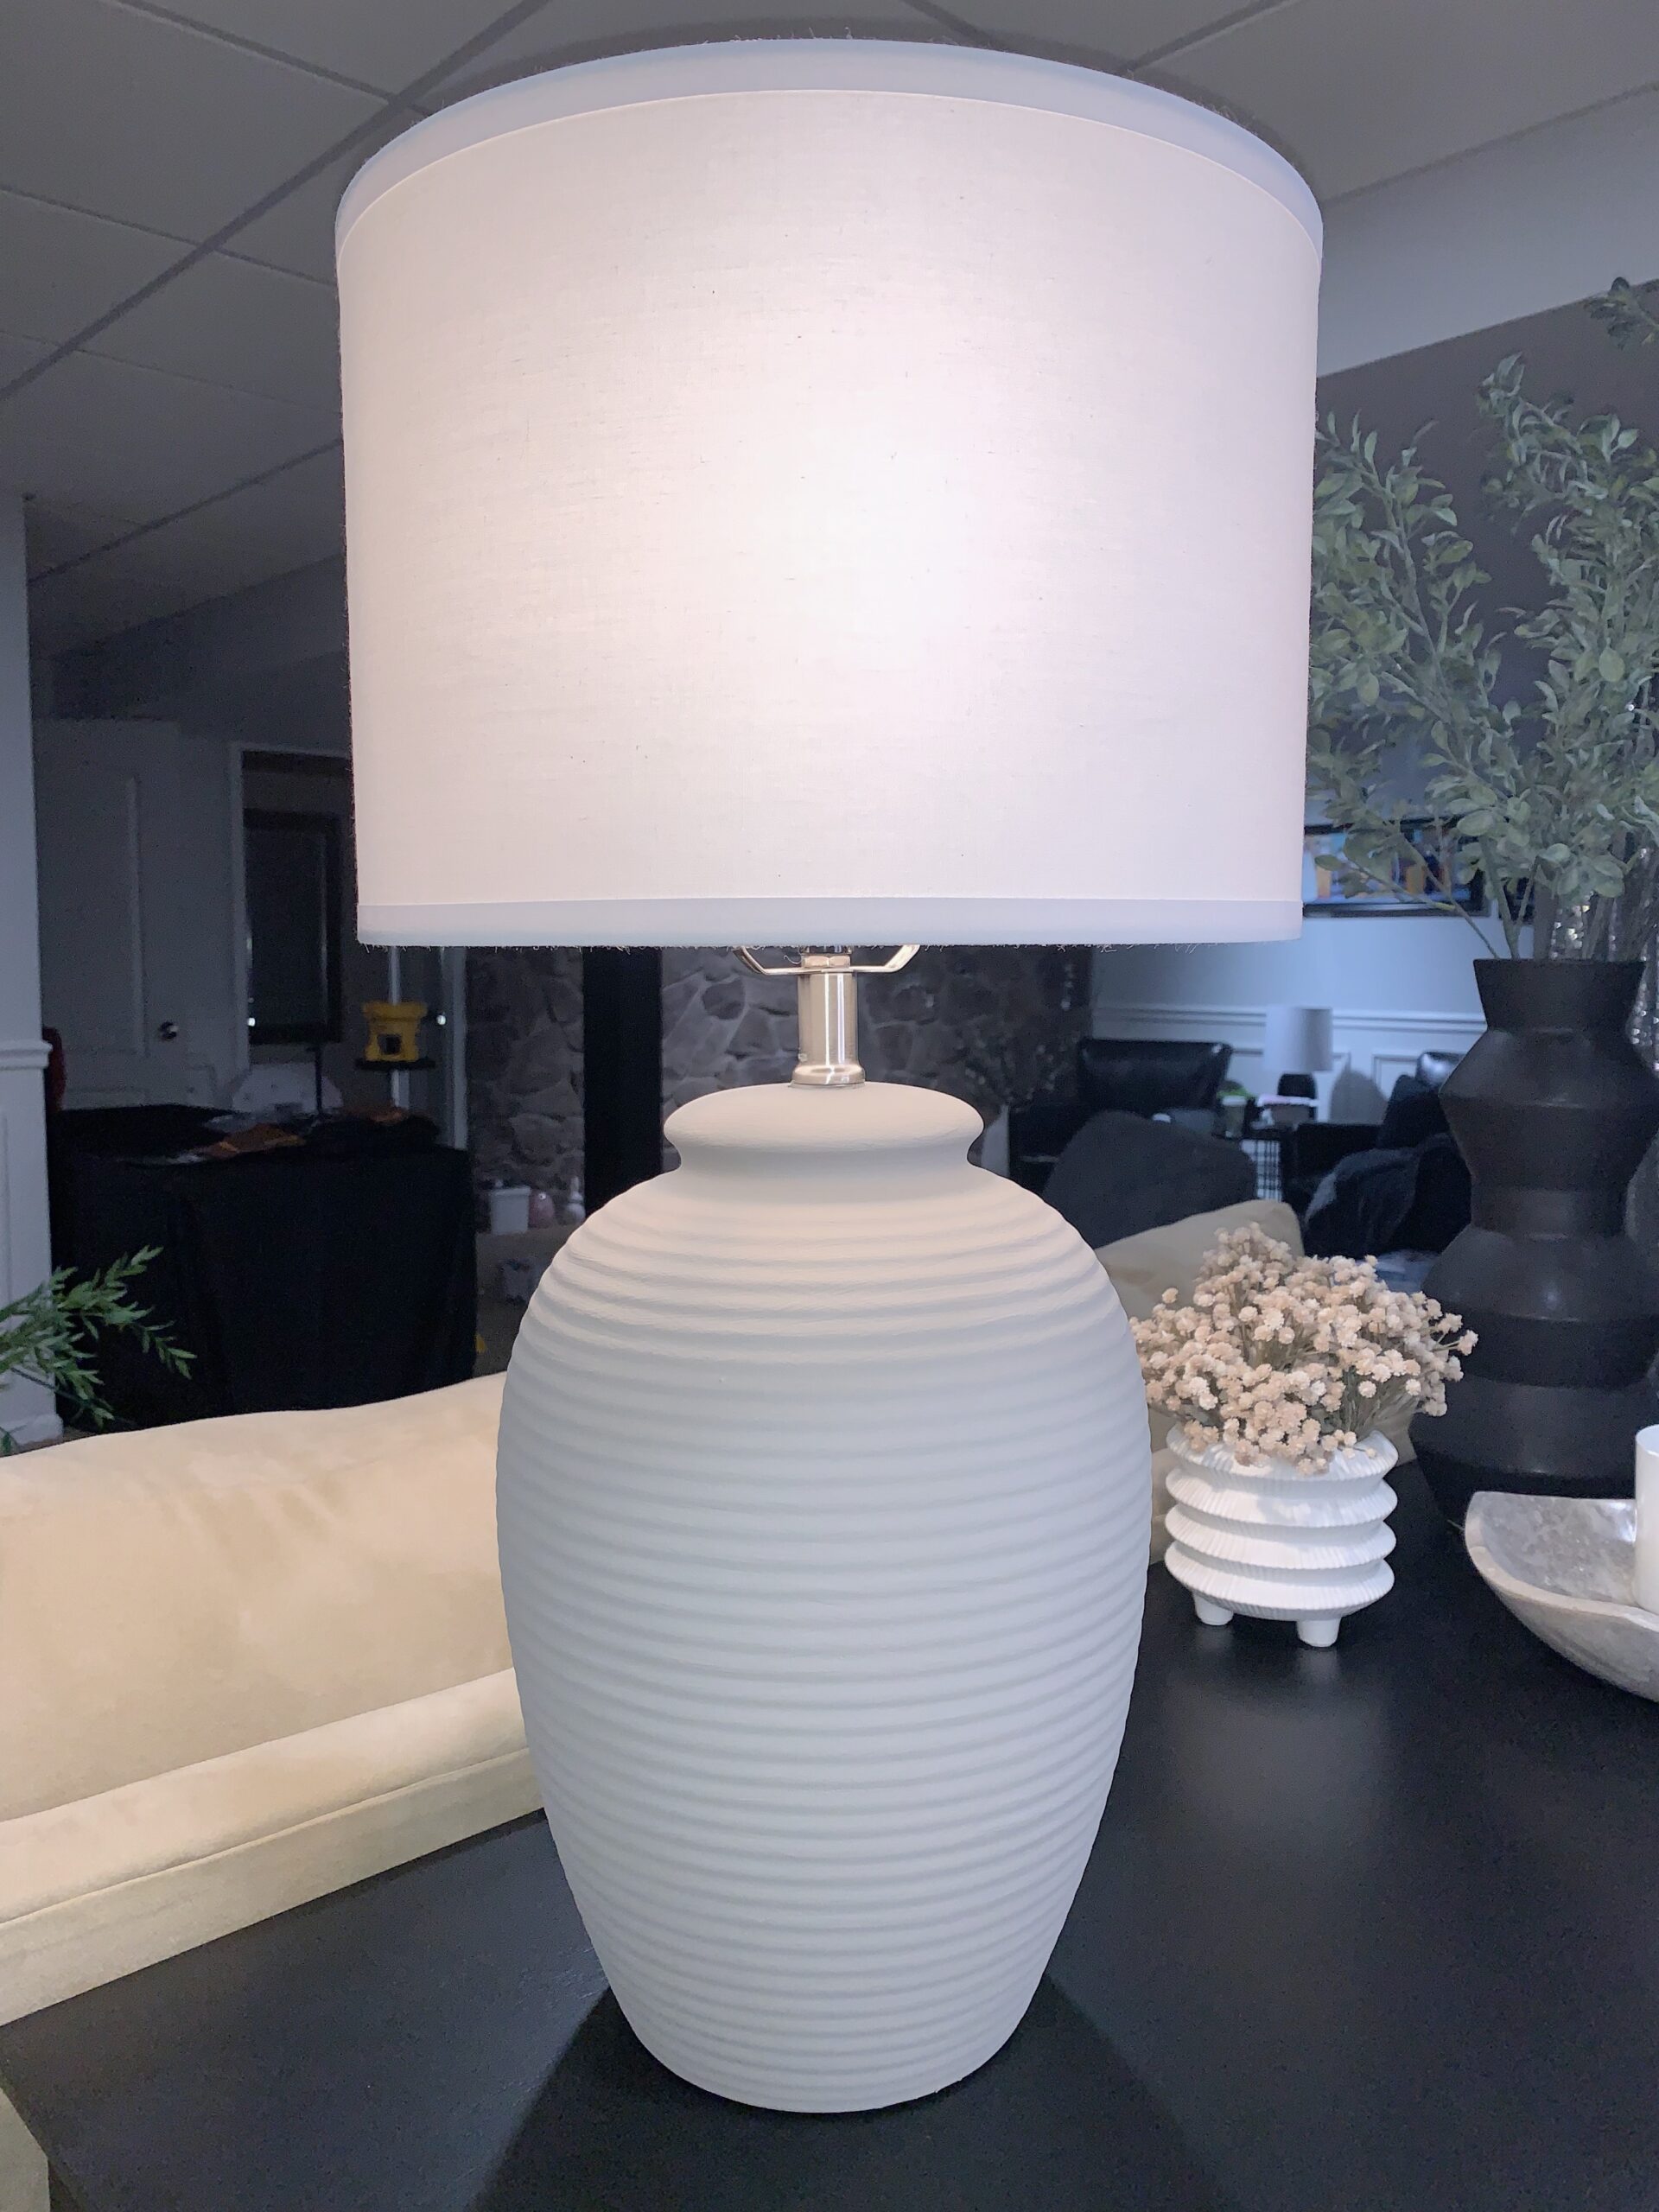
I only had to make one trip to Goodwill and ended up finding the perfect lamp – it was the right shape and already had some texture. For only $9 it was mine!
The process of upgrading my lamp only took about 30 minutes total (not including dry time between paint coats). It ended up costing me a total of $25 since I already had most of the materials I used.
Materials:
Lamp
Paint – I used leftover latex paint from a bathroom project, but you could use acrylic paint as well
Baking Soda
Paint Brush
Sandpaper
Step 1:
Clean your lamp. I just used Windex and paper towel to wipe down the lamp base.
Step 2:
Sand the lamp. We already had our orbital sander out for another project, so I used that with 60 grit sandpaper. You can also use a piece of sandpaper or a sanding block for this step. This helps to create a physical bond for the paint and helps it to have something to grip onto.
I then wiped it down with a damp cloth.
Step 3:
Mix your paint with some baking soda. I initially had intended on measuring out the paint and baking soda according to some recommendations I found online – 1 cup of paint to 1/4 cup baking soda. I didn’t need a full cup of paint for my project, so I ended up just pouring some paint into a solo cup and adding a spoonful at a time of baking soda until the paint was the texture I liked.
Step 4:
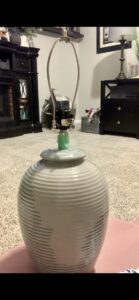
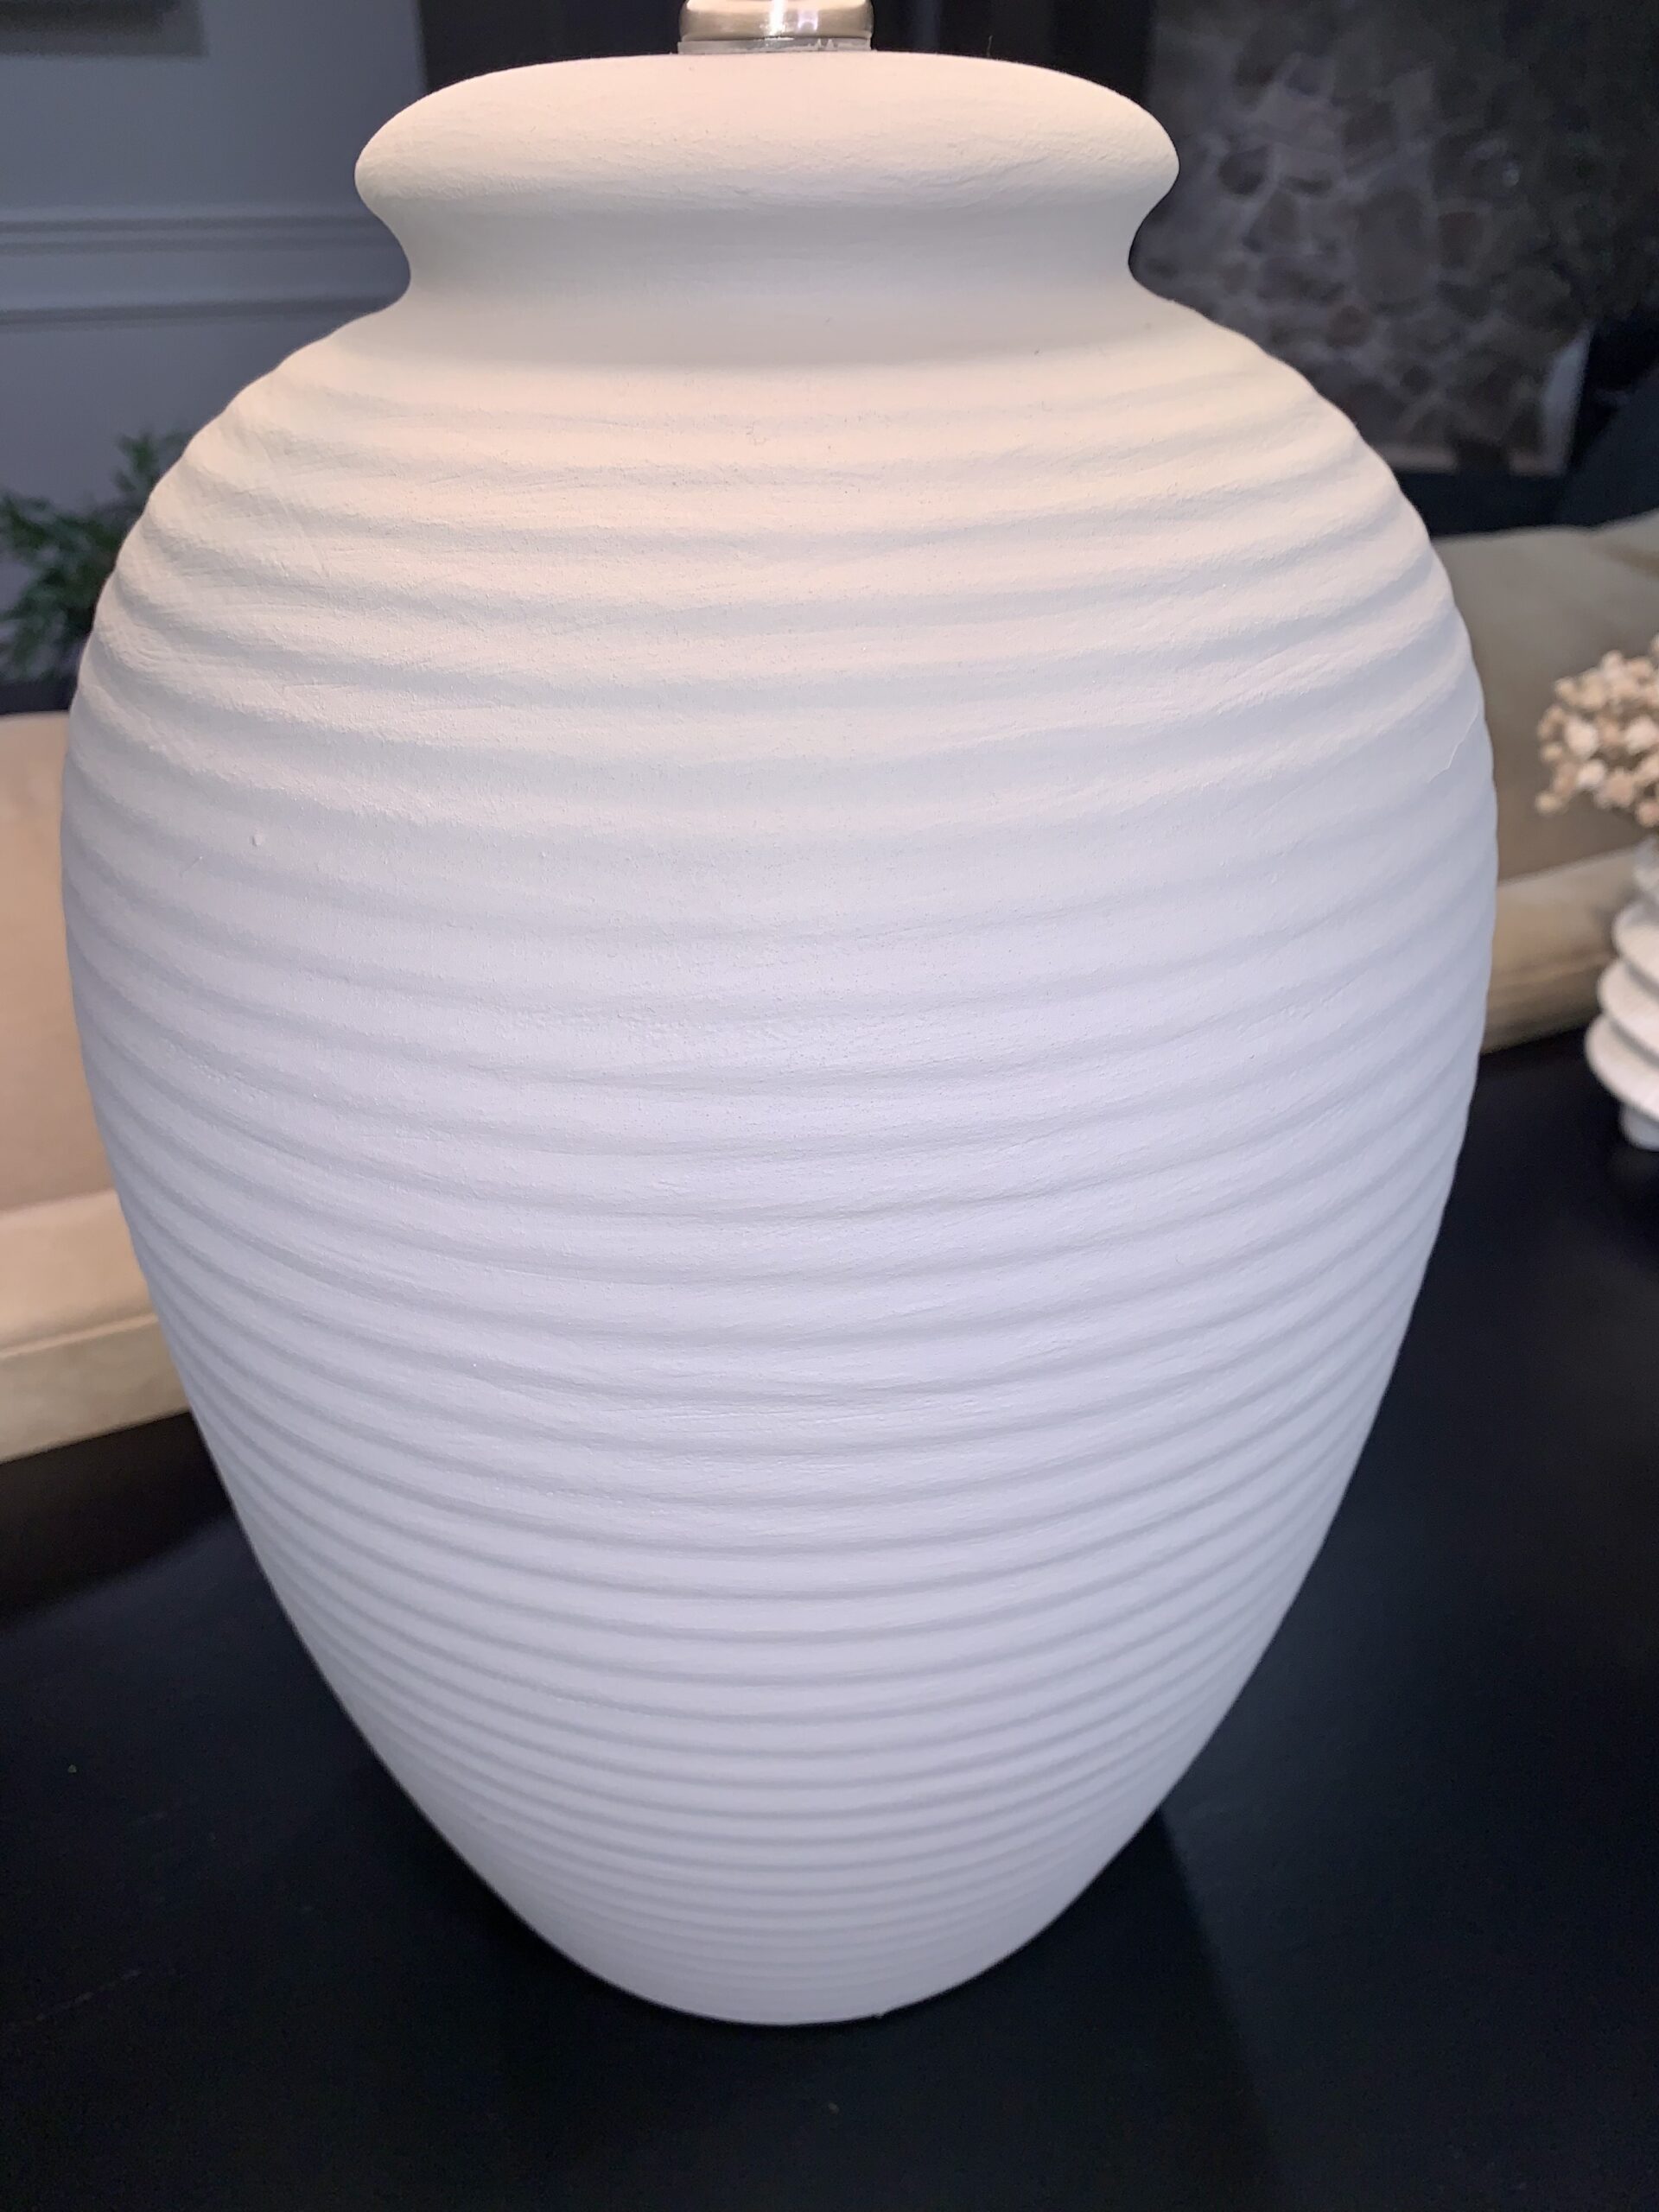
Time to paint your lamp base! I used my son’s paint brushes that had rough bristles to add more texture as I was painting. I had gotten out some foam brushes, but I didn’t end up using these. Because I wanted a textured look, I didn’t worry about brush strokes showing. I let the paint dry overnight and then painted a second coat. I had made up enough paint for two coats so to save my paint mixture, I covered the cup with foil and stored it in the refrigerator overnight.
Step 5:
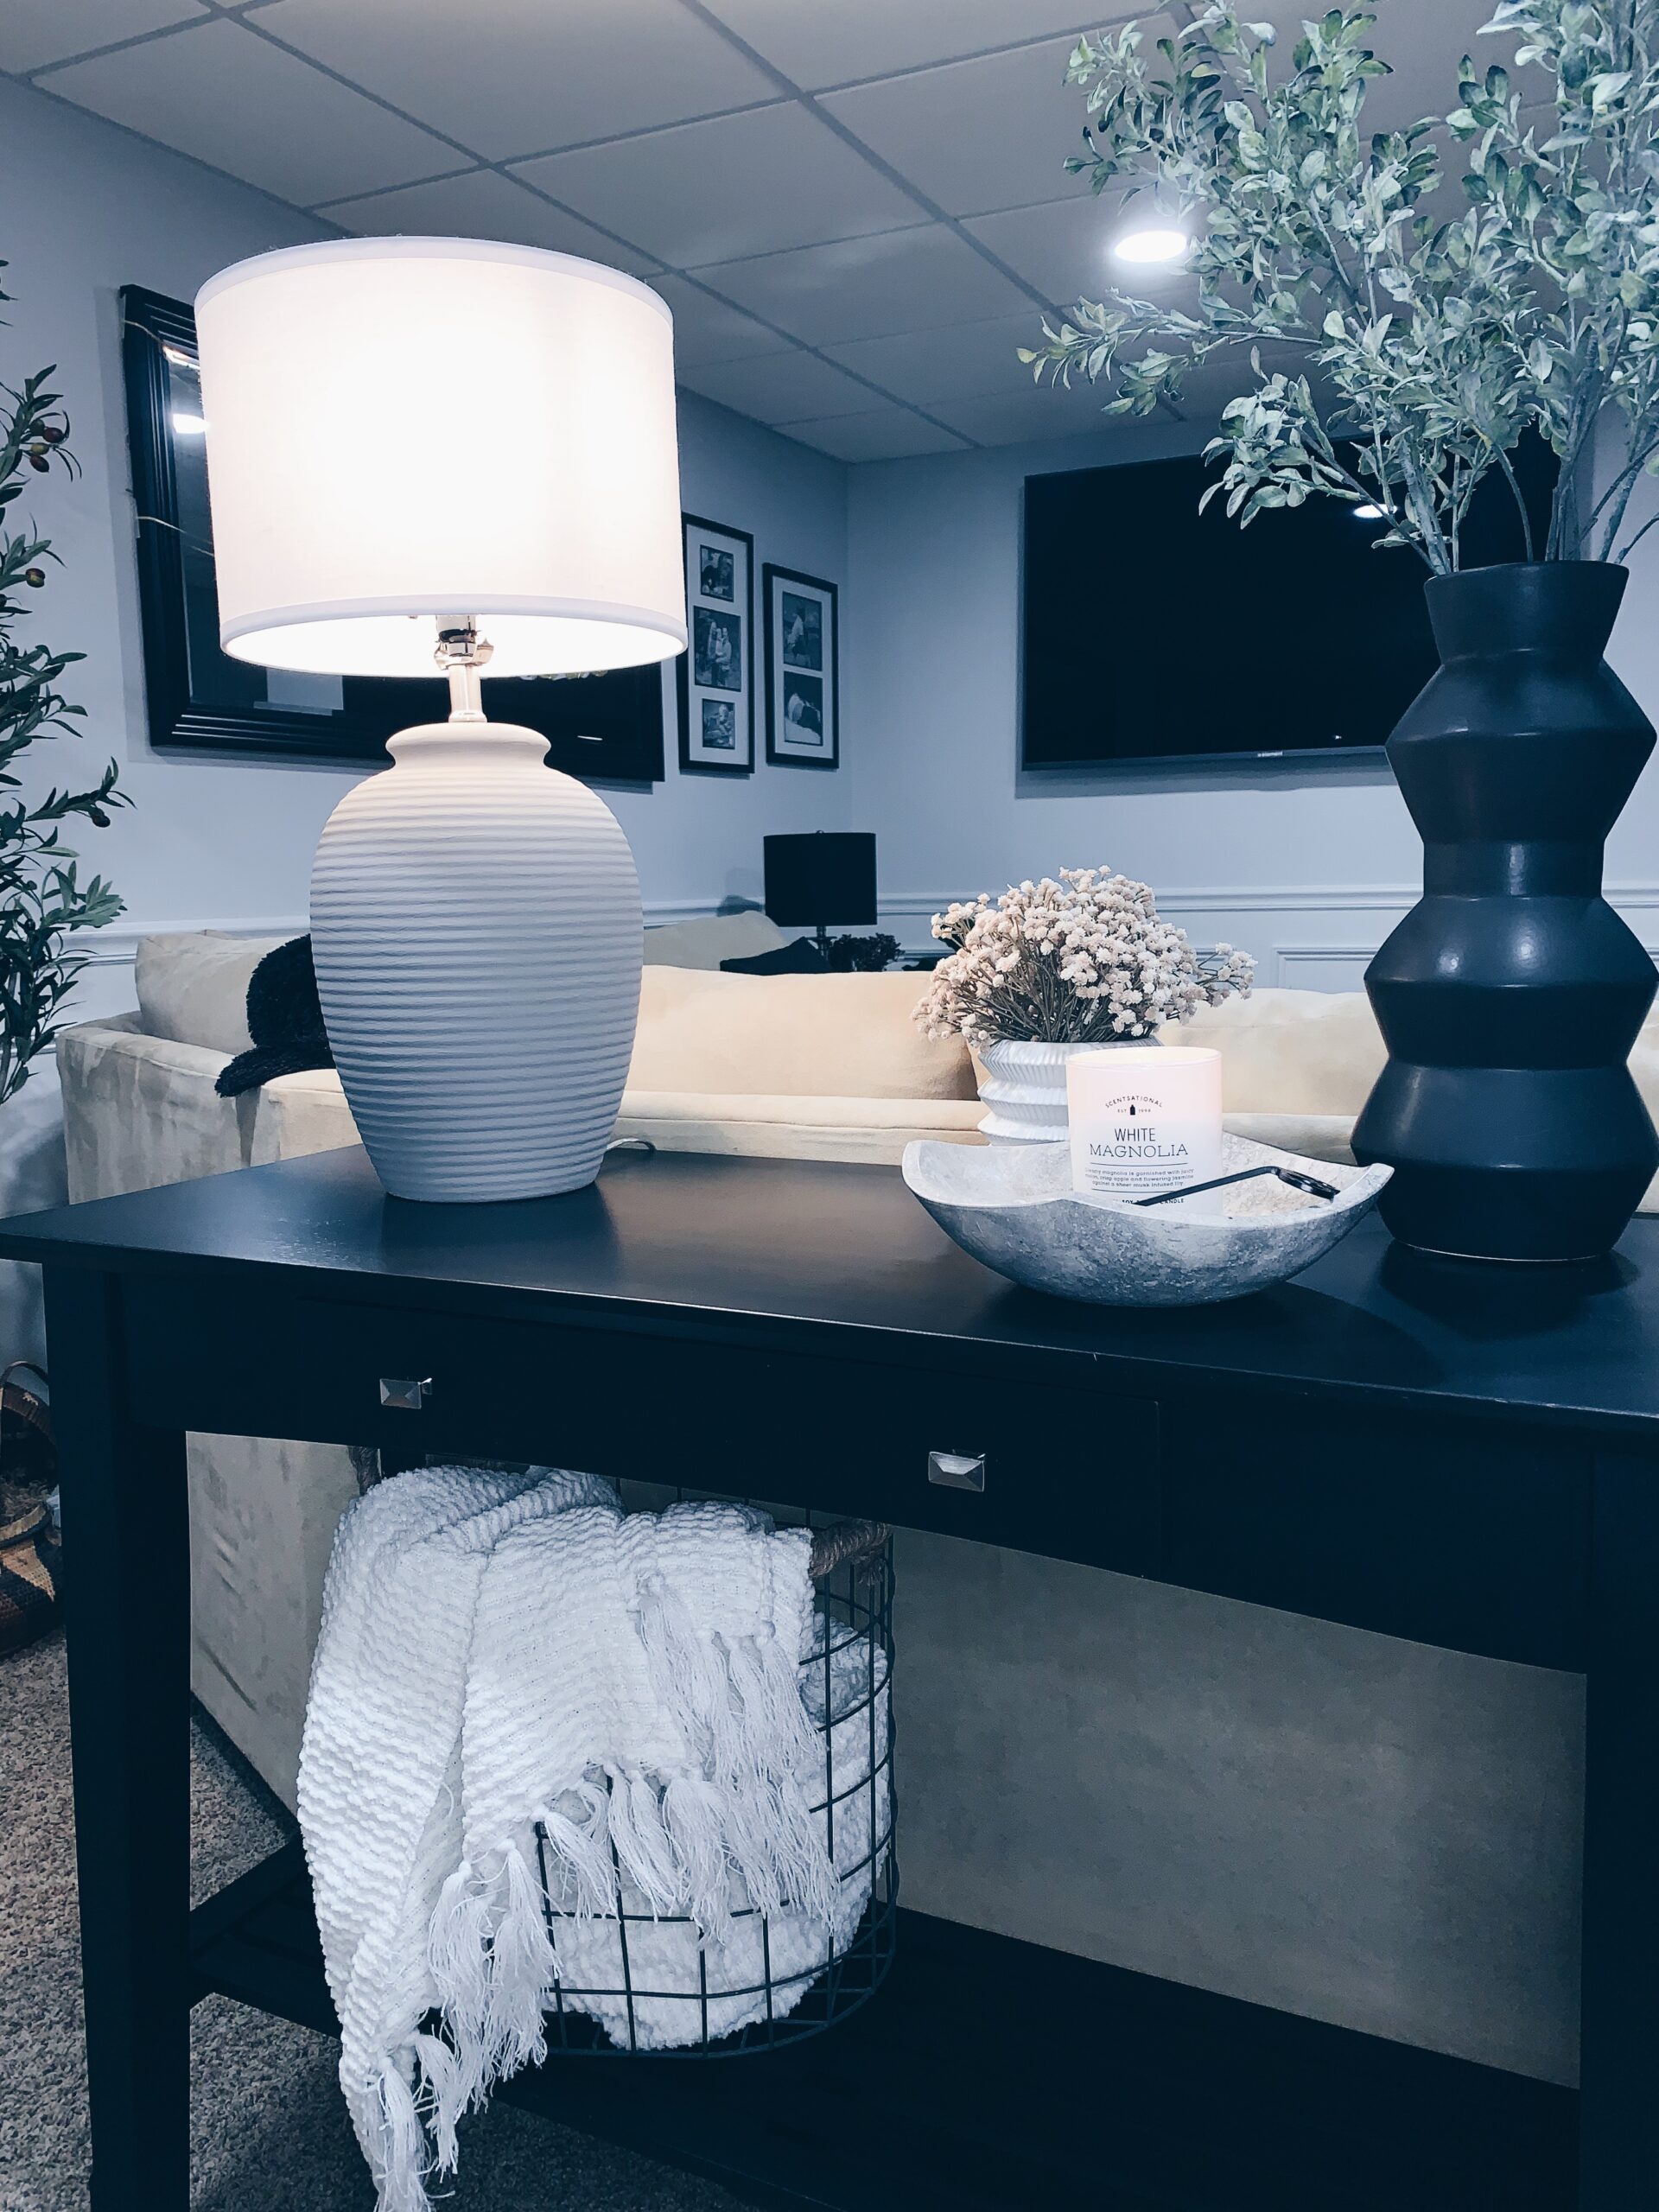
The last step…I needed to find a lamp shade. I ended up finding one at Home Goods for only $15. Another store I found that had decently priced lamp shades was At Home.
The best part about this project is you can make it unique to fit your style and decor. I thought about adding darker paint “splotches” to give it an aged look – similar to a lamp I saw at Pottery Barn – but I decided I’m going to try it out on a vase first. I already have the vase, so I’ll be sure to post again once complete!
Let me know below in the comments if you have ever tried this easy home decor upgrade and share your creation!