Hey there! Some links on this page are affiliate links which means that, if you choose to make a purchase, I may earn a small commission at no extra cost to you. I greatly appreciate your support!
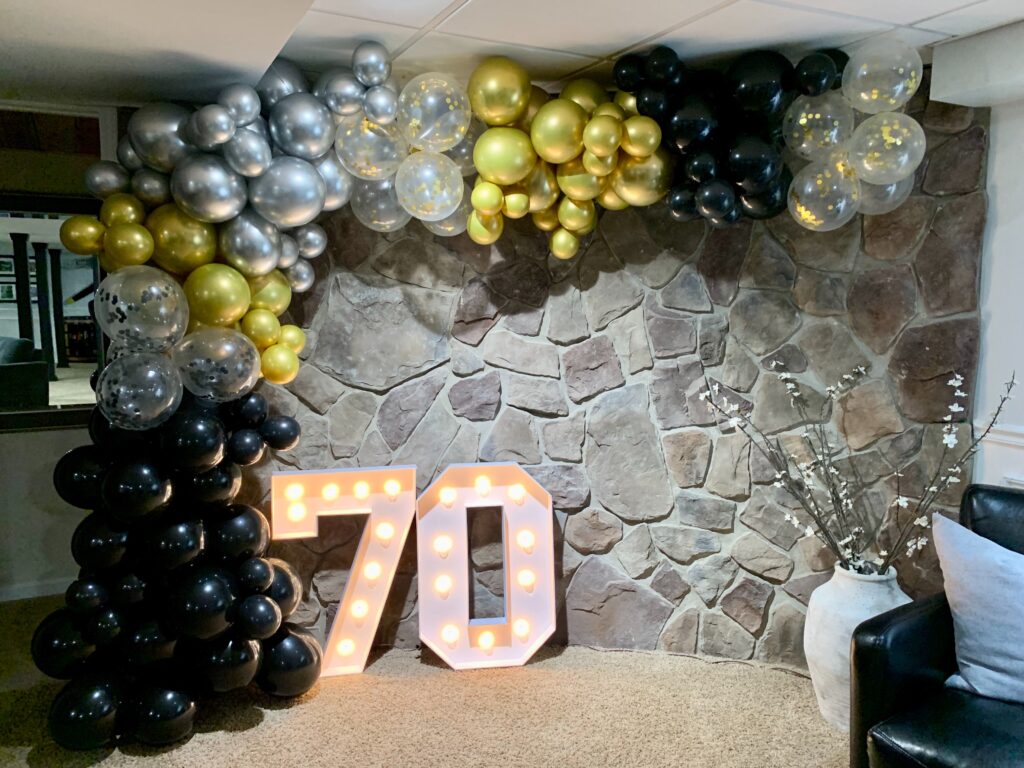
These DIY light up marquee numbers are the perfect addition to any party. They are 2.5 feet tall, easy to make, and cost me less than $20!
We just threw a 70th surprise birthday party for Sean’s parents’ birthdays this month and I had always wanted to try and make light up marquee numbers. Without much direction, except for looking at some pictures on Pinterest, I kind of just made this up as I went. I took some pictures along the way to show you the process.
Materials:
Foam board – I used a total of 3 boards for 2 numbers…one for the background of each number and one for the sides)
String lights – I like the rounded shape of these lights that I found in the garden section at Walmart
Hot glue gun with glue sticks
Utility knife
Ruler or tape measure
Drill – I used this to drill the holes for the lights, but you could also use a screwdriver to poke through the foam board
Step 1:
I started off by creating templates for my numbers. I cut out two pieces of paper that were a scaled down version of the foam board. Each “tick” on my paper template equaled an inch on the foam board. I just hand drew these with what I thought looked right. My templates are pictured, but I know you can find number templates online as well.
Step 2:
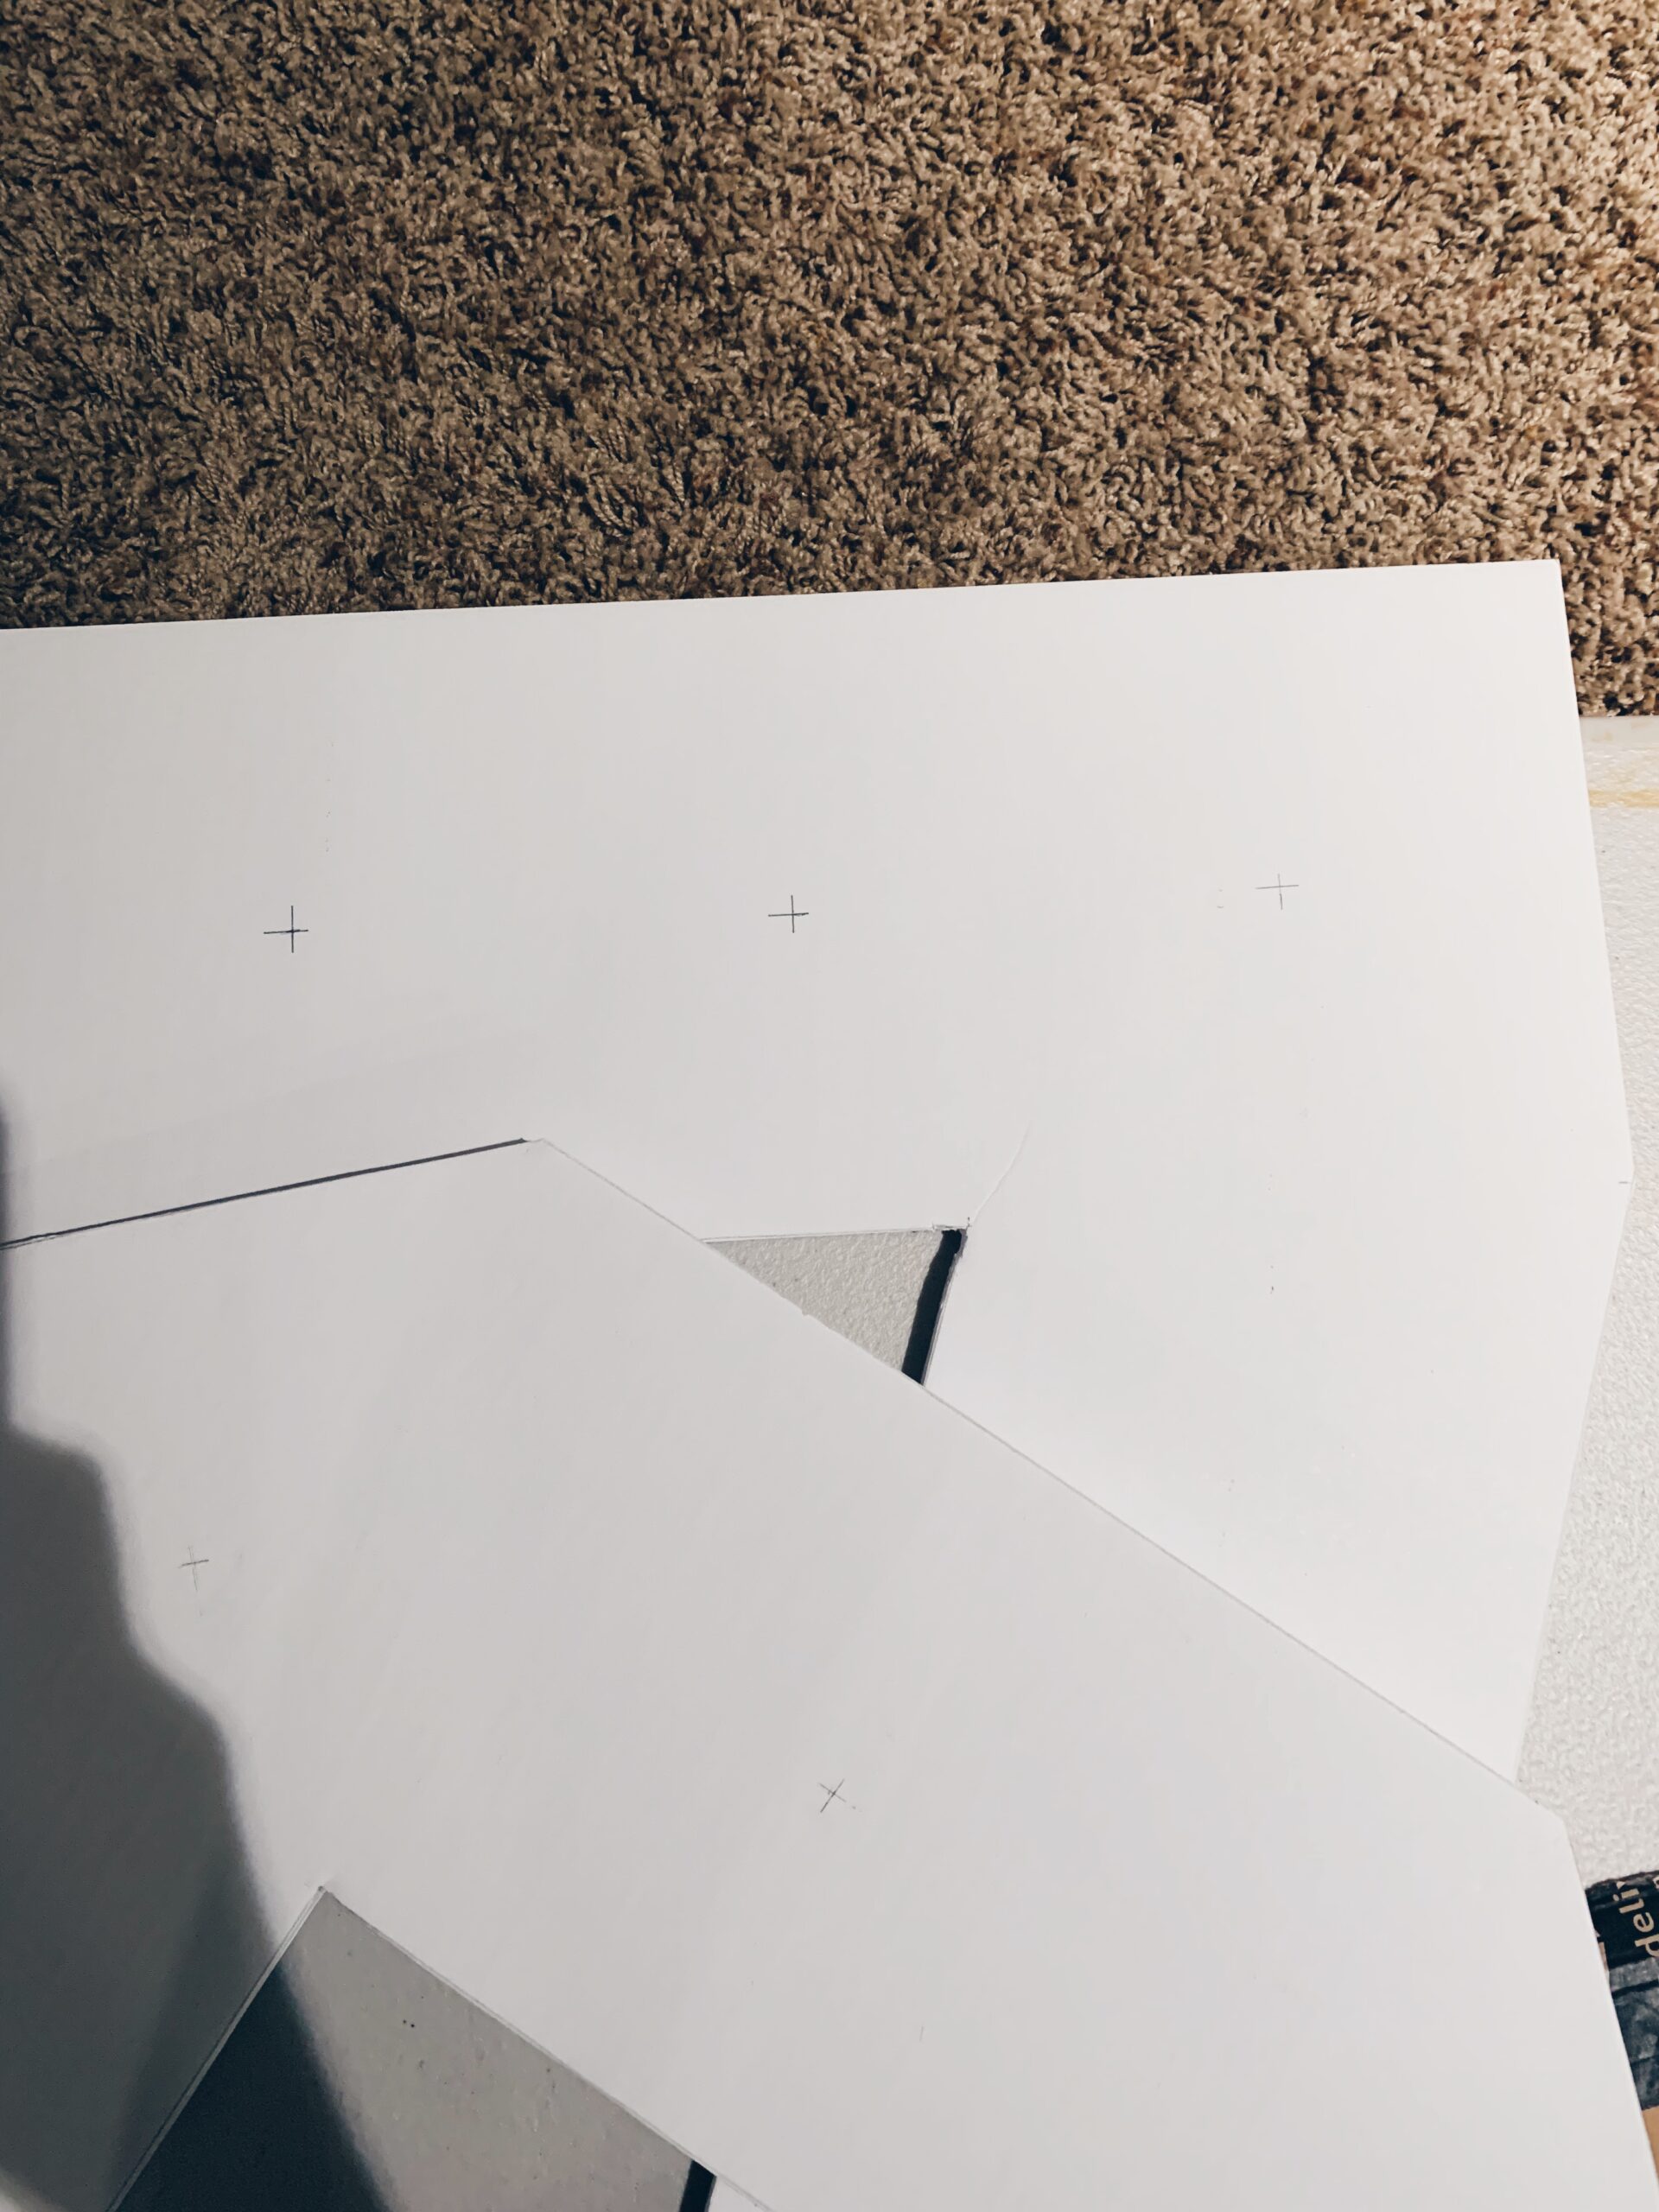
Next, I measured the numbers out on my foam board and drew the outlines with pencil.
Step 3:
I laid down some cardboard under my foam board and used a utility knife to cut the numbers out. Don’t throw away any scraps yet!
Step 4:
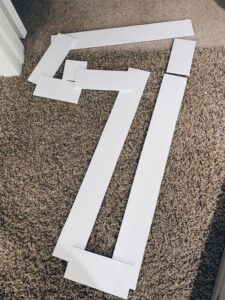
Using the scraps and the third piece of foam board I cut out 3-inch strips to use for the sides of my numbers. I cut these down to the correct size for each side of my number. I had decided to make my zero with straight edges as I thought it would be easier than trying to curve the foam board.
Step 5:
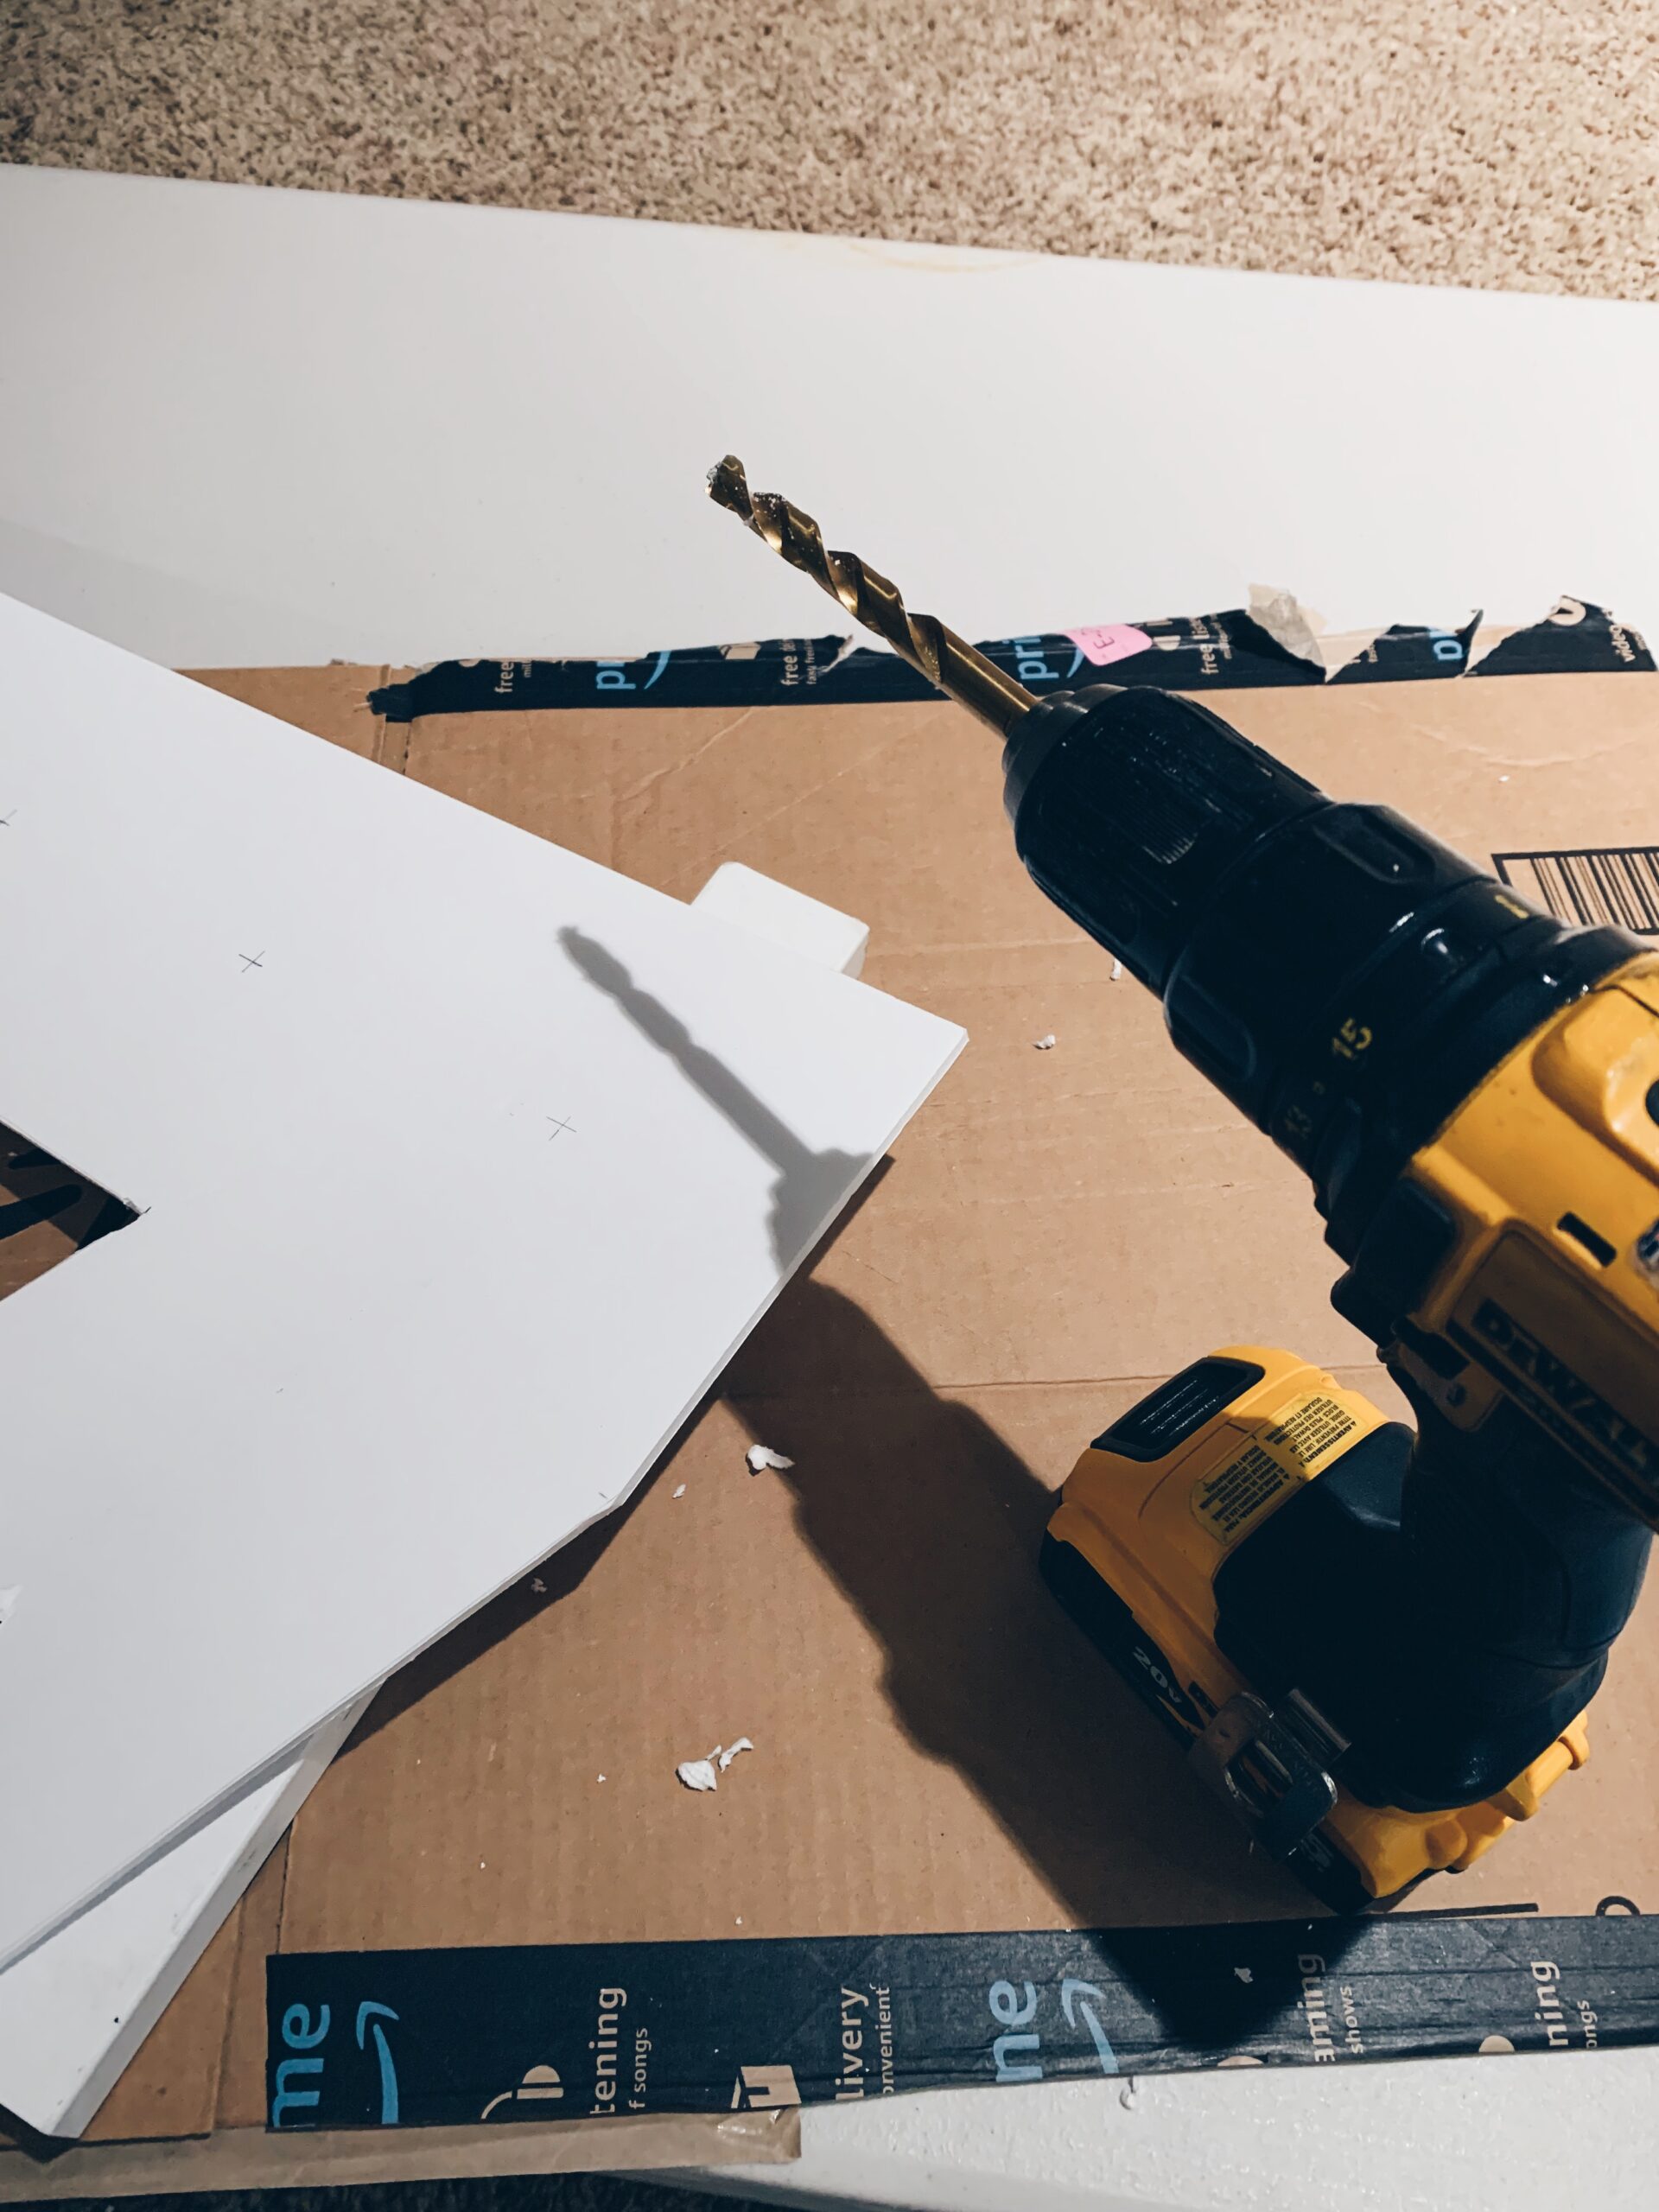
Before gluing on my sides, I decided to try and drill out my holes for my lights. I was using only one string of lights (total of 20 lights per string) so I eyeballed the spacing to add 10 lights to each number. I ended up with only 9 lights on my #7.
After marking the spacing, I put a piece of wood underneath the foam board and drilled at the marks.
Step 6:
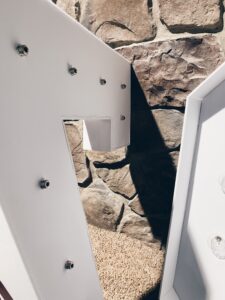
Next, I started gluing the 3-inch sides one by one to each number. Luckily hot glue tends to dry fast, so I only had to hold each side in place for a few seconds. On the corners I added a thin strip of glue to try and make sure the sides stayed together.
Step 7:
Luke wanted to help with this whole process, so he got to push all the lights through the foam board.
Once we plugged in the lights, Luke immediately said “Good job Mama, your numbers look beautiful!”. That was enough applause for me to feel great about them.
They ended up being a huge hit at the party and really added that extra glamourous feeling to my balloon arch wall!
Let me know in the comments if this inspired you to try this DIY project out, I’d love to see your pictures of the finished product!
2 thoughts on “DIY Light Up Marquee Numbers”
Megan
Could you share your template for the numbers by any chance?


Could you share your template for the numbers by any chance?
Hi Megan! Yes, I can share a template. Are you looking for “70” or additional numbers?