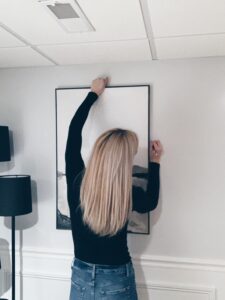
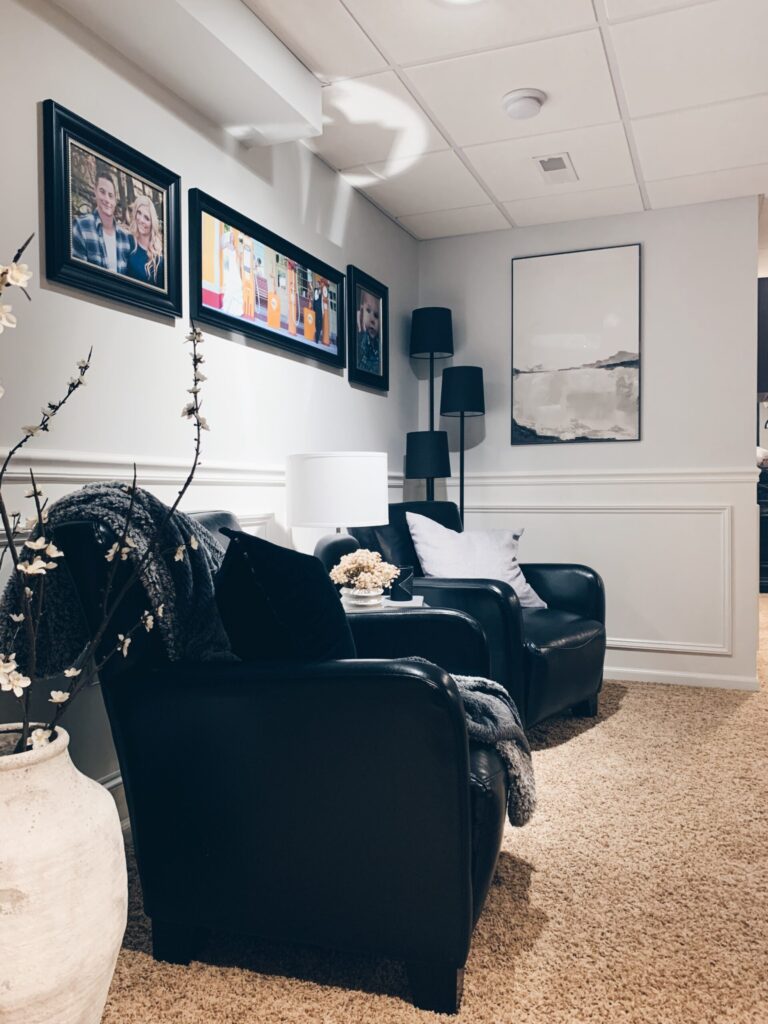
If you’ve ever had to hang a picture with the double hooks, you know it can turn into a frustrating task leaving multiple holes in the wall and maybe not even ending up with a level picture. Since my husband dislikes hanging pictures even more than I do I had to learn an easier way.
For this trick you will need a level, measuring tape, pencil, and a marker (I used a dry erase marker). You’ll of course also need the hardware you’re using and your picture.
Step 1:
First hold the picture up on the wall to make sure it fits and to get an idea of where you want it positioned. Once you have this figured out, using your pencil make a small mark on the wall at one side of the picture near where the hook is at.
Step 2:
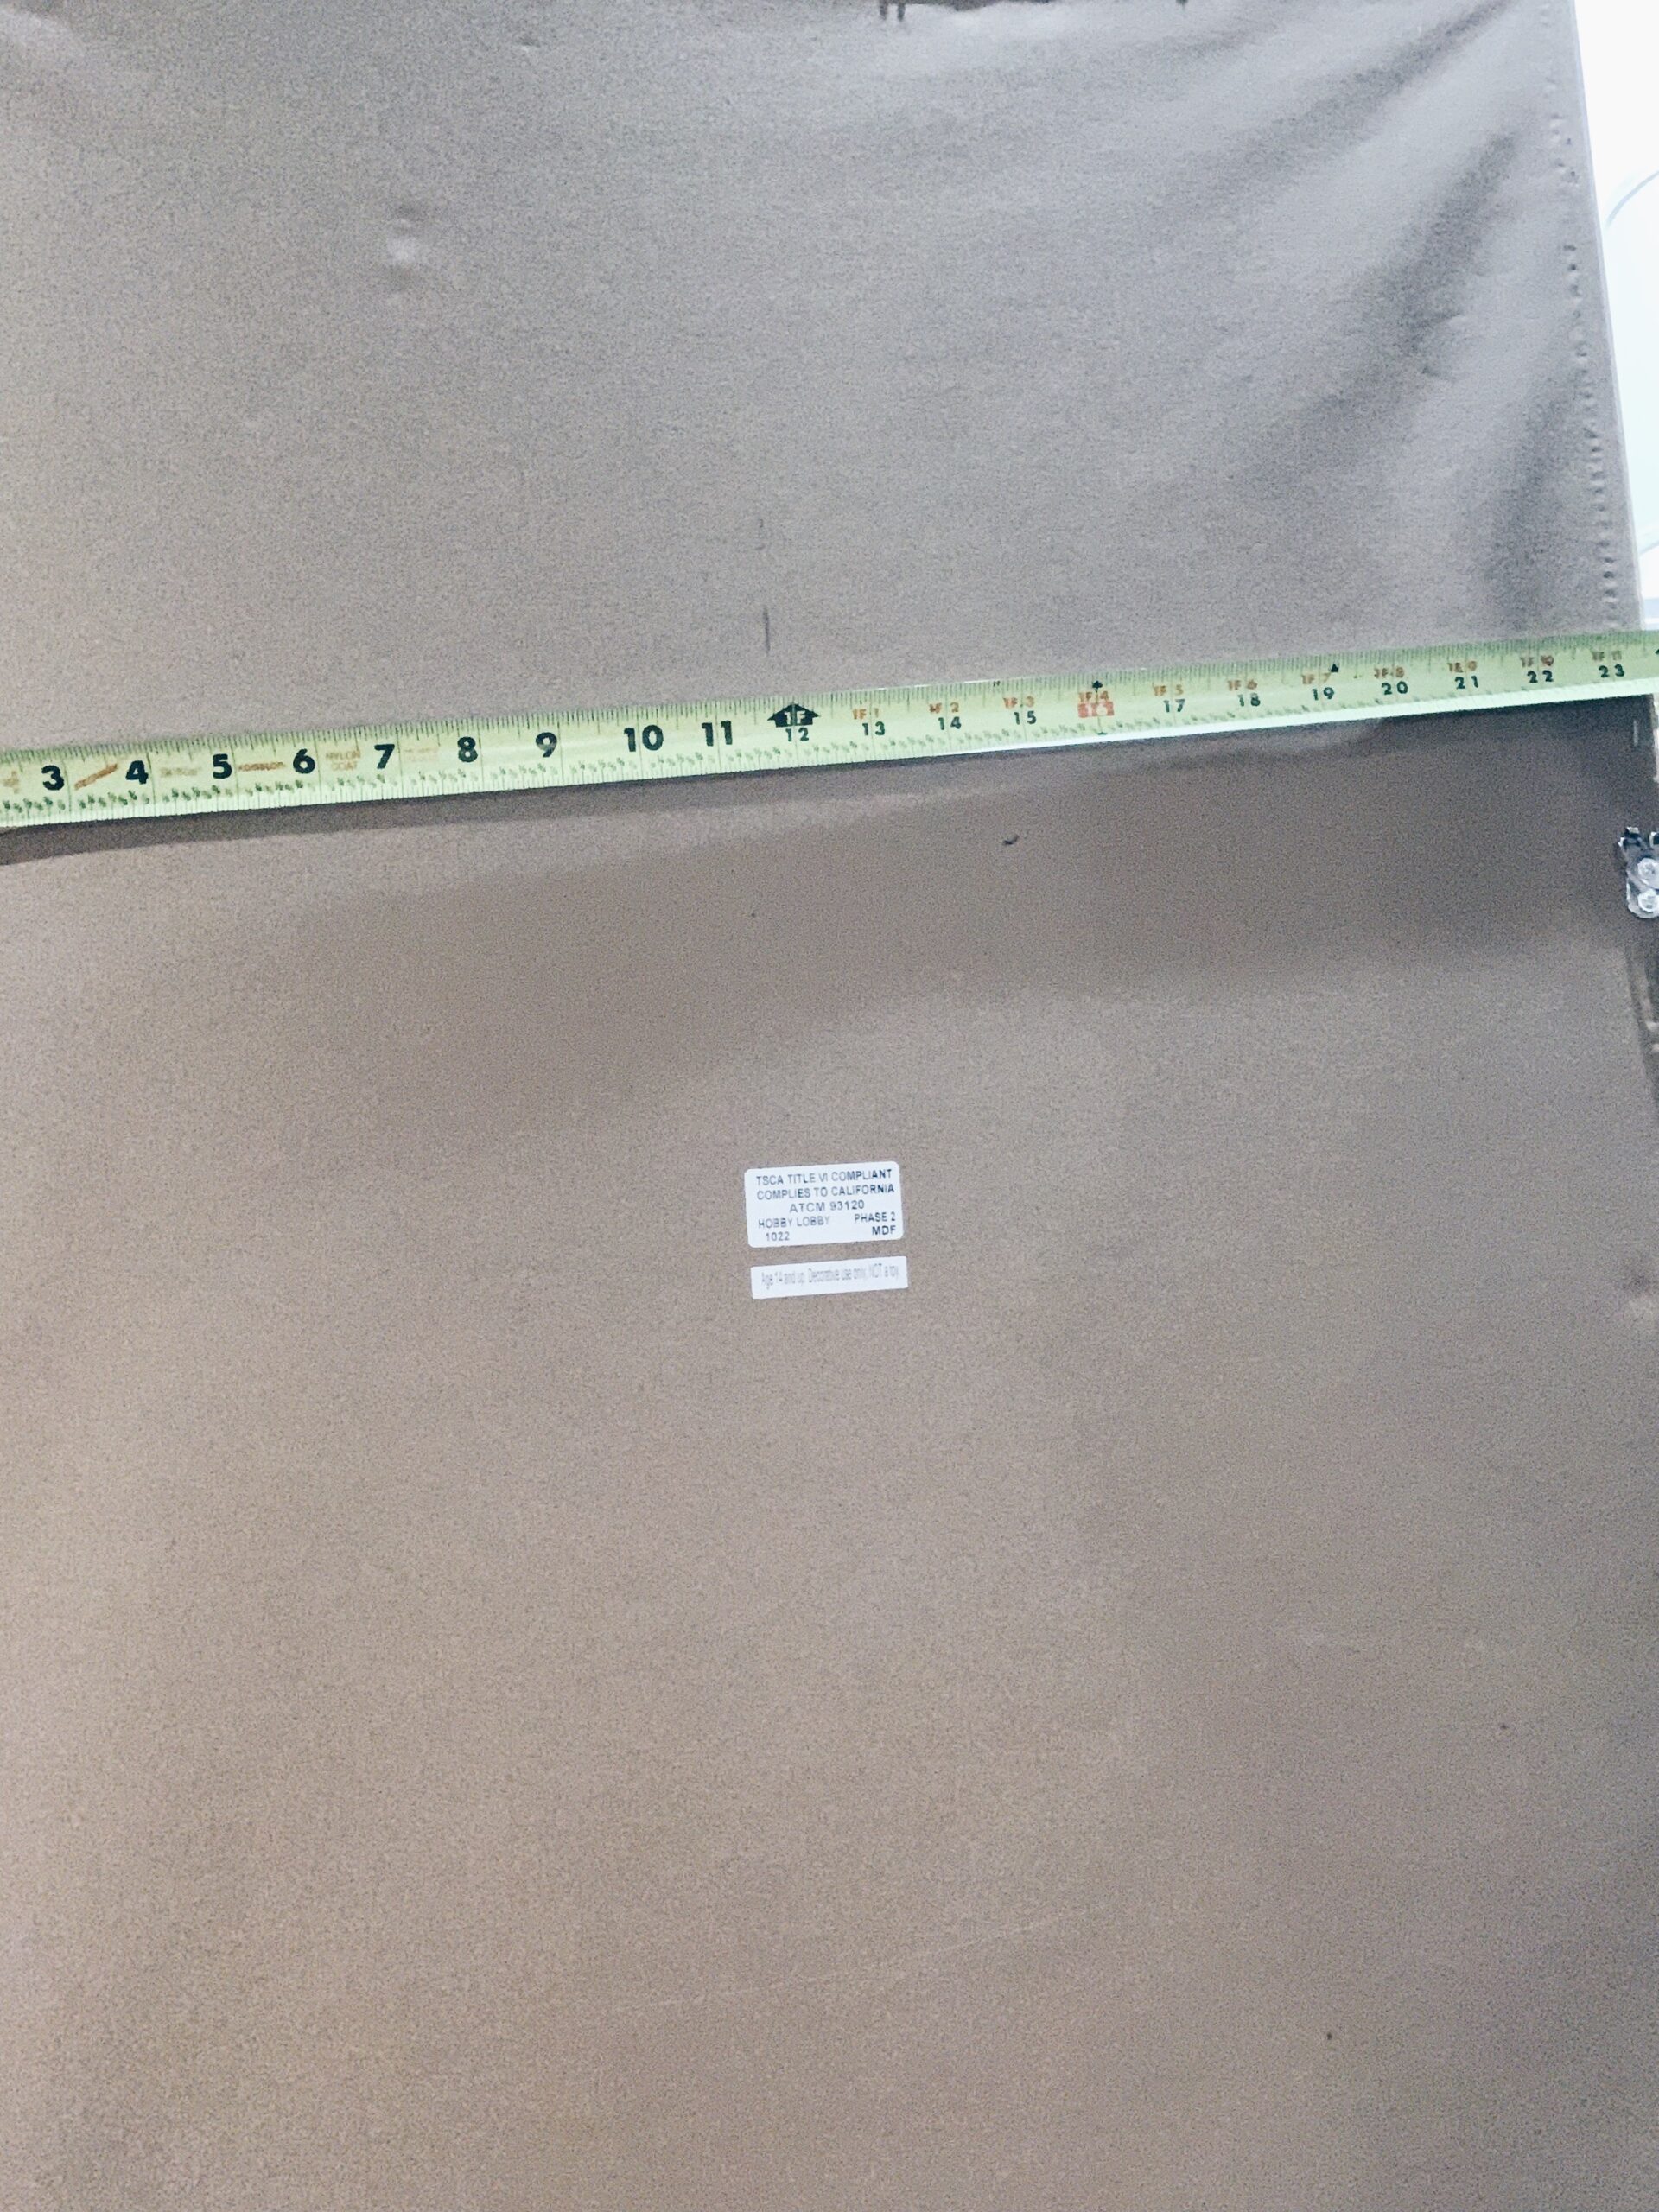
Measure the width of your picture and divide by two to determine the center.
On the back of your picture, measure and mark the center.
Then using this same number, measure over from the mark from Step 1 on the wall to mark where the picture center will be on the wall.
Step 3:
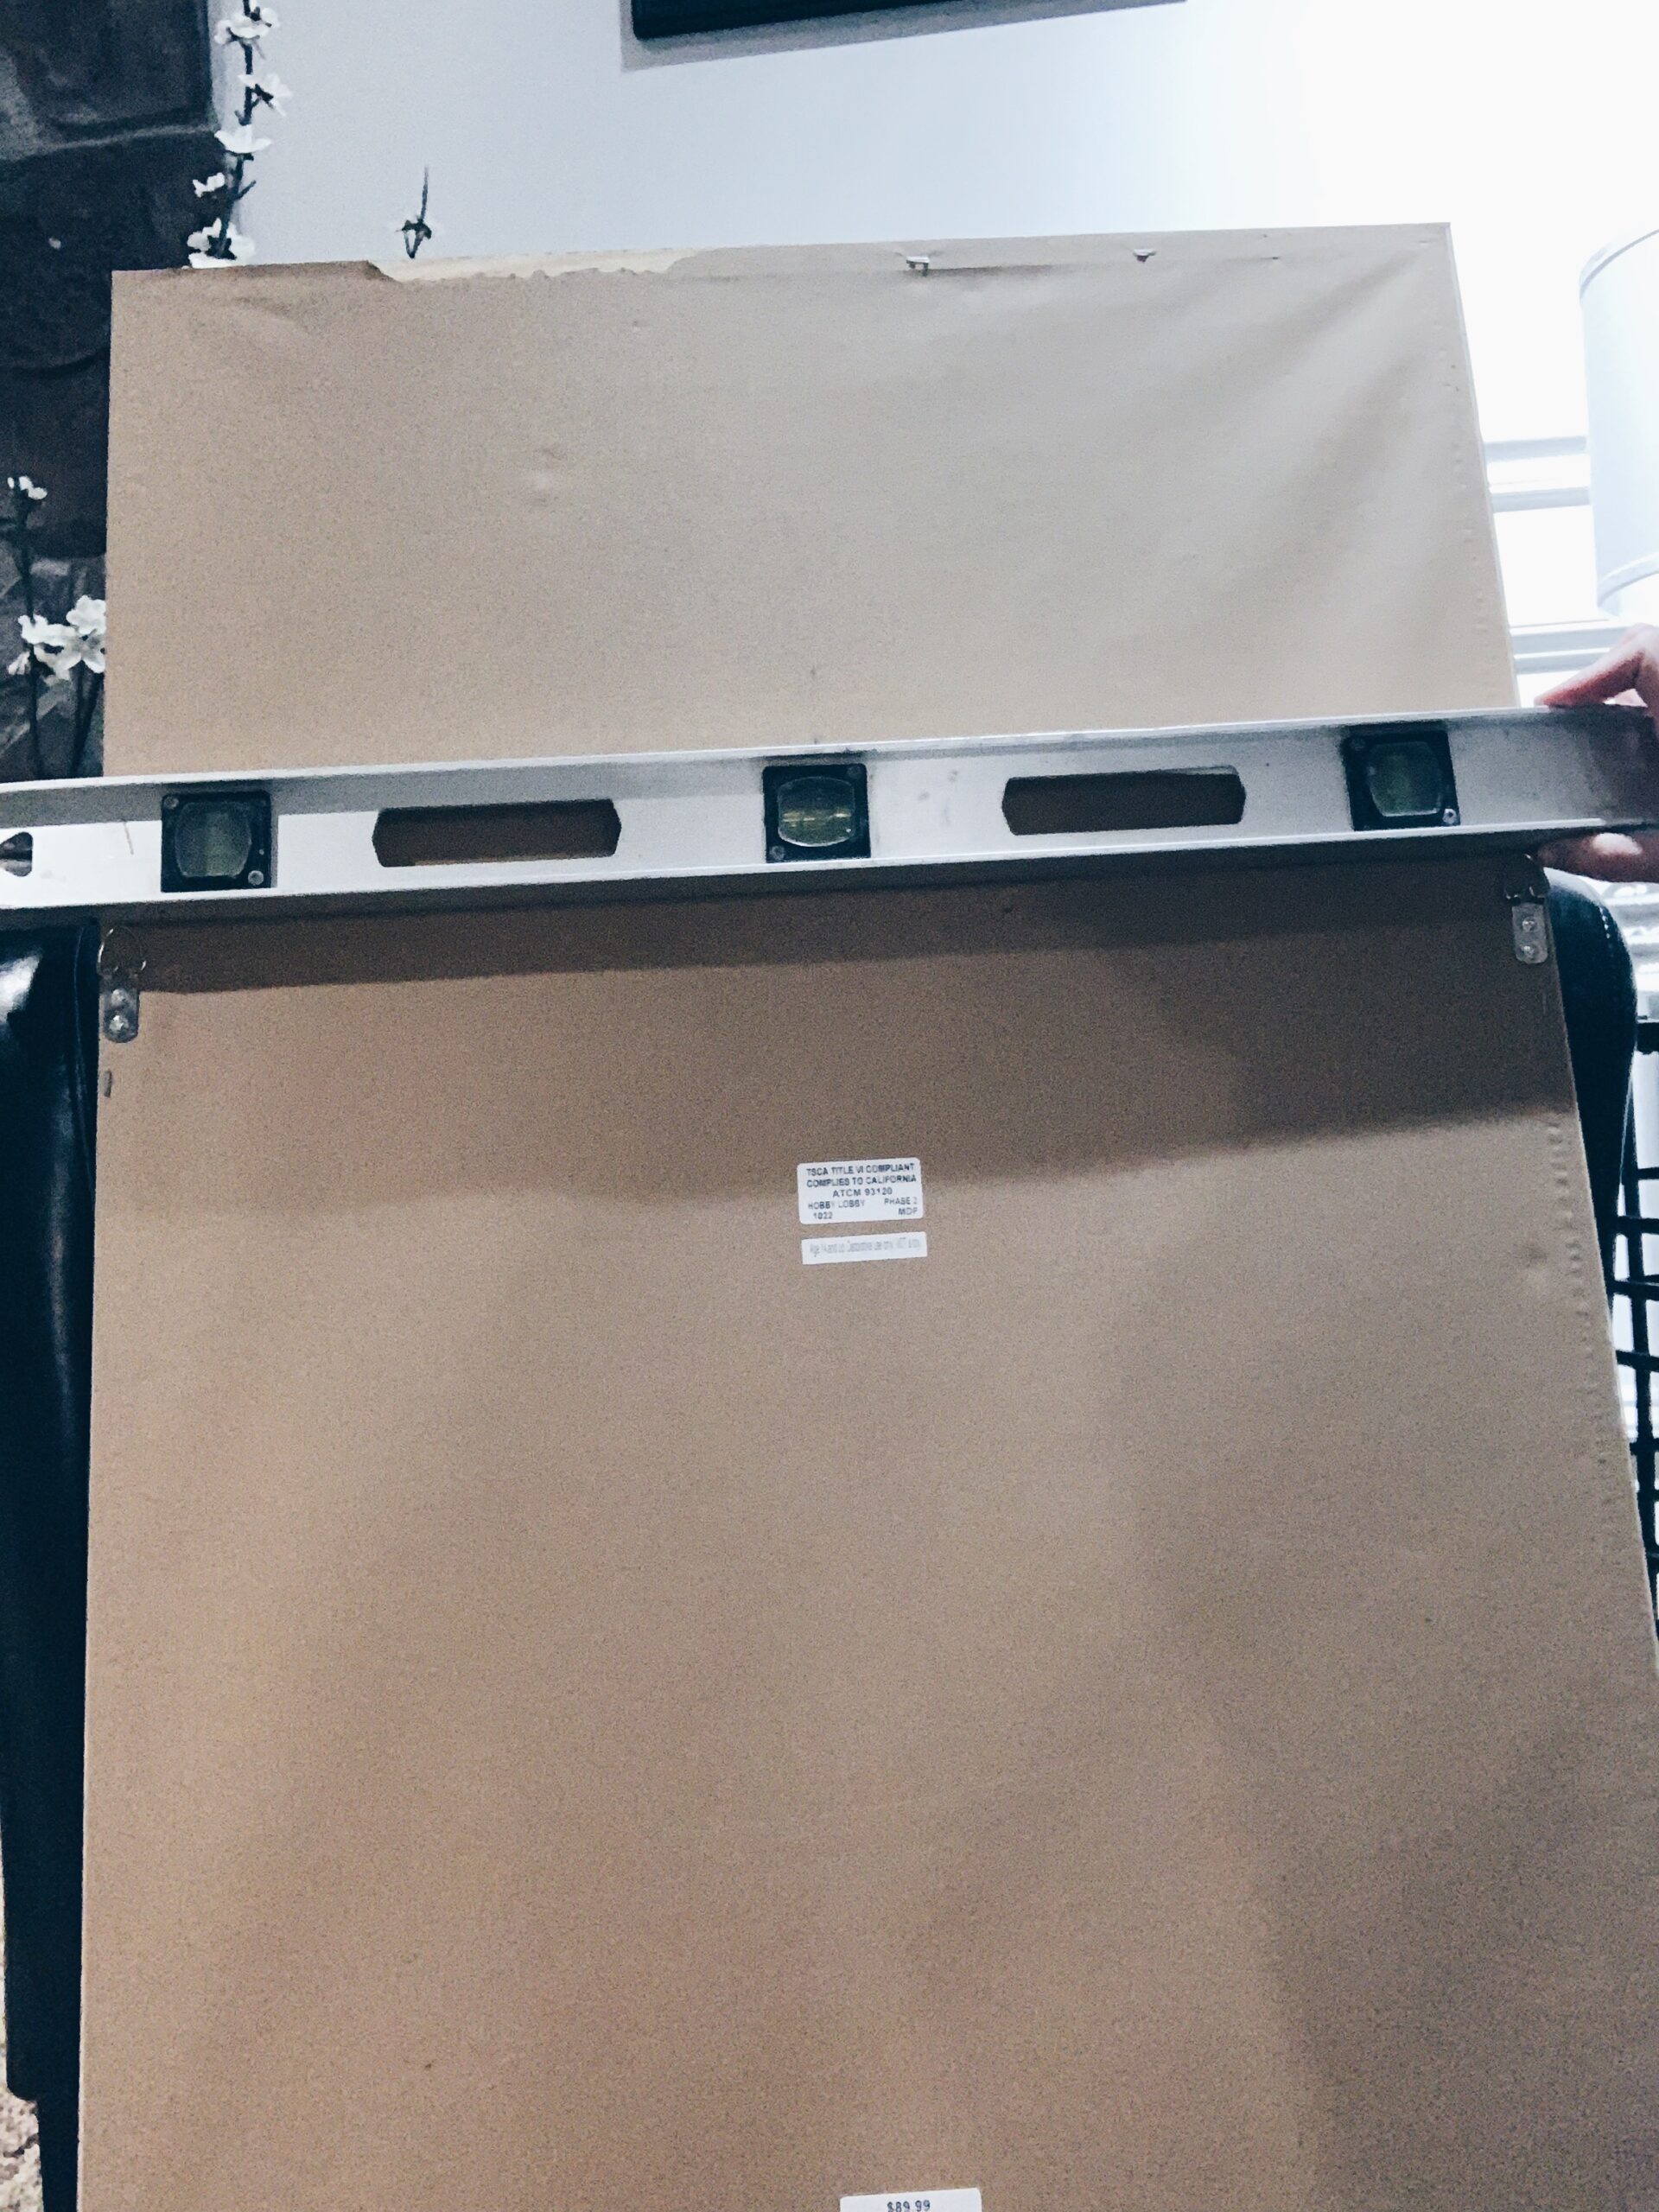
Place your level on the back of your picture, setting it just above your hooks. I have been lucky enough to have my hooks always be level on my picture.
Using the marker make a small mark on your level at the center point and a mark at each of the two hooks.
Step 4:
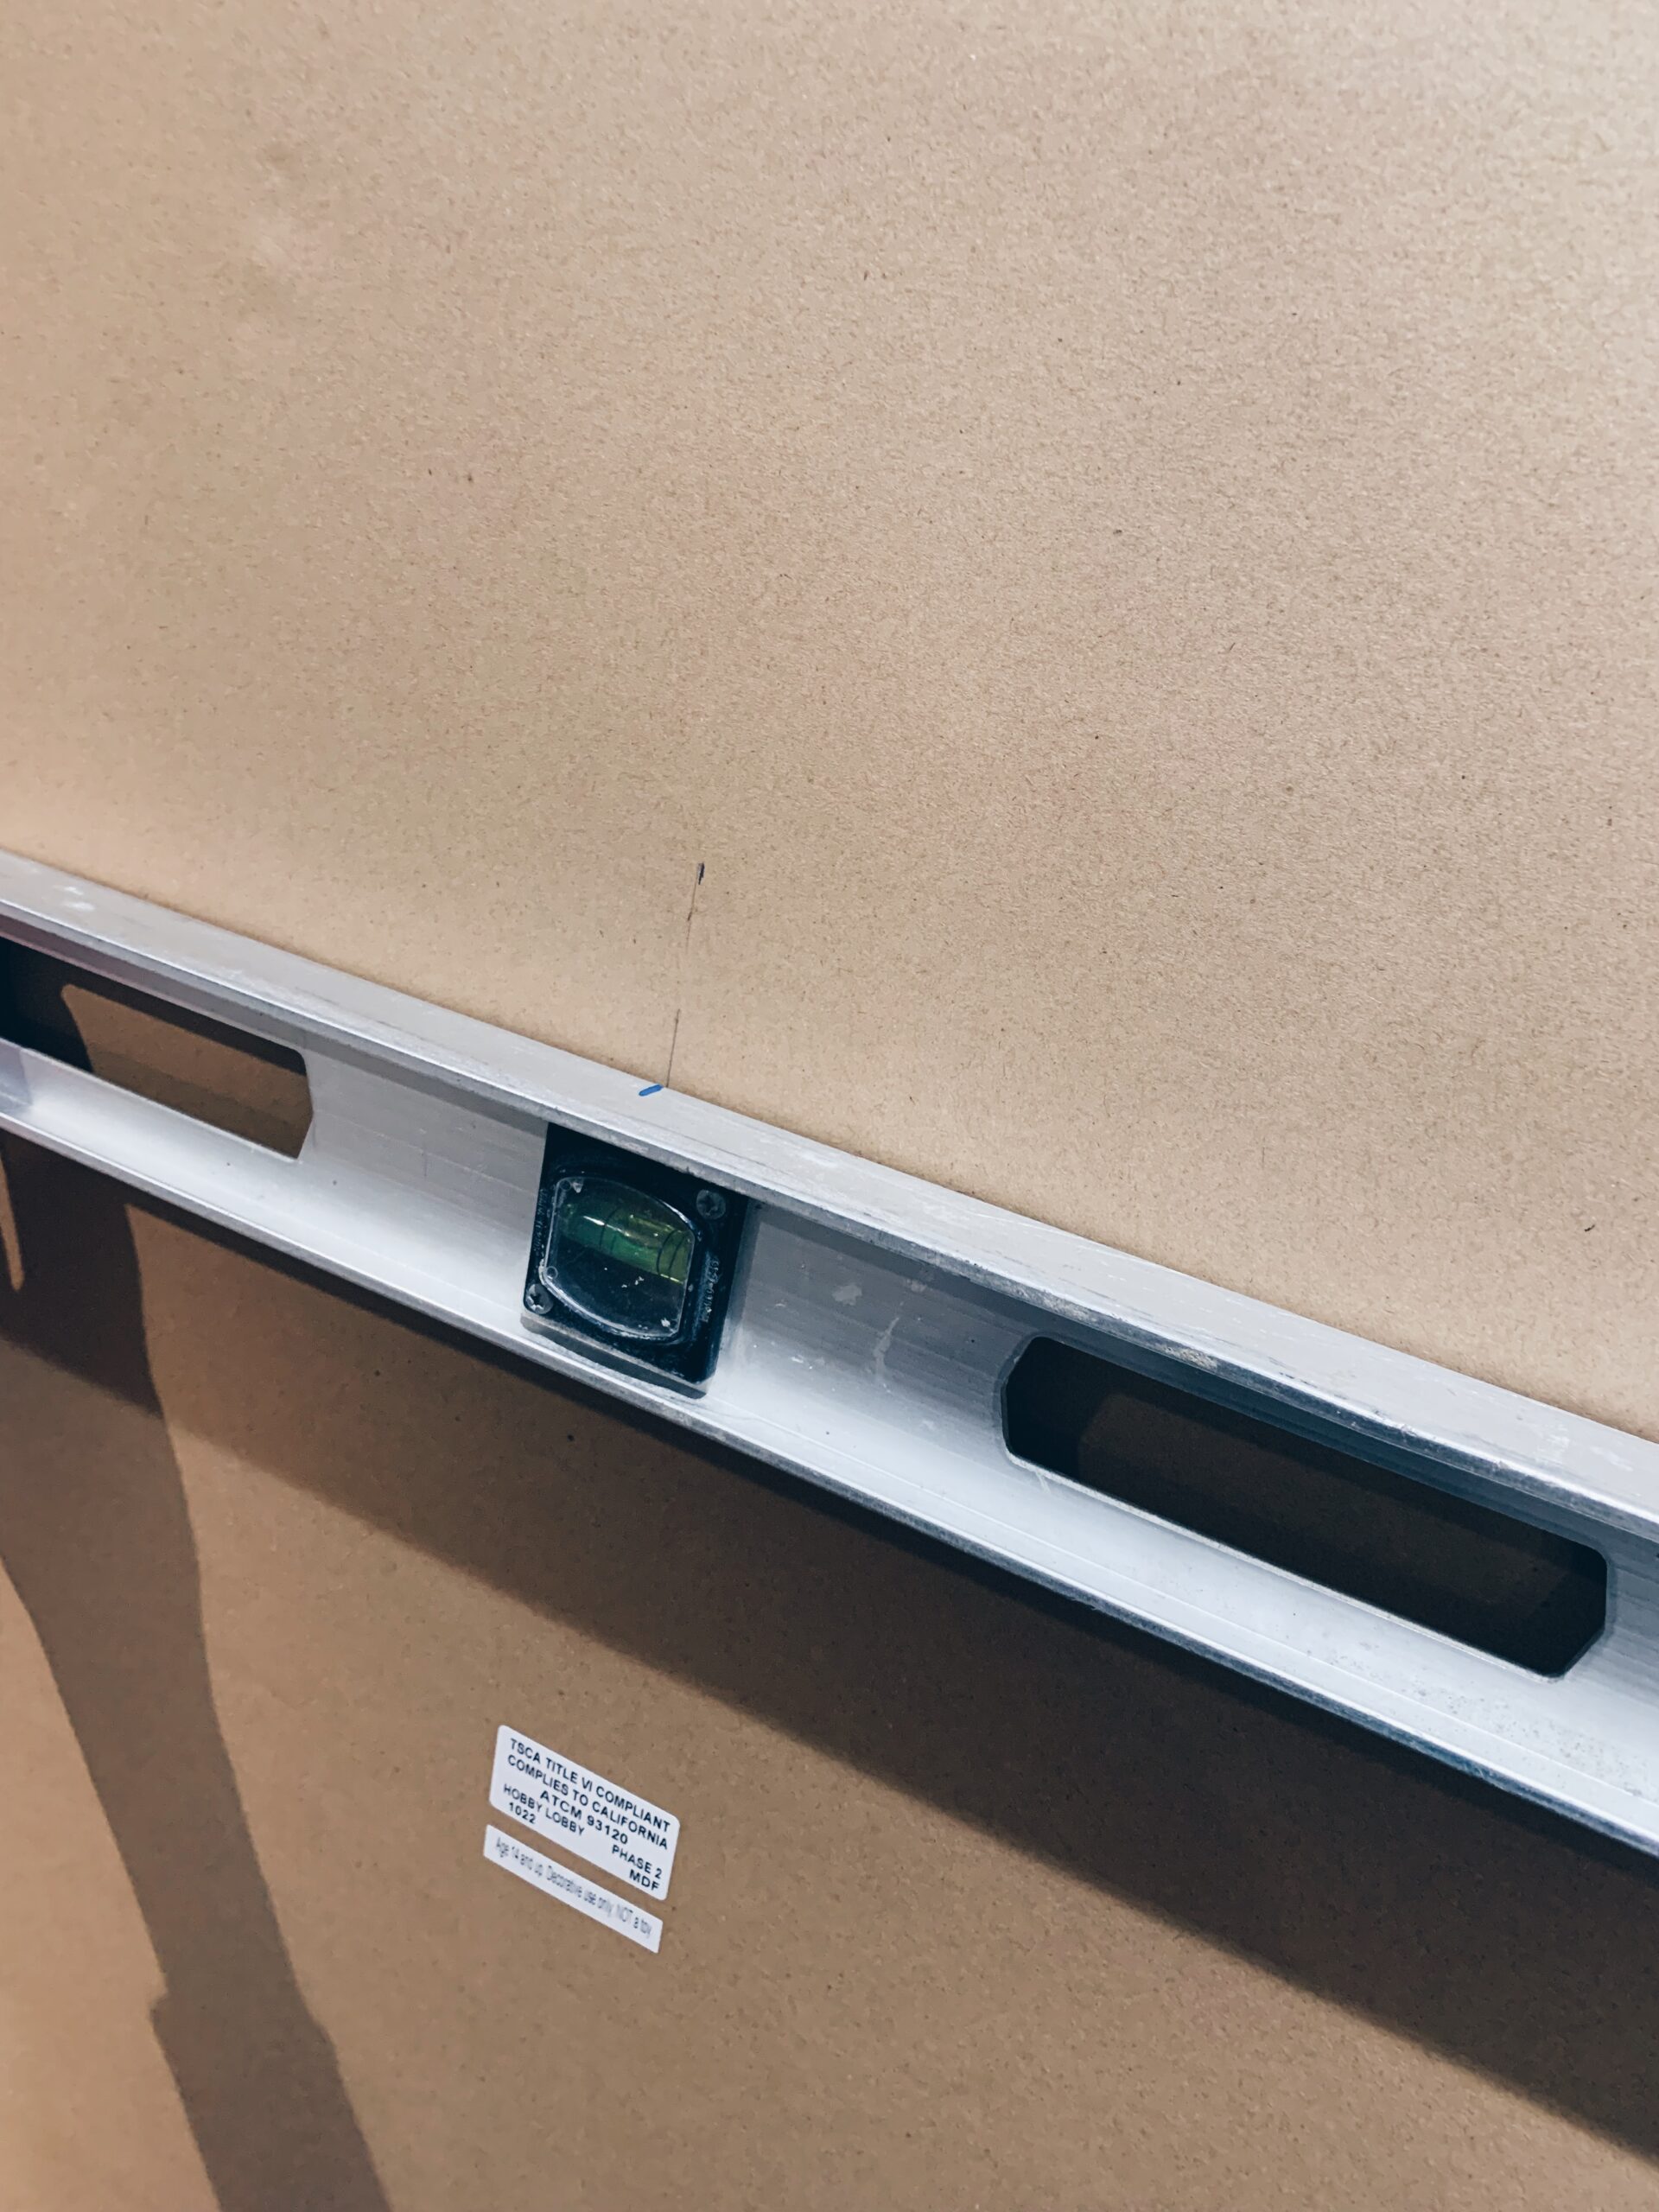
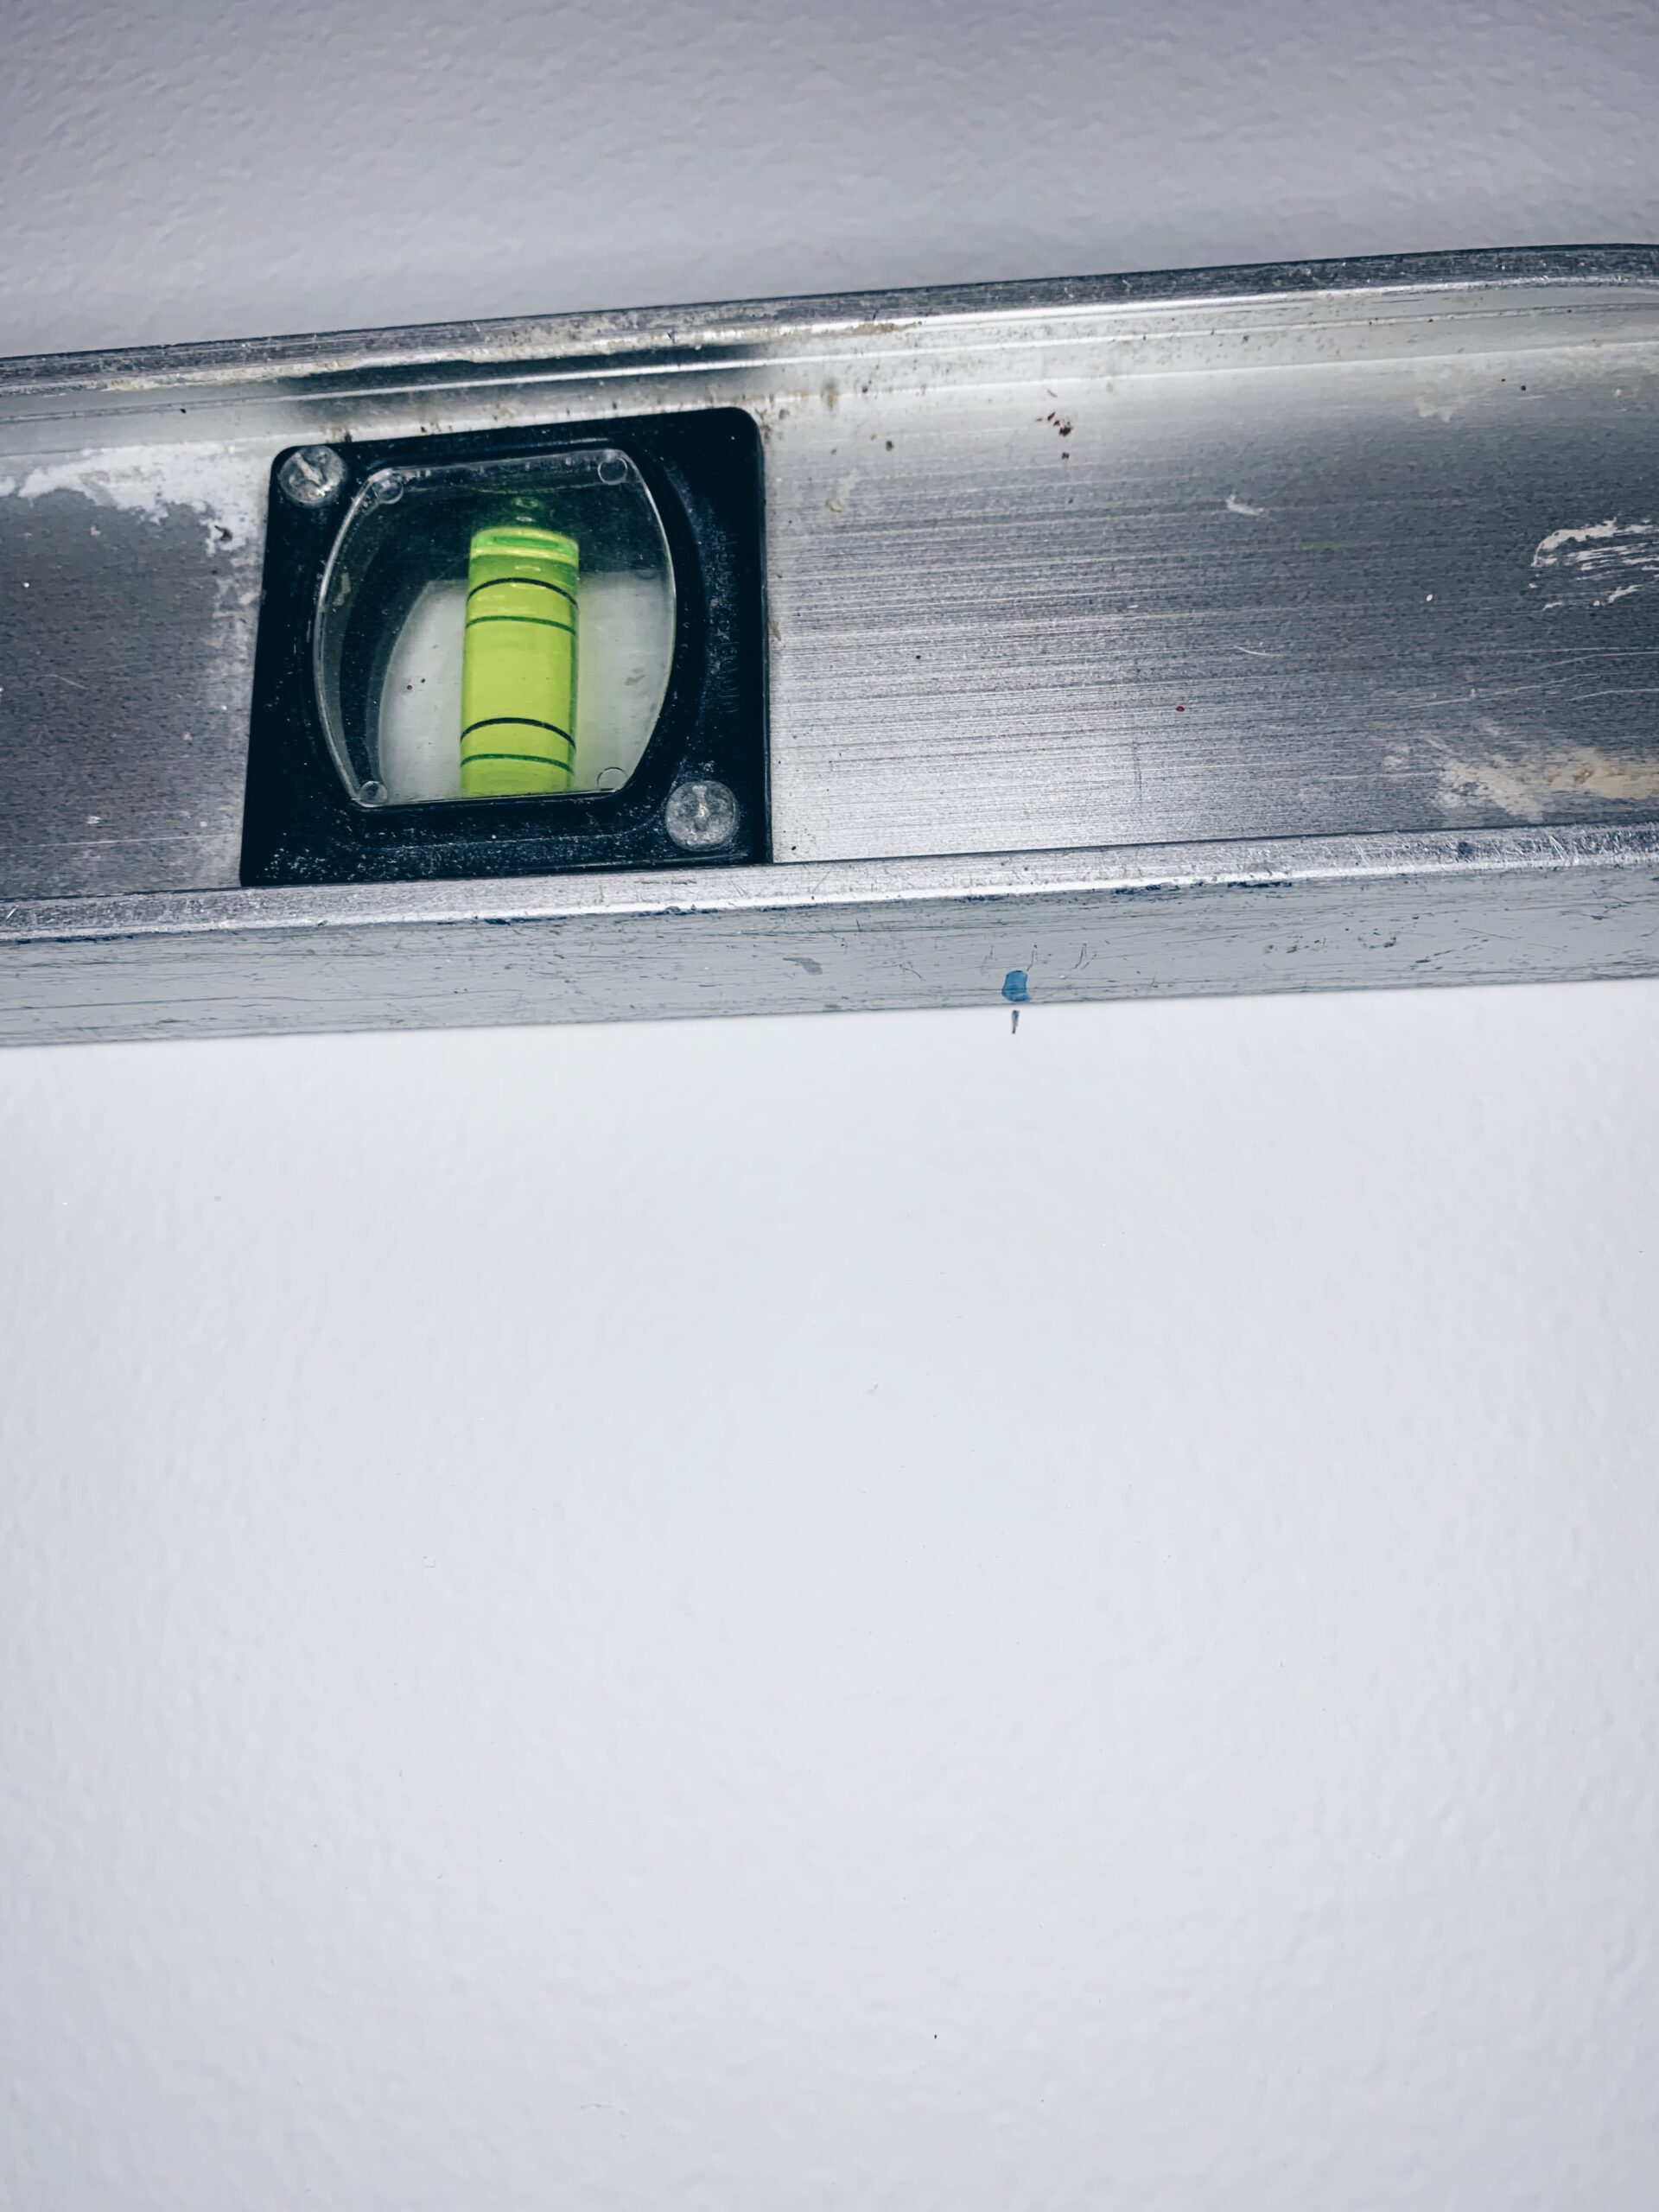
Place your level on the wall and line up your center mark on the wall with the center mark you just made on your level. Using the two outside marks you made on your level, draw your two marks on the wall for your hooks.
You can then use these marks for the horizontal placement of the hardware. Depending on where you made these marks vertically, you may have to use your level to move these up or down on your wall.
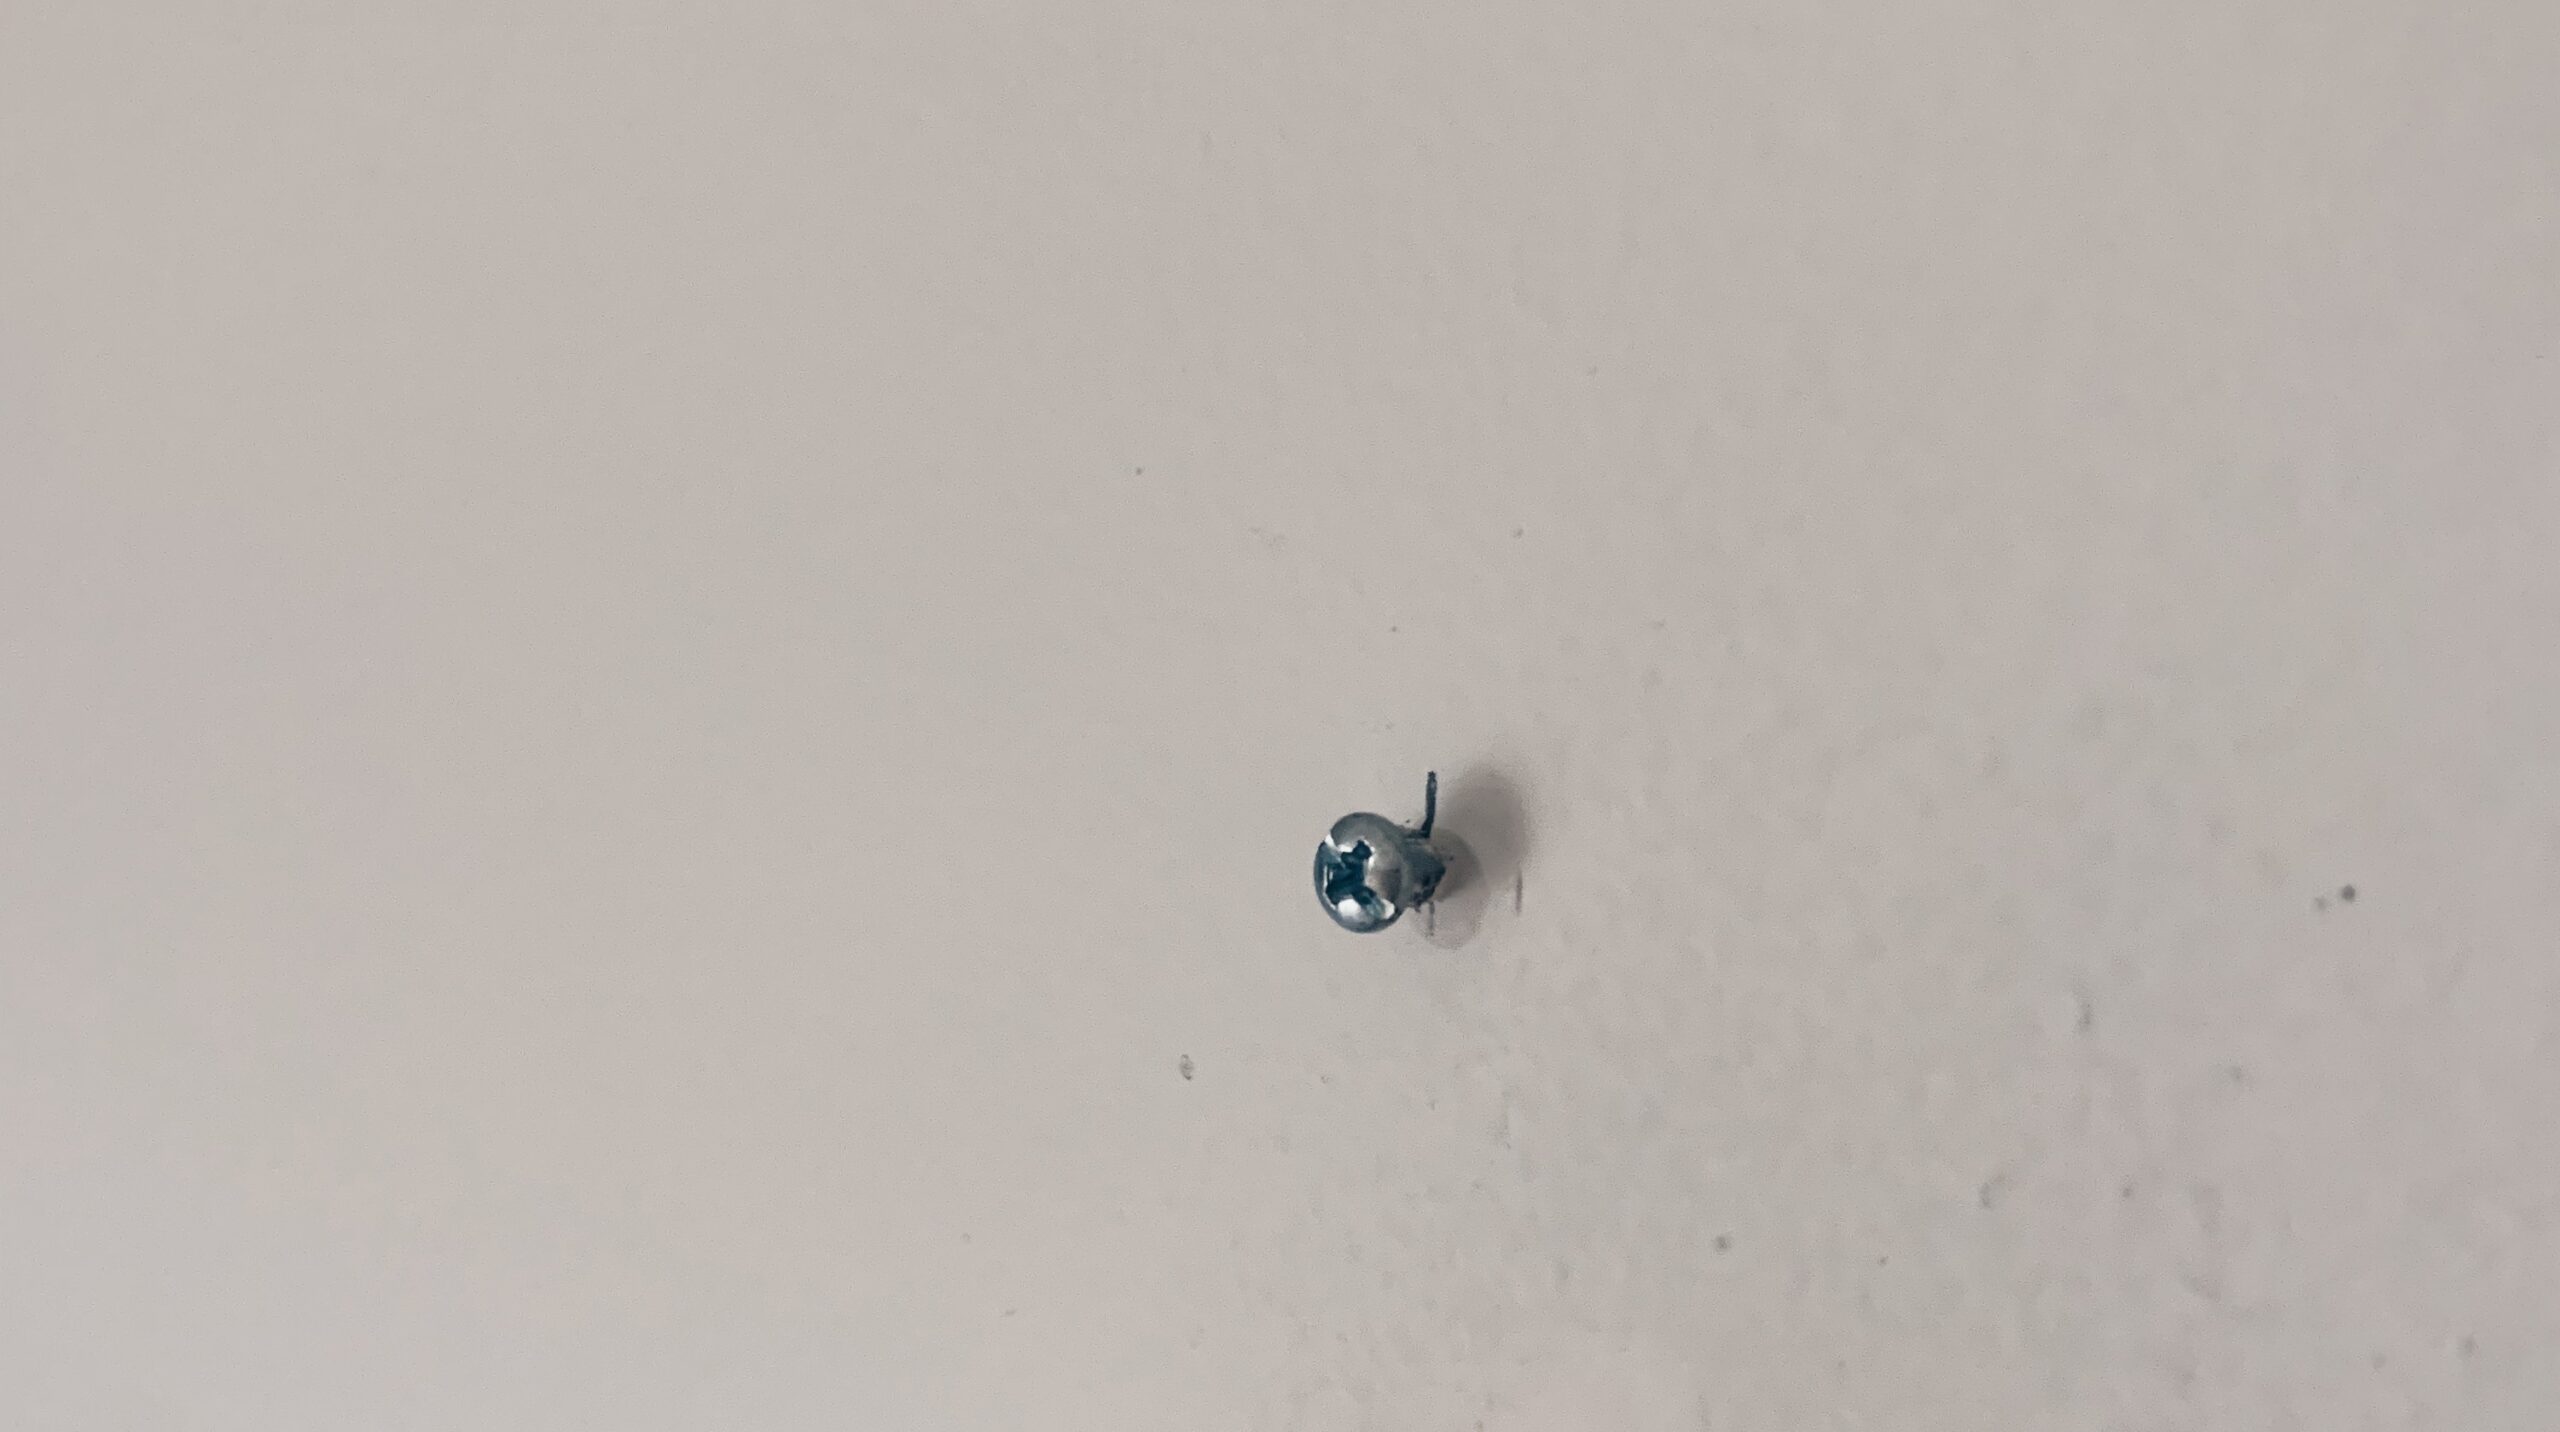
Step 5:
Using a drill (or hammer if you’re using nails), place your screws at the marks for your hooks. Then hang your picture!