Hey there! Some links on this page are affiliate links which means that, if you choose to make a purchase, I may earn a small commission at no extra cost to you. I greatly appreciate your support!
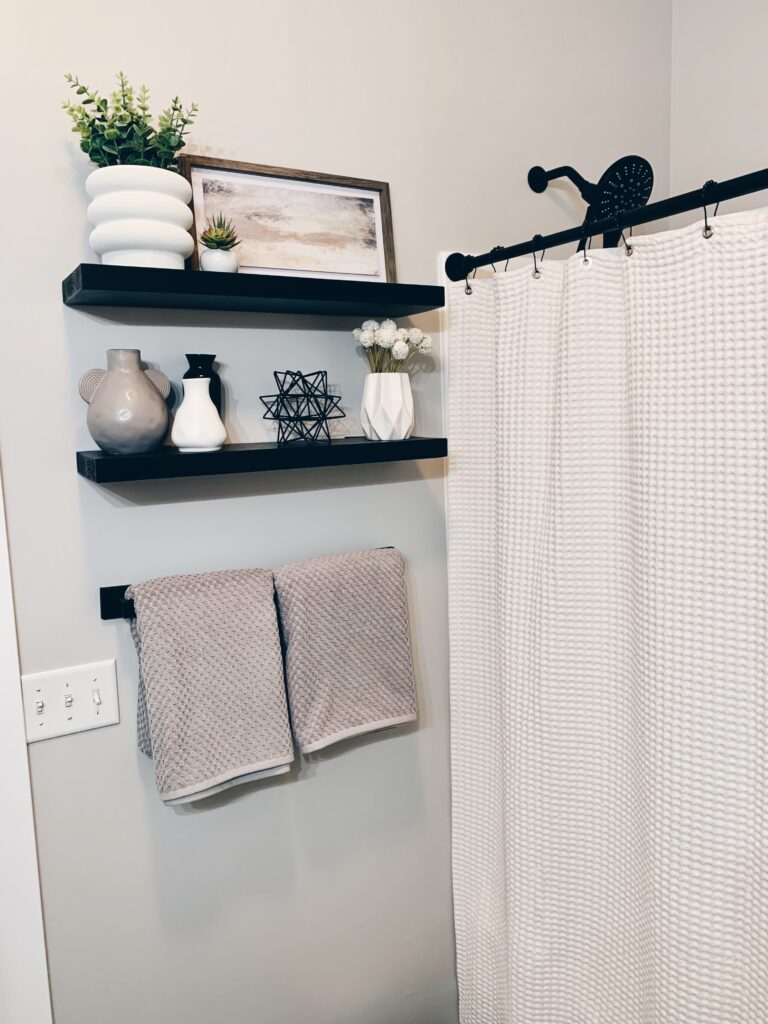
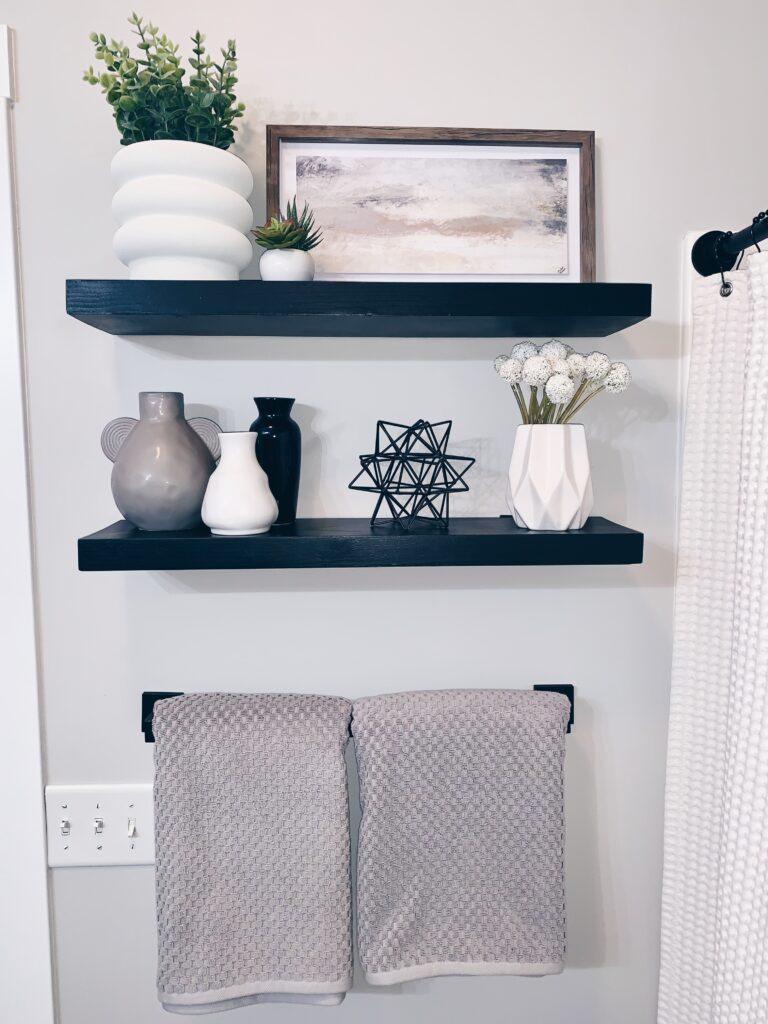
I love the look of floating shelves. Unfortunately, I have found that a lot of the storebought shelves are hollow, meaning if anything heavy is put on them they start to warp. Depending on the length, the cost of a solid shelf can be quite substantial. I’ve put together this how-to with instructions on making your own floating shelves – it won’t cost a ton and they are sturdy enough to fill up with decor.
During our bathroom remodel we had taken down a shelfing unit that was purchased online – it looked nice, but I was looking for an update. Since I had already created these shelves for our living room last year, I thought it would be a perfect idea to recreate them and show a how-to.
We just completed the bathroom remodel so be sure to come back soon to check out the full post on this.
For this project you will need:
Lumber – I used a 2″ x 8″ x 6′ board – the size you use will depend on how long and how wide you want your shelves
Wall Brackets – I found these on Amazon – the length you choose will depend on the width of your shelves
Miter saw
Table saw (or circular saw with guide)
Drill
Tape measure
Sandpaper
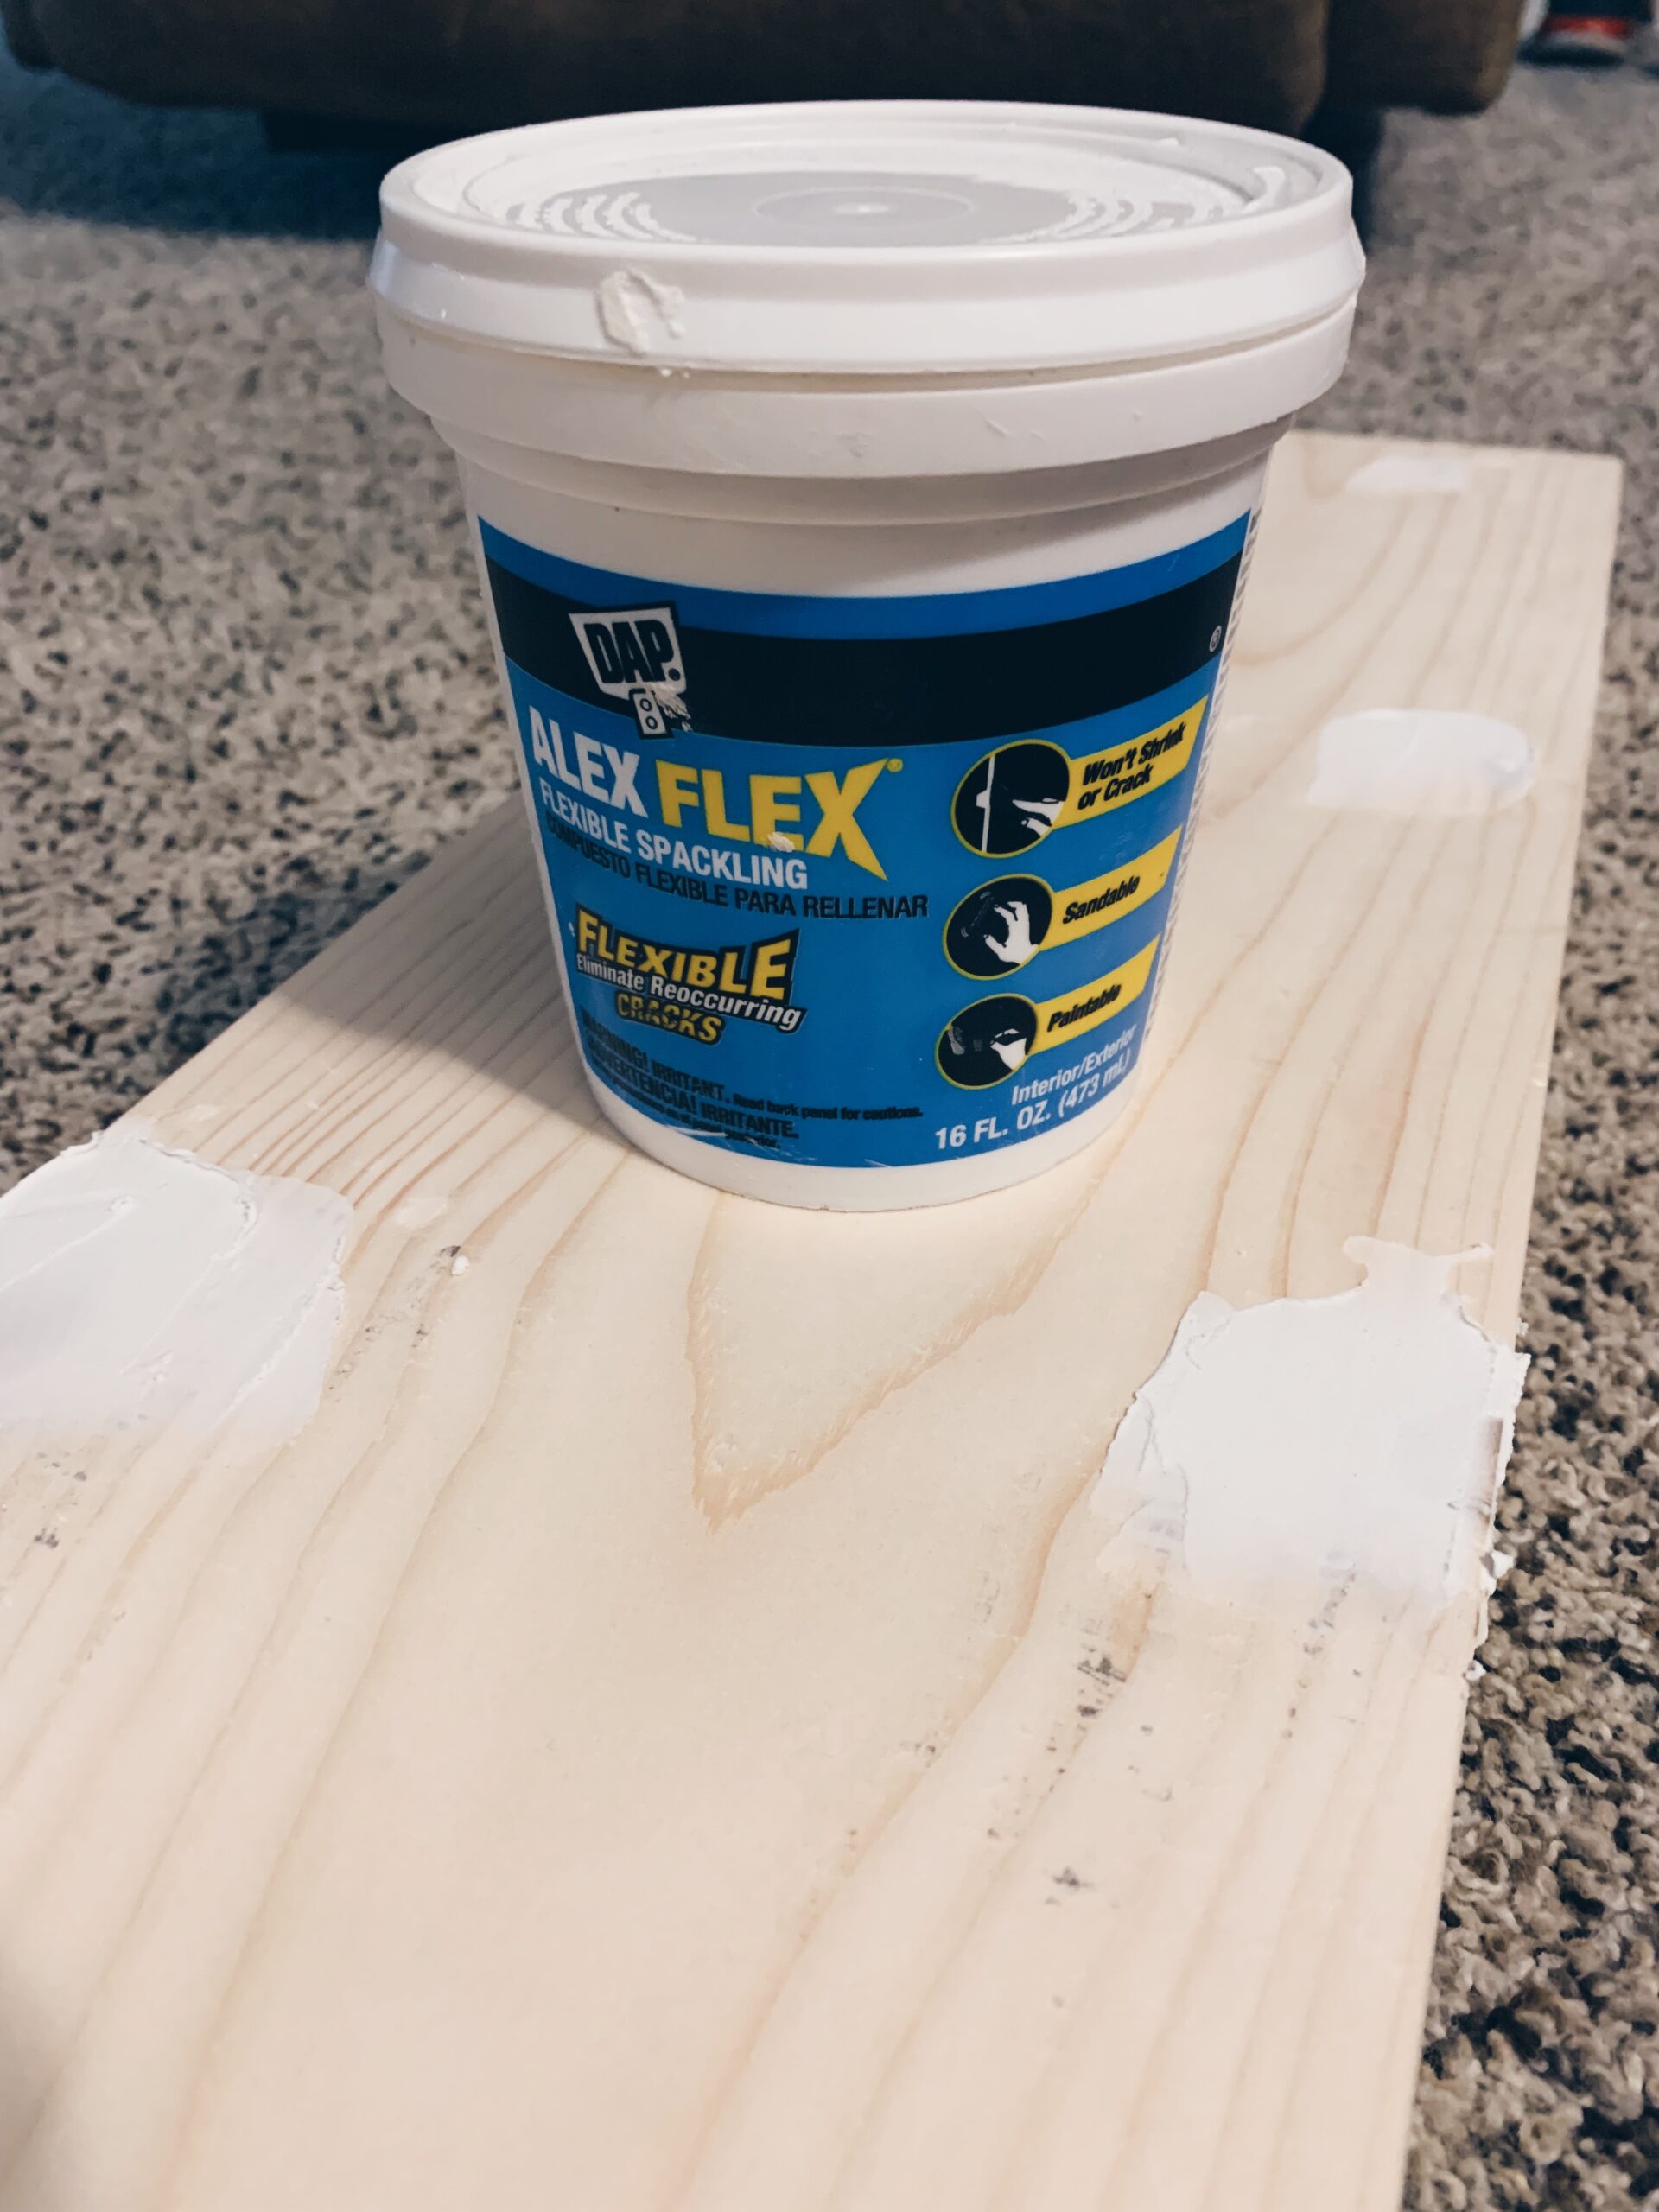
Spackle
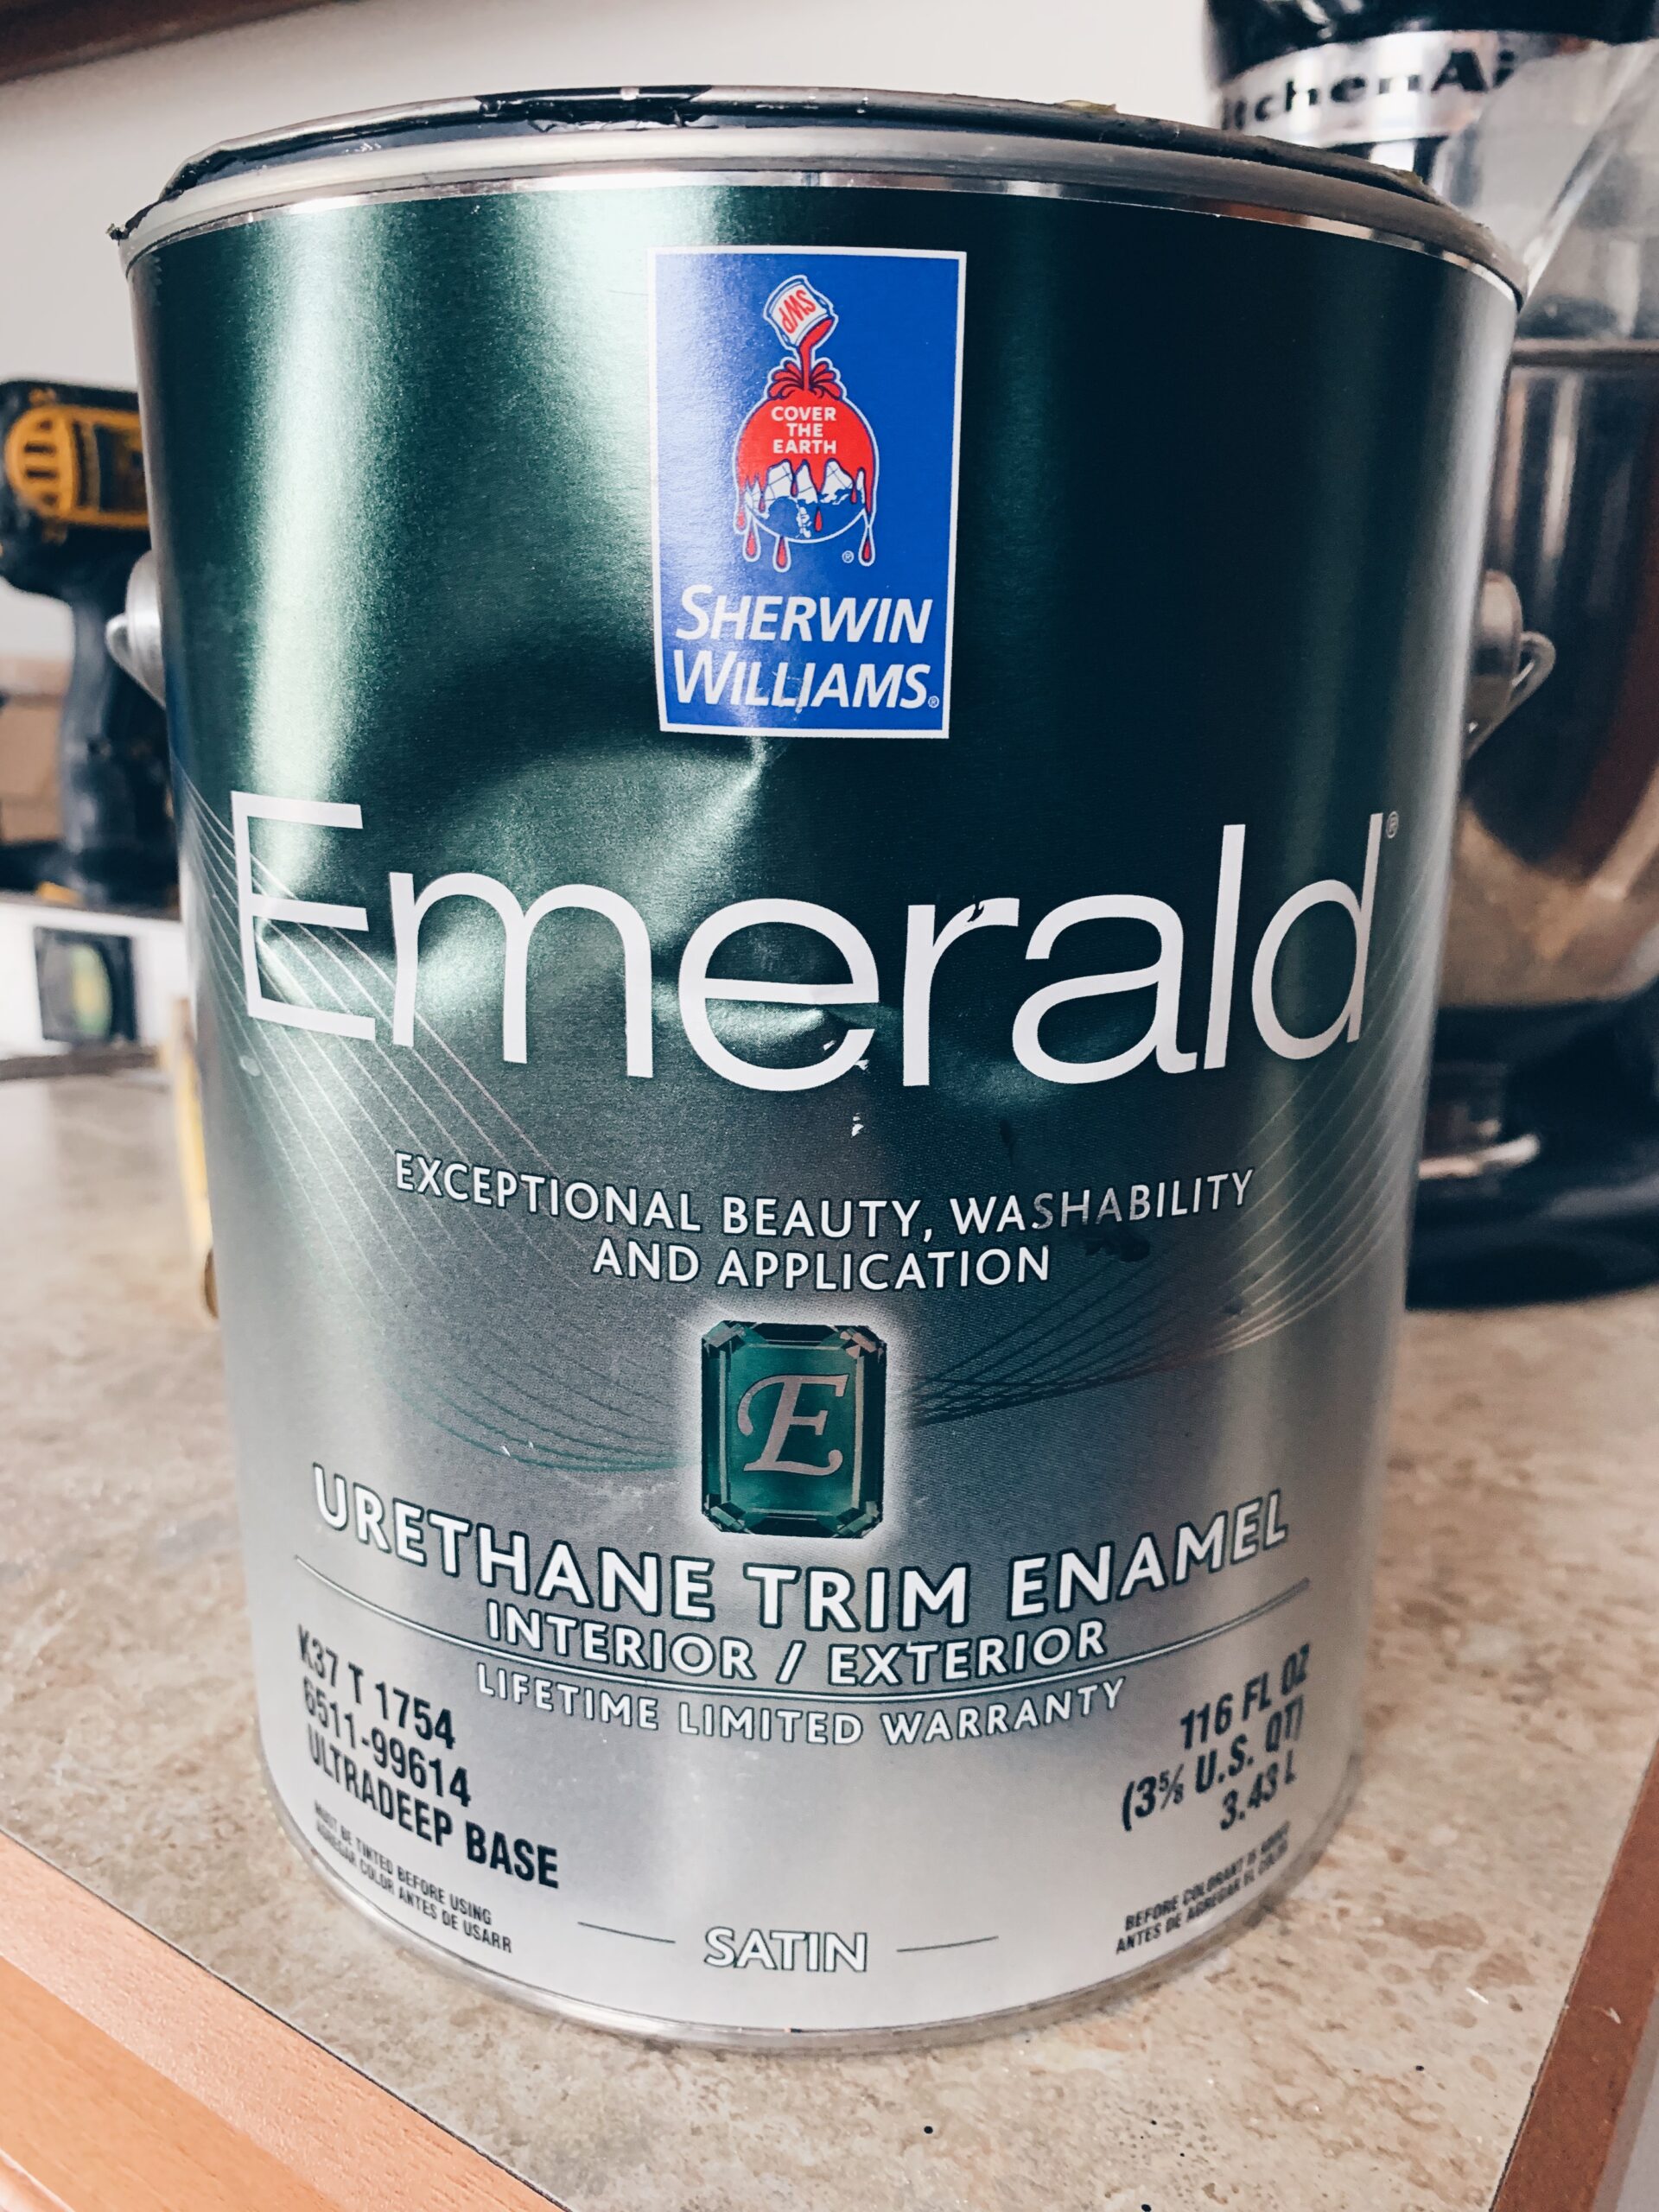
Paint or stain
I put together a How-to video with the steps I took to build these linked below. For those that prefer written instructions, keep reading below.
The first step I did was cut off a small amount of the end of my lumber to clean up the stock edge of the lumber. This cut was made with my miter saw.
Measure out the length you want for your shelves and cut your lumber accordingly with a miter saw. I made my shelves 26 inches long.
Use a table saw to cut the front edge of the board to get a very smooth, square edge – removing the rounded edge that comes standard on all lumber (optional).
Sand down the shelves with sandpaper (120 grit used).
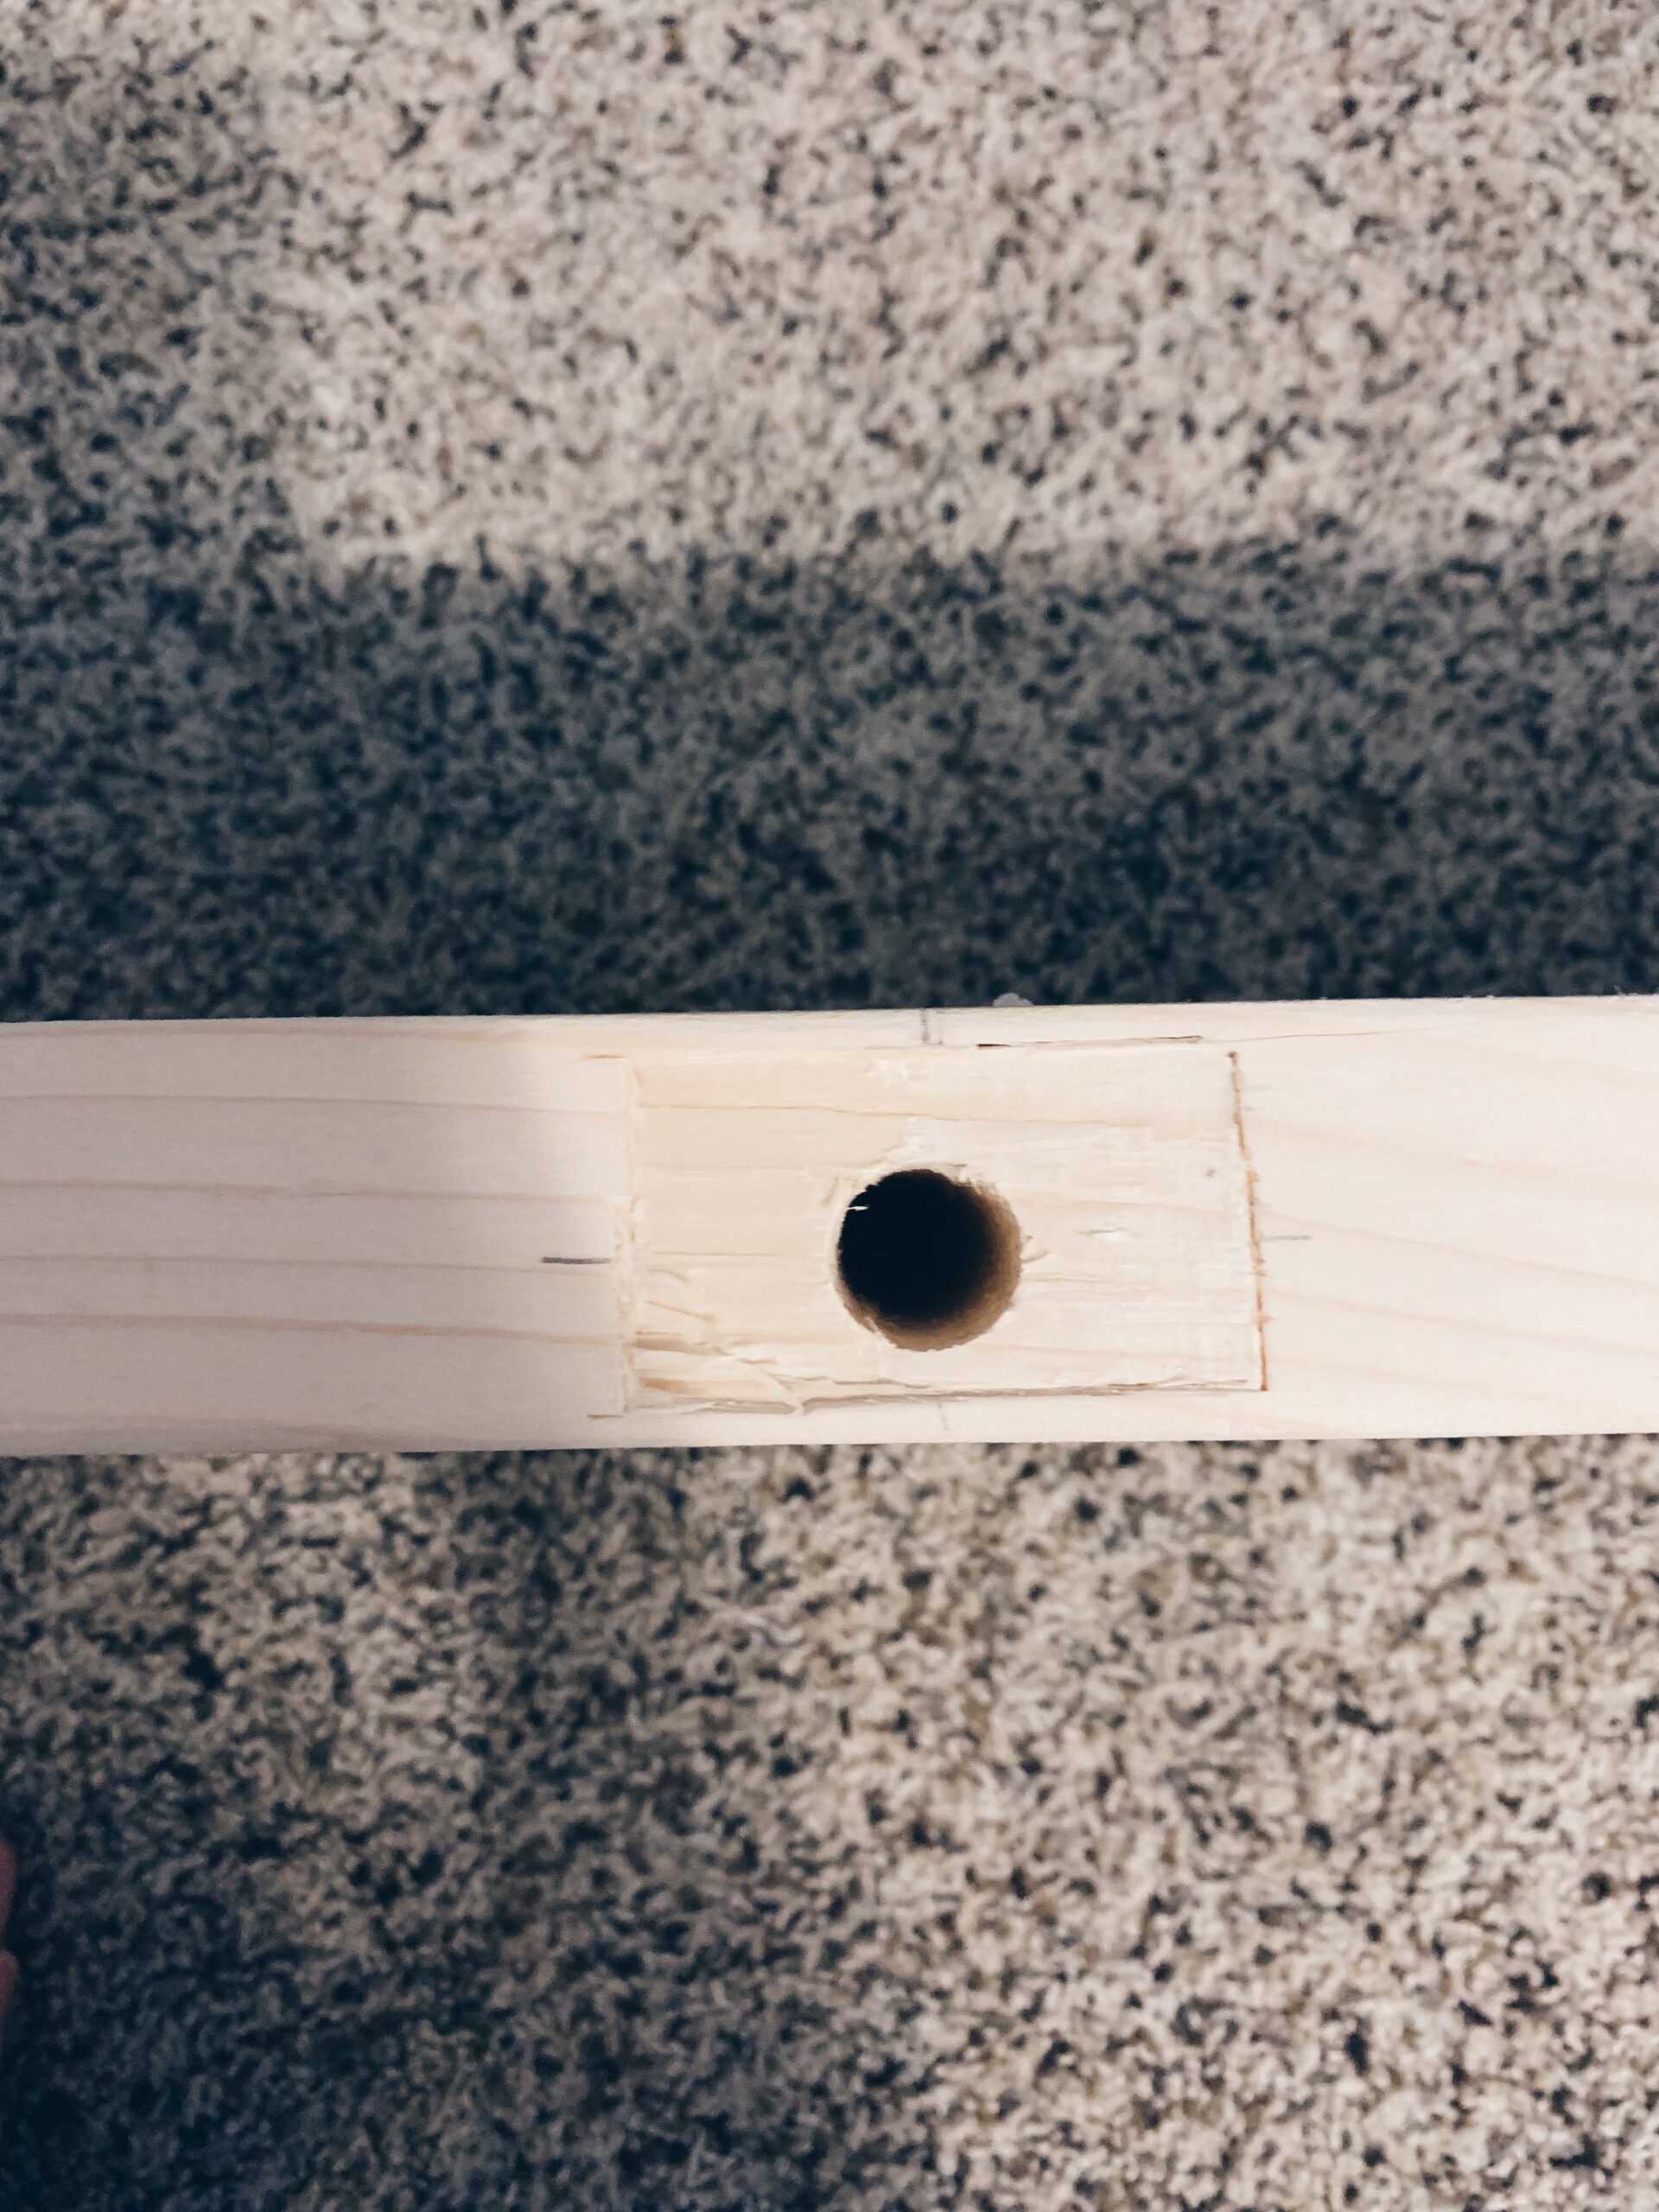
5. Outline your brackets on the backside of the shelves. I used two brackets per shelf, about 5 inches in from each end.
Depending on the length of your shelves you may want to use more brackets spaced evenly. I then marked the middle of the brackets, so I knew where to drill.
6. Drill your holes for your brackets. Because of the length of the brackets, I had to use a drill bit extension.
7. Optional – using a chisel, dig out inside the bracket outline to help the bracket sit flush against the shelf.
8. For a smoother finish, use wood filler to fill any imperfections, holes, knots, etc. Remember to use stainable wood filler if you are using stain vs. paint.
9. Once dry, sand off any excess on the shelves.
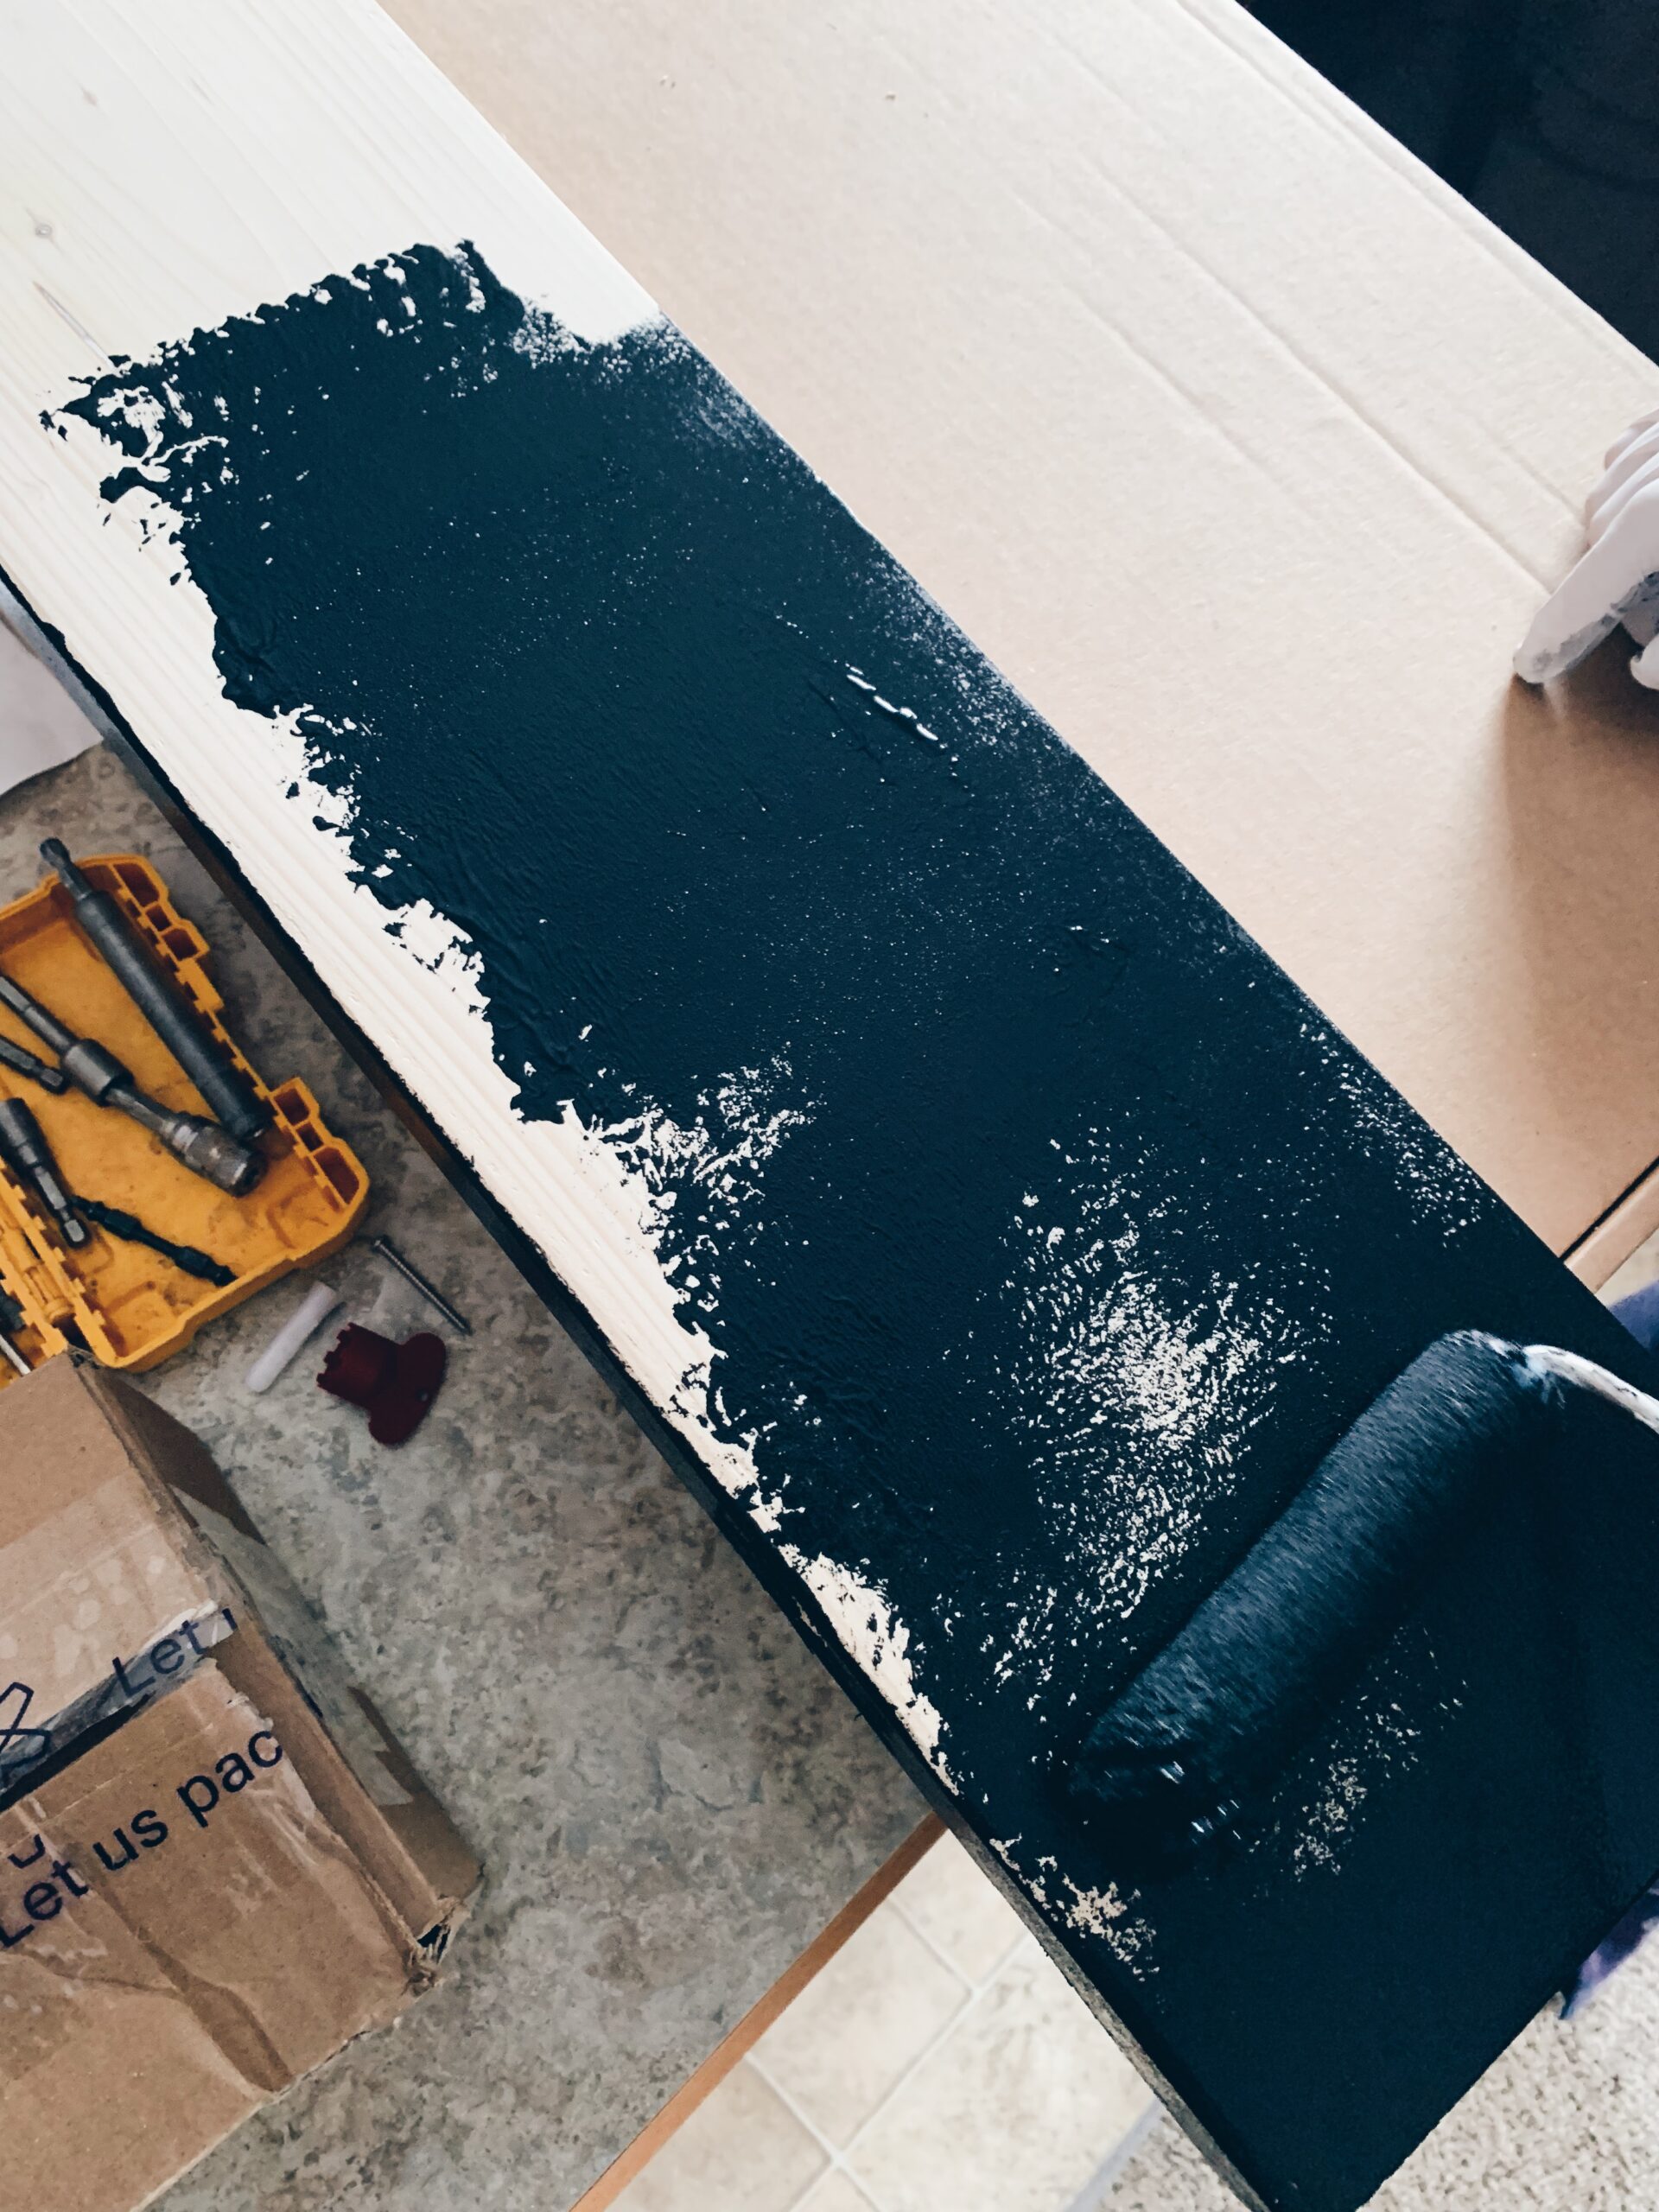
10. Use your favorite paint or stain on the shelves. I used Sherwin Williams Emerald (color SW6258 Tricorn Black).
11. Now it’s time to hang your brackets on the wall. I’ve included how I easily did this in my video using a level and marking the two edges of my shelf and the two centers of the brackets. If you’re not drilling into studs, I always recommend using drywall anchors.